
 |
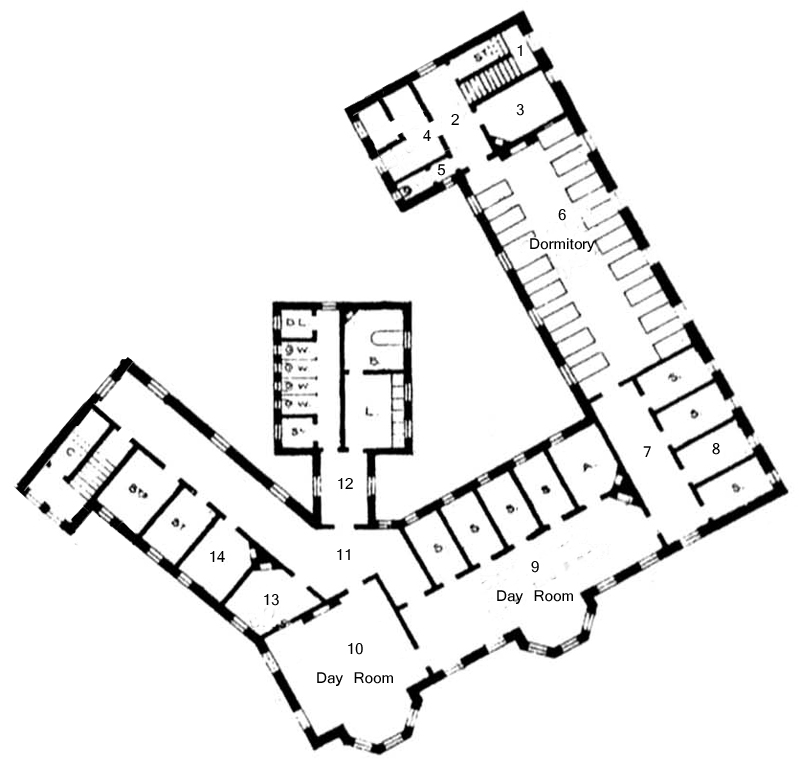
We now moved upstairs, above Rowan Ward and into Elm Ward.
The floorplan was much the same as the floor below but there were one or two interesting
differences.
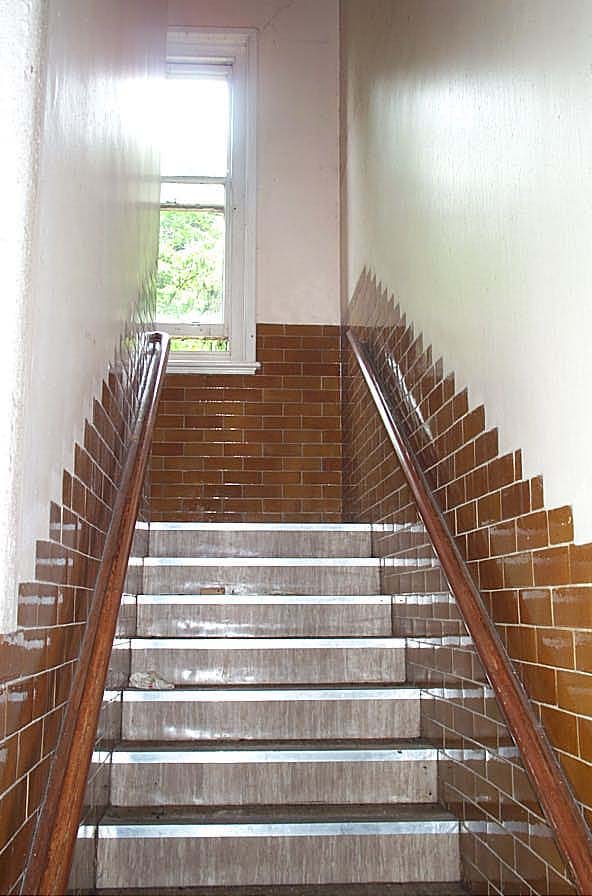
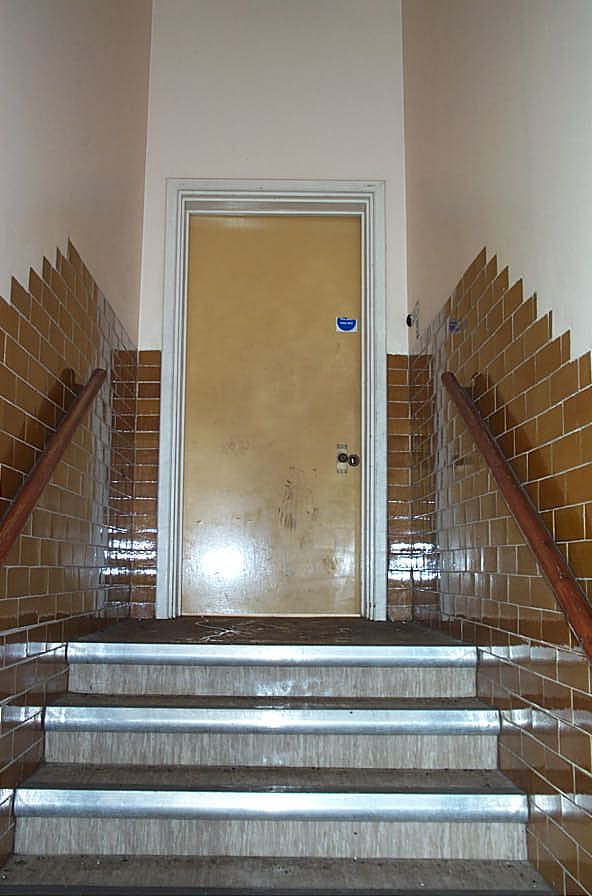
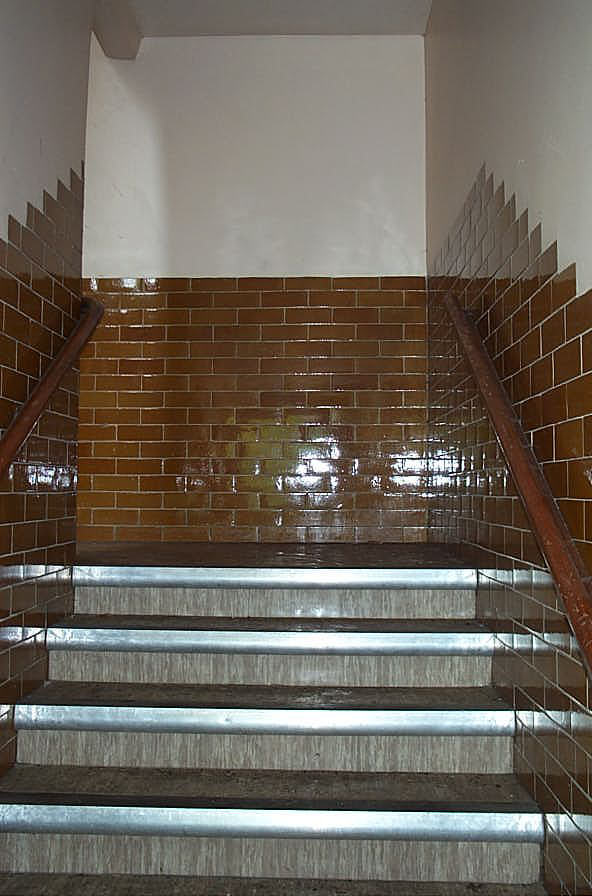
Stairwell #1: North east |
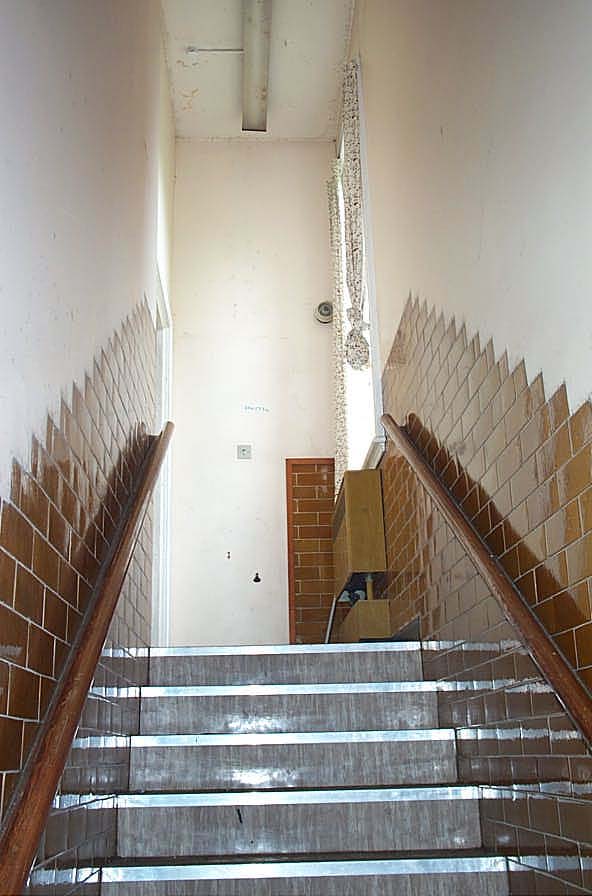 |
Stairwell #1: South West And after the turn in the stairs, continuing upwards. Rauceby never painted over the tiles which seemed to be standard in other asylums.
|
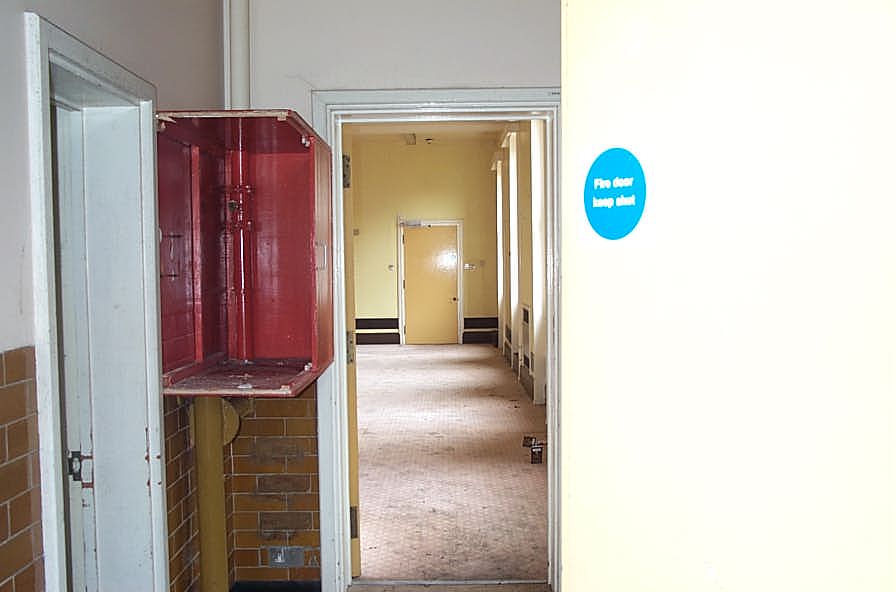 |
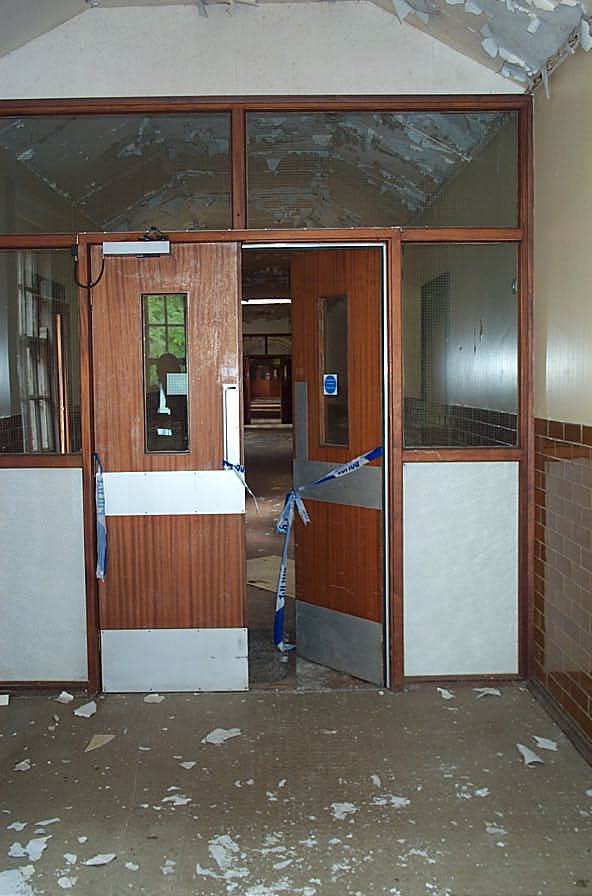
Corridor #2: South At the top of the stairway and looking south into the Dormitory.
|
 |
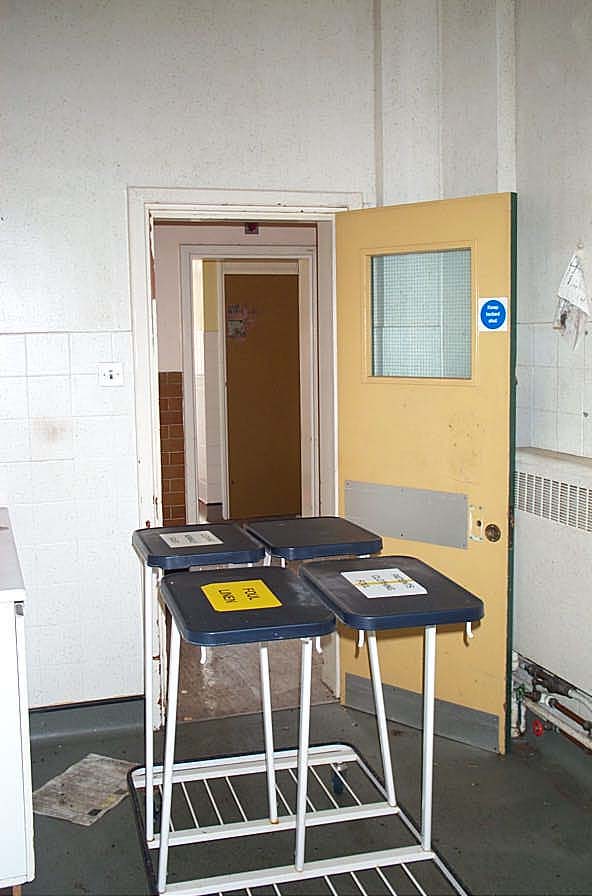
Store Room #3: North East If this room had a similar function to the one below it, then this was a former Attendent's. |
 |
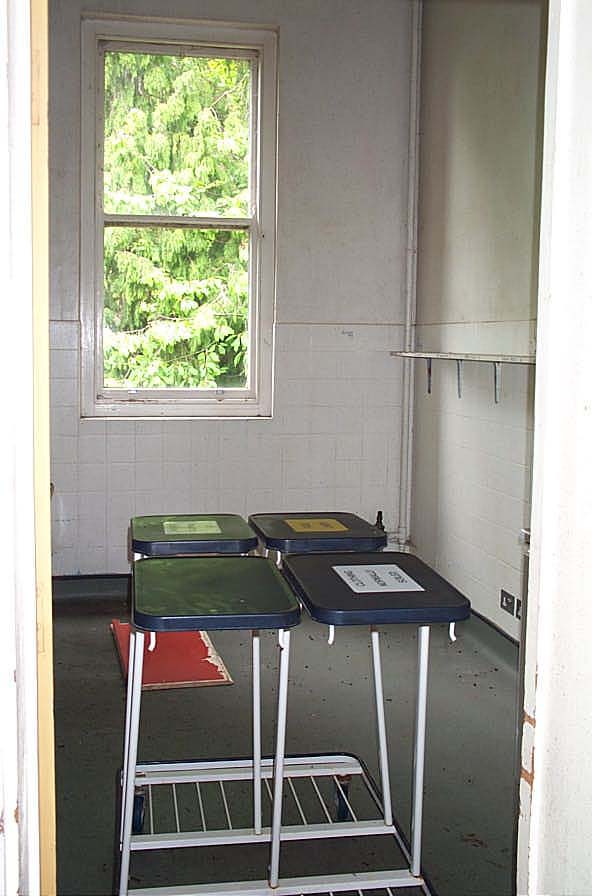
Sluice Room #3: North West Looking back towards the corridor, it's clear that this room is now a general store room.
|
 |
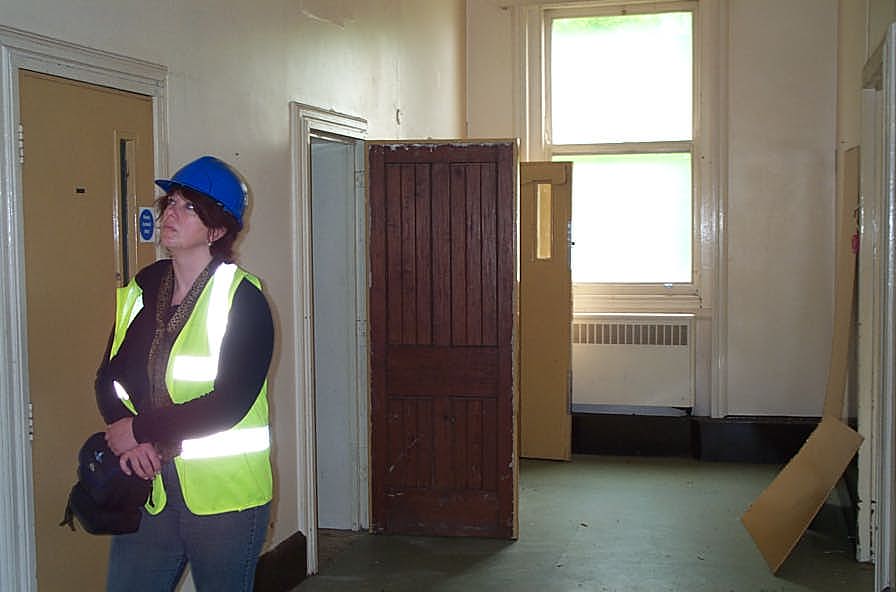
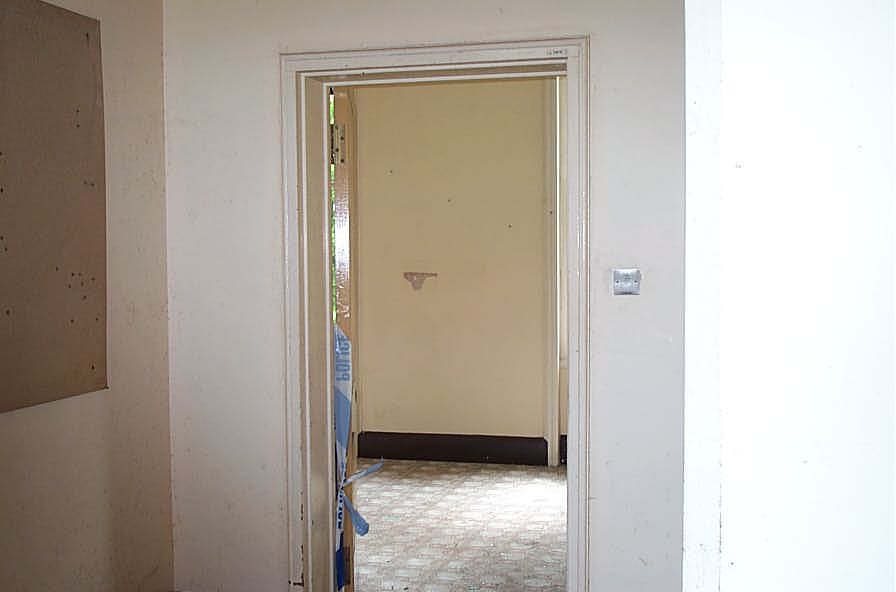
Room #4: East This room had changed its configuration; the former Lavatory had now been converted into two smaller rooms. I wonder if it was now a toilet with the opposite gender toilet next door. |
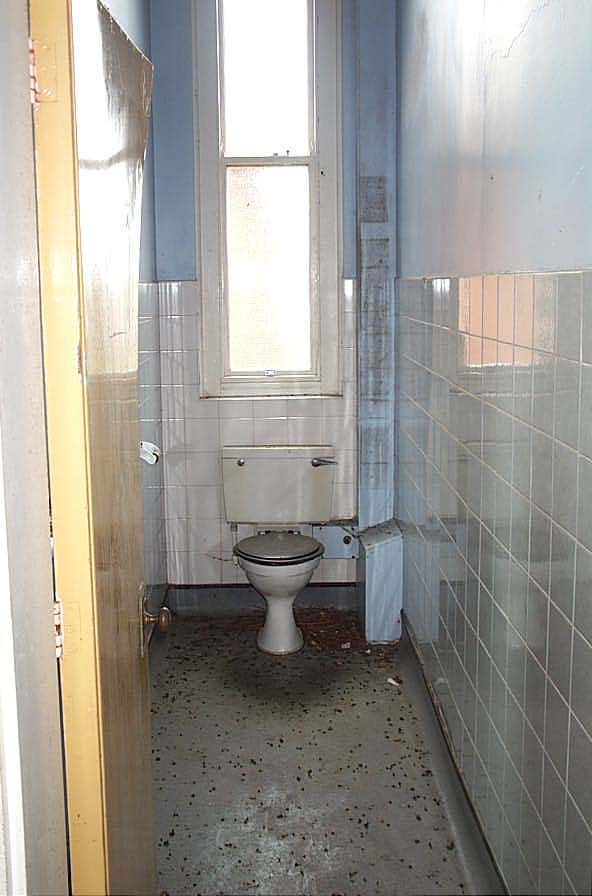 |
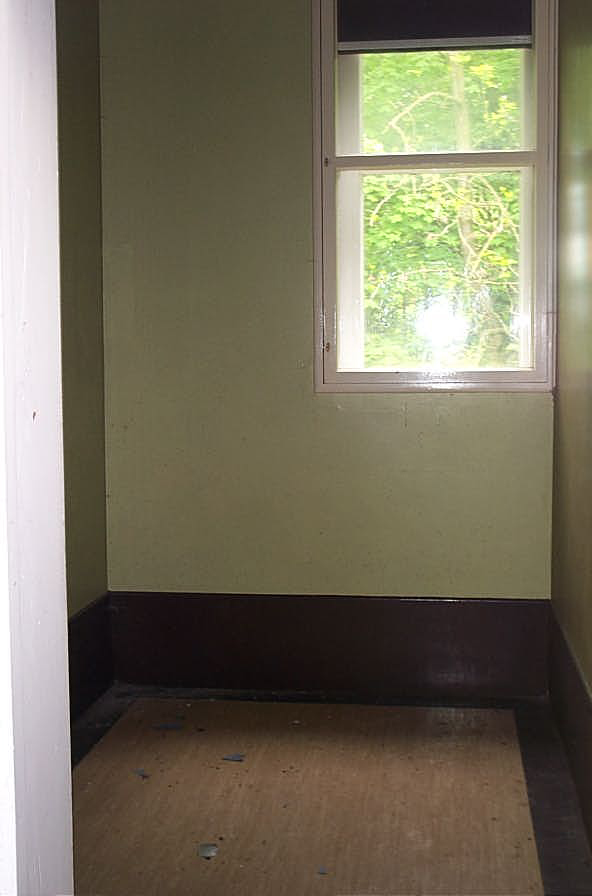
Water Closet #5: South West This Water Closet had never changed its function and was still a toilet.
|
 |
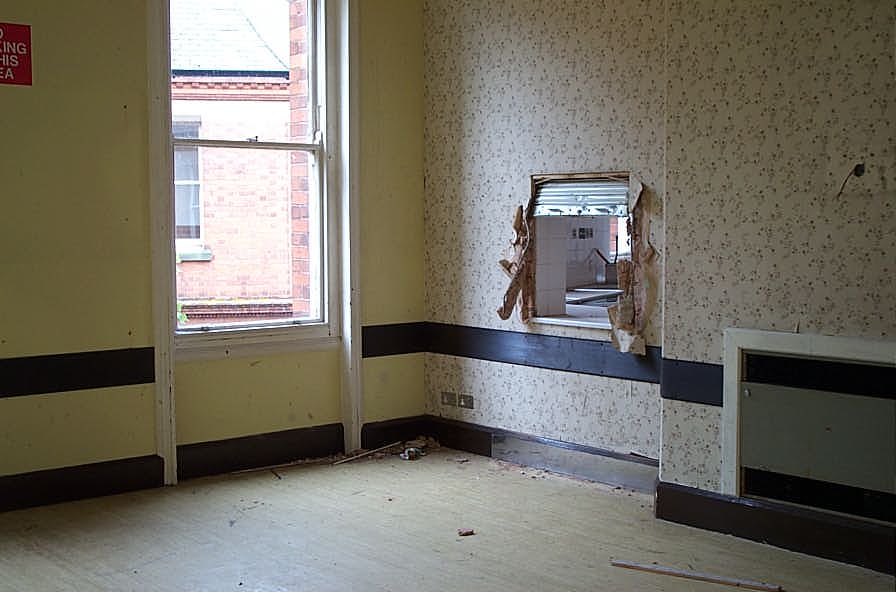
Dormitory #6: South East This room was still a Dormitory but all the beds had long been removed.
|
 |
Dormitory #6: North West The same room looking back at the corridor we'd just walked through. The fireplace was always a fireplace - and can be easily found on the 1902 plan. |
 |
Lift: North West Looking out of the window towards Admin. The buildings are: 1. The Sanitation Tower (left) 2. The modern Lift Shaft 3. Above them both, the top of the Water Tower. 4. The skylights were the windows for the former Bath House. 5. And just to the right can be seen the Admin clock tower. 6. And below them all, the single storey Main Corridor.
|
 |
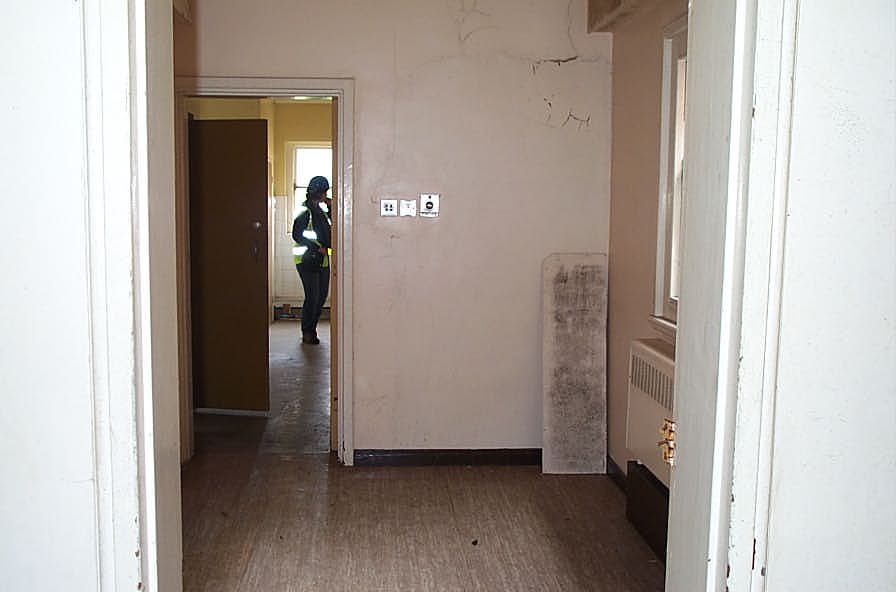
Corridor #7: North East Like the floor below, a single corridor now lead to the Day Room with Single Rooms off to the north-east side.
|
 |
Room #8: North East A view into one of the Single Rooms.
|
 |
Corridor #7: South East A final shot looking down the corridor towards the Day Room. Unlike the floor below, all of the former Single Rooms were still Single Rooms.
|
 |
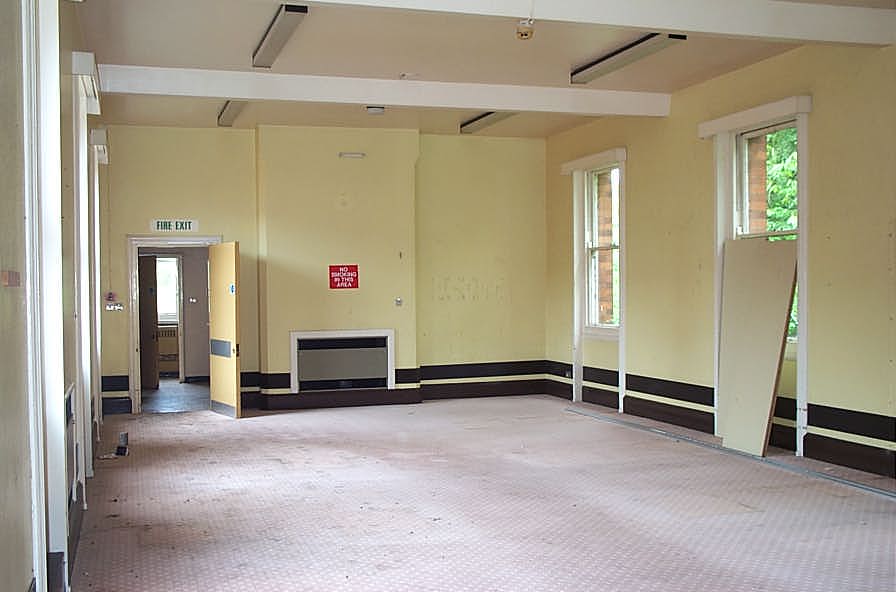
Day Room #9: South West Like the ground floor, the Day Room occupies exactly the same floor plan.
|
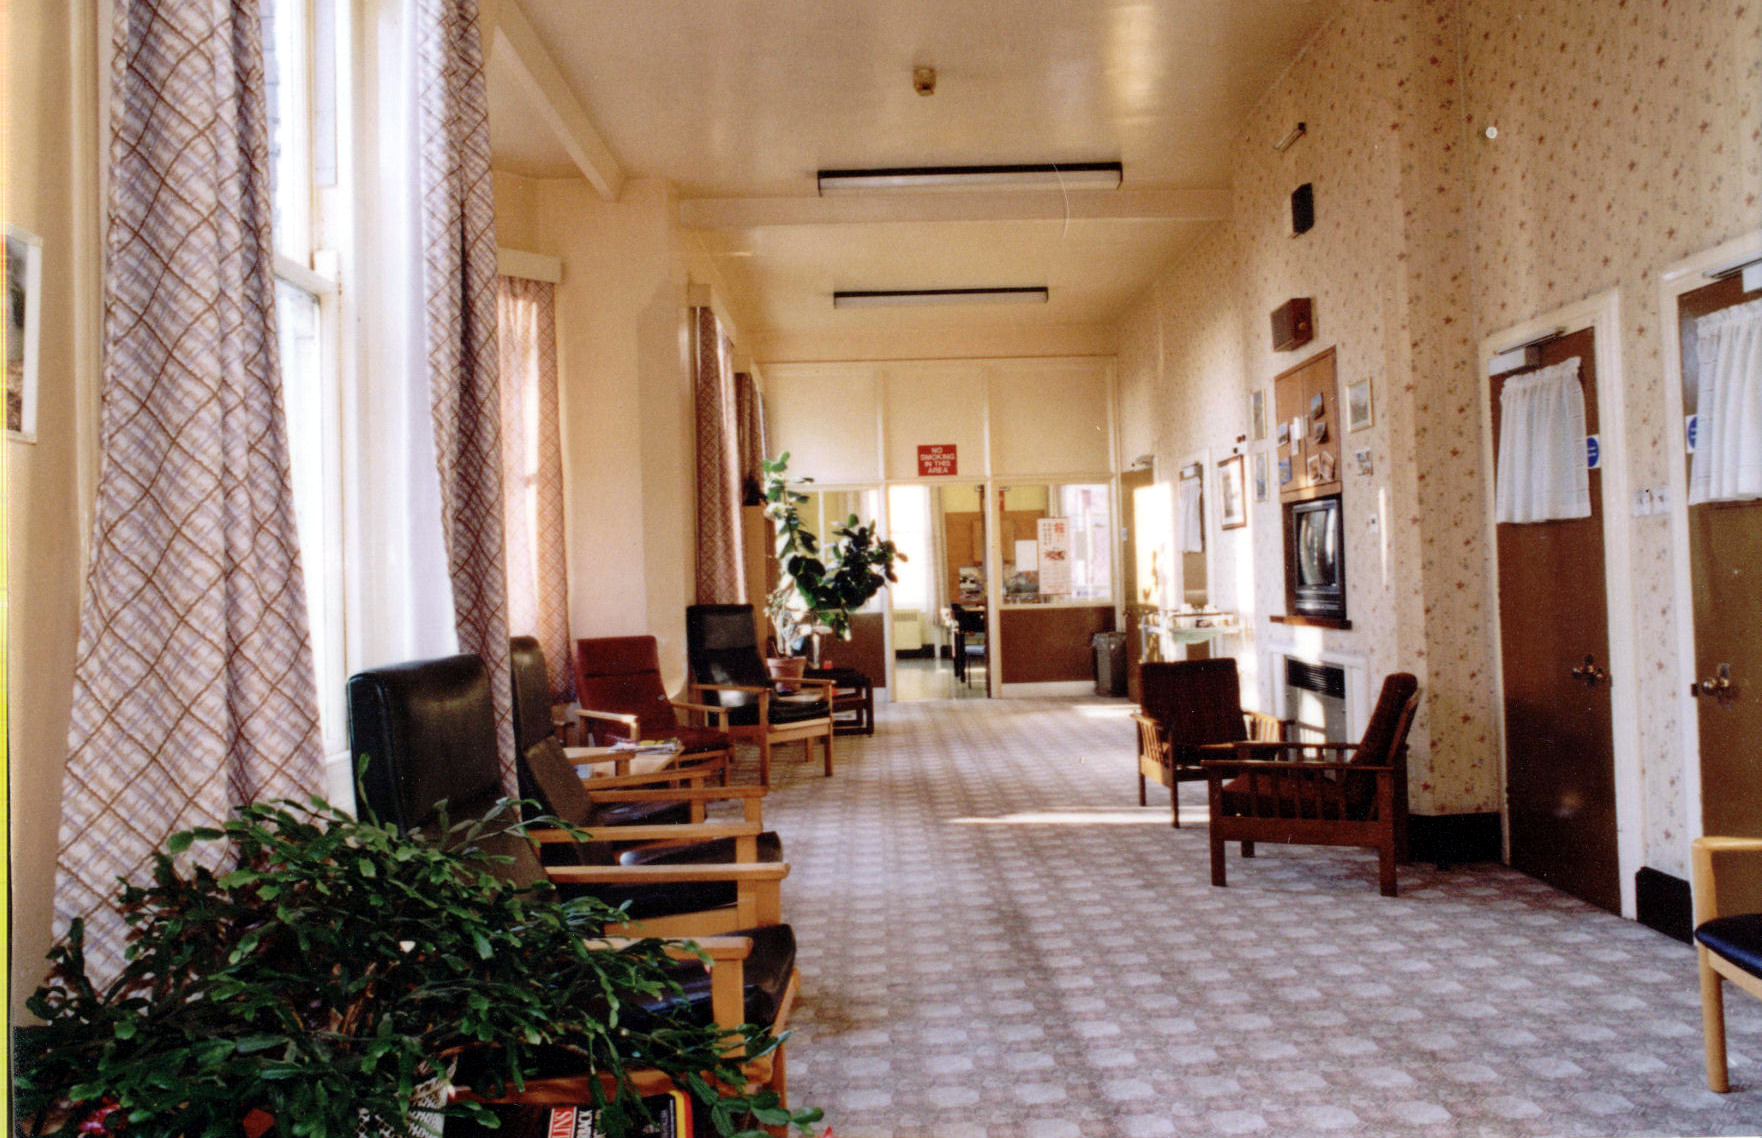 |
Day Room #9: South West A picture of the Elm Ward Day Room in 1997, just before the hospital's closure. ©Steve
|
 |
Day Room #9: North East It would be difficult to tell the two floors apart. Again, note how bright and sunny it is in this area.
|
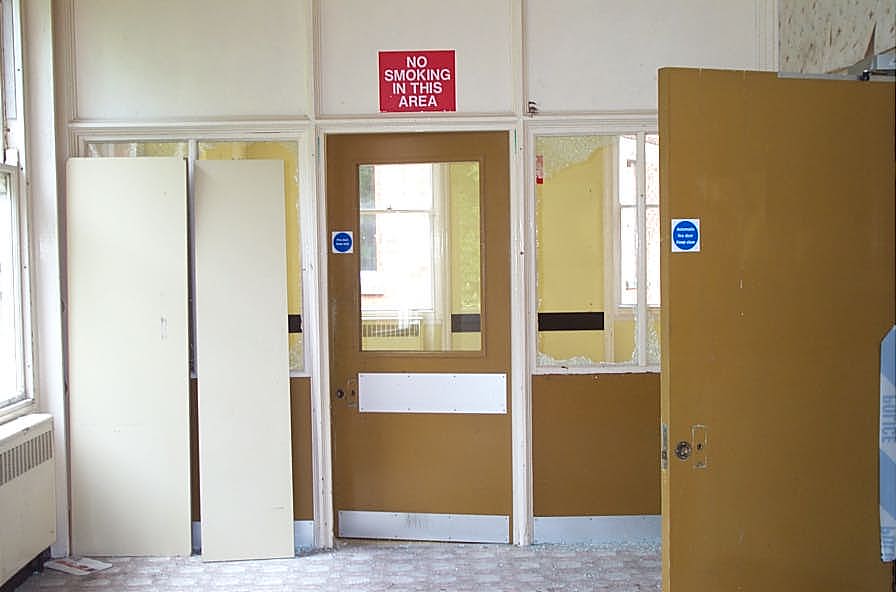 |
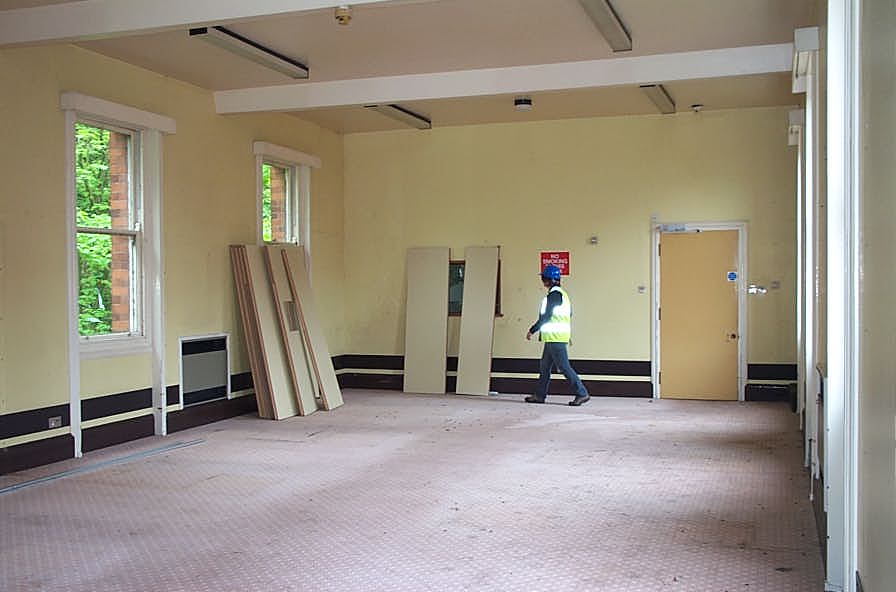
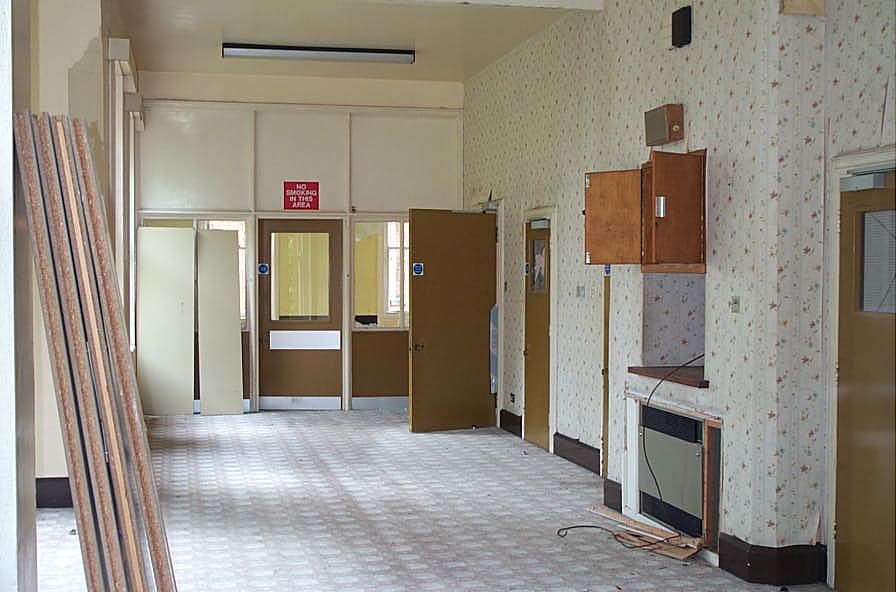
Day Room #9: South West Continuing through the Day Room to the next, smaller Day Room. There were signs of systematic stripping and vandalism here with the missing door handles, stacked wood and broken windows.
|
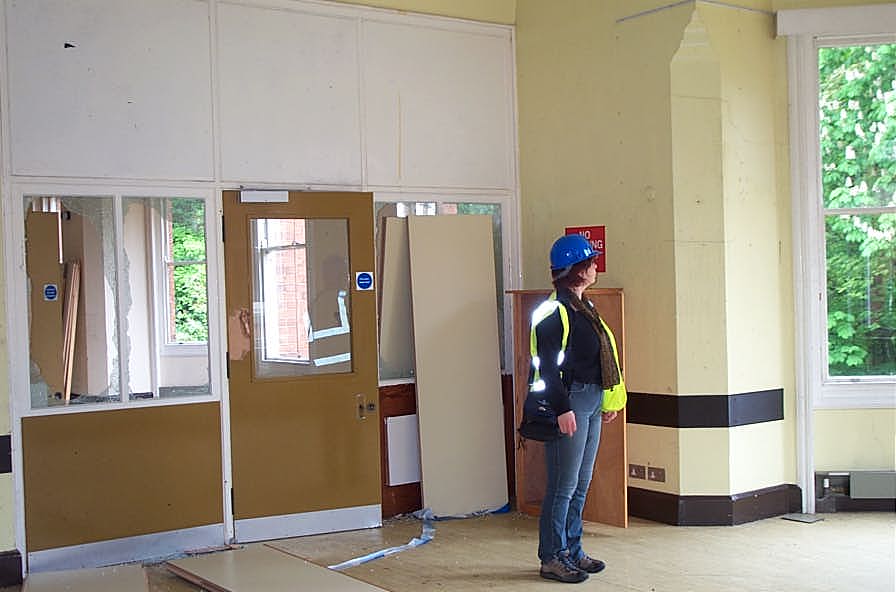 |
Day Room #10: South East Now standing in the smaller Day Room and looking back towards the vandalised former partition wall. |
 |
Day Room #10: South East This room was last used as the ward's dining room. THis picture was taken in 1997, just before the hospital's closure. ©Steve
|
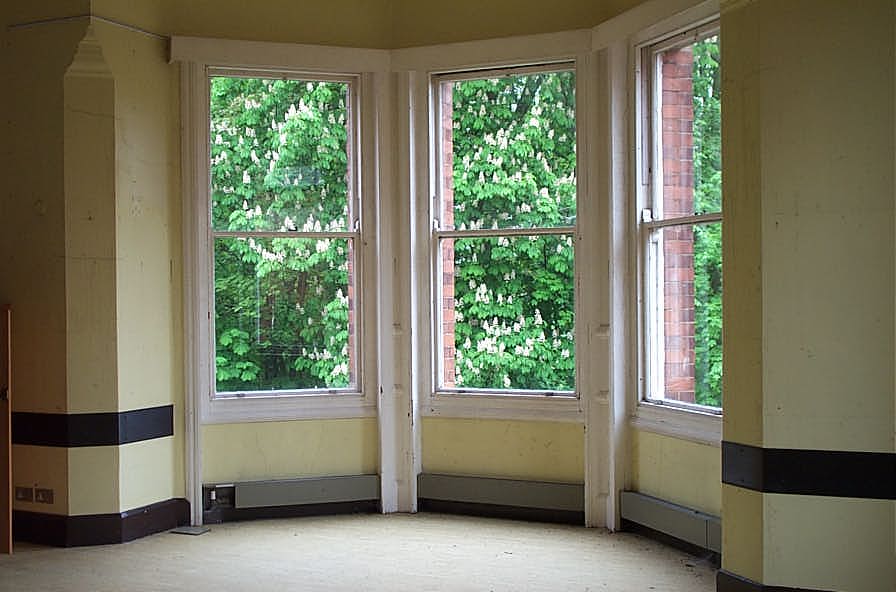 |
Day Room #10: South Looking out through the bay window. The horse chestnut tress had grown to maturity during the life of the asylum, and the original planned view of the airing courts were now blocked by a wall of leaves and green.
|
 |
Day Room #10: North Just like the room below, there was a small
|
 |
Corridor #11: South Looking into the Day Room from the main corridor leading into it.
|
 |
Corridor #11: North East From here we could look into the Sanitation Tower, across the short corridor looking into it. Unlike the floor below it hadn't been modified.
|
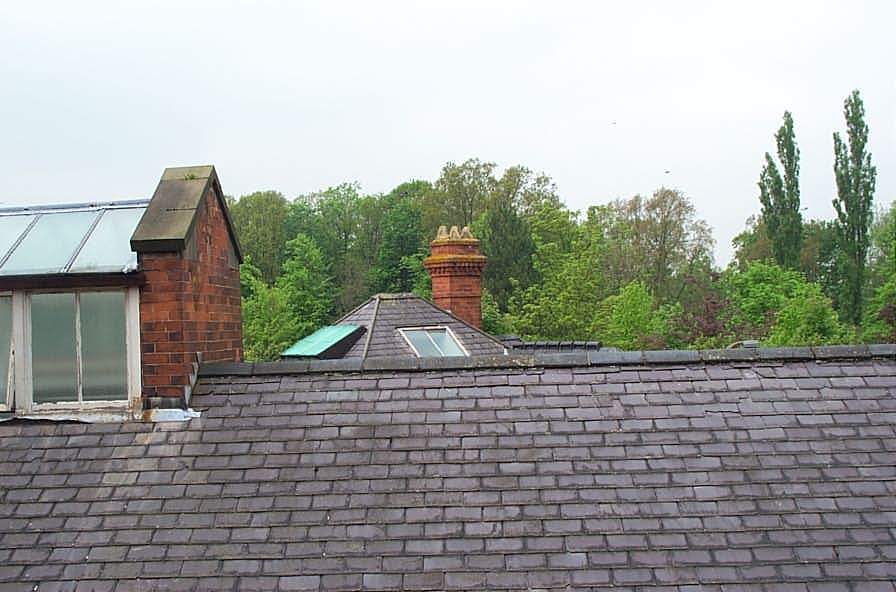 |
Roof: North From here the view was across the skylights of the former Bath House and across to the roof of the Mortuary.
|
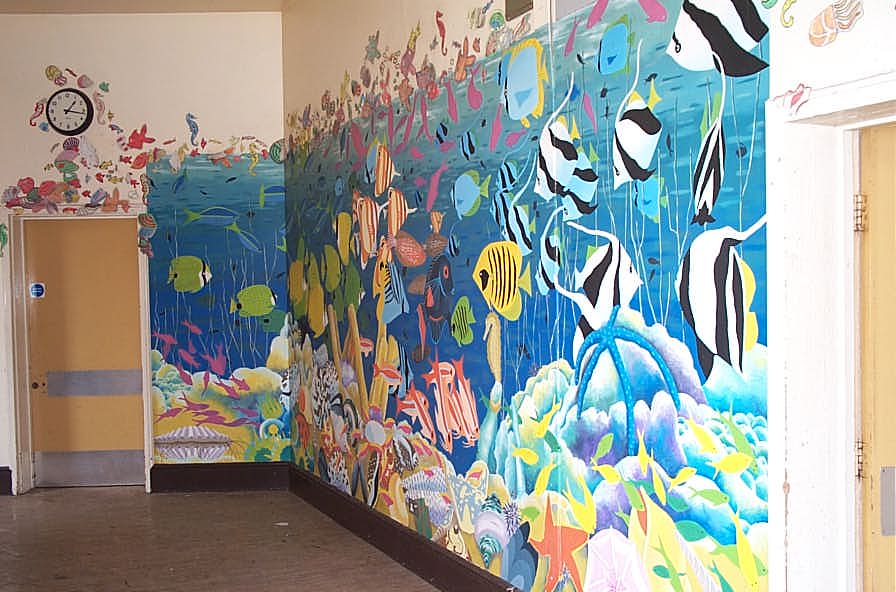 |
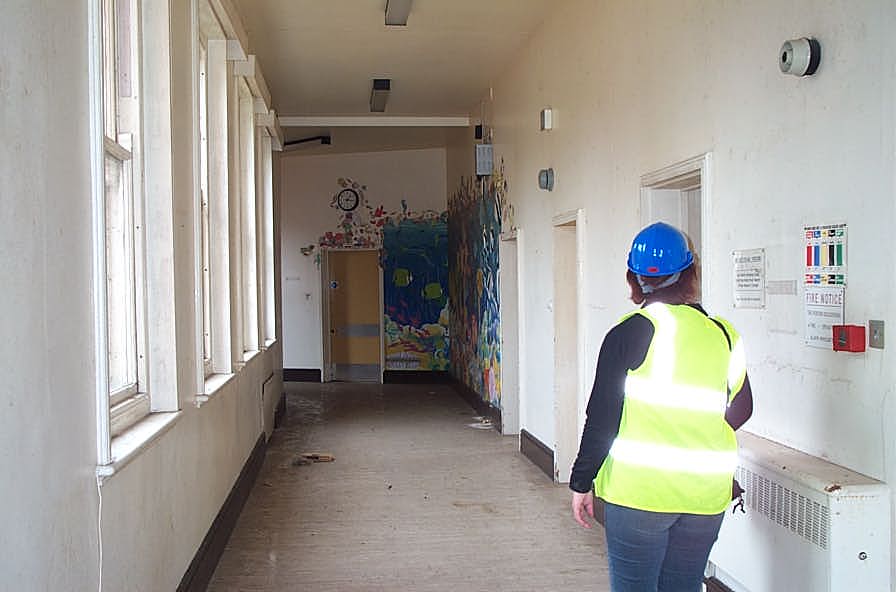
Corridor #11: South And here's one of many suprises of Rauceby: The Mosaic. This underwater scene was created by an artist working with the patients, during a four week period in 1985. See Arsits Anonymous for more information.
|
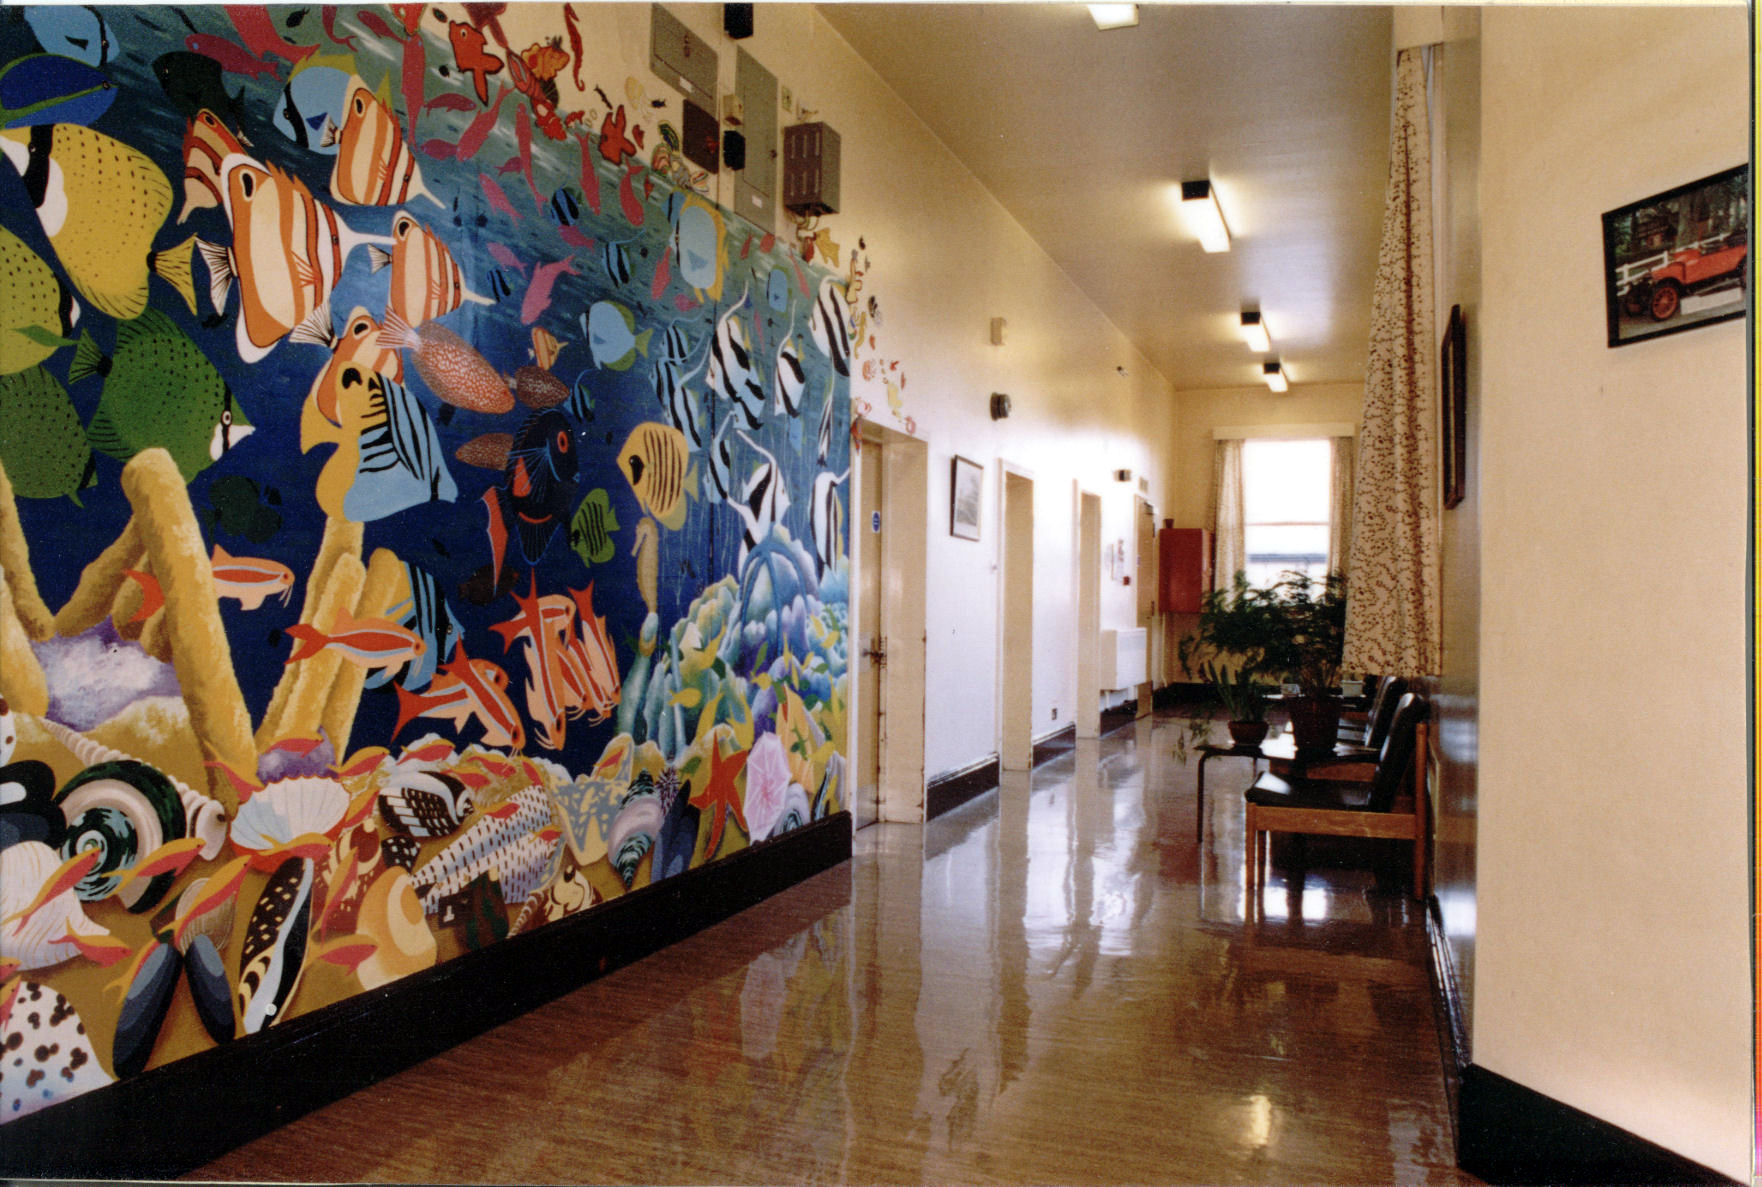 |
Corridor #11: South A view of the mosaic and corridor taken in 1997, just before the hospital's closure. ©Steve
|
 |
Corridor #11: South A view of the mosaic and corridor taken in 1997, just before the hospital's closure. ©Steve
|
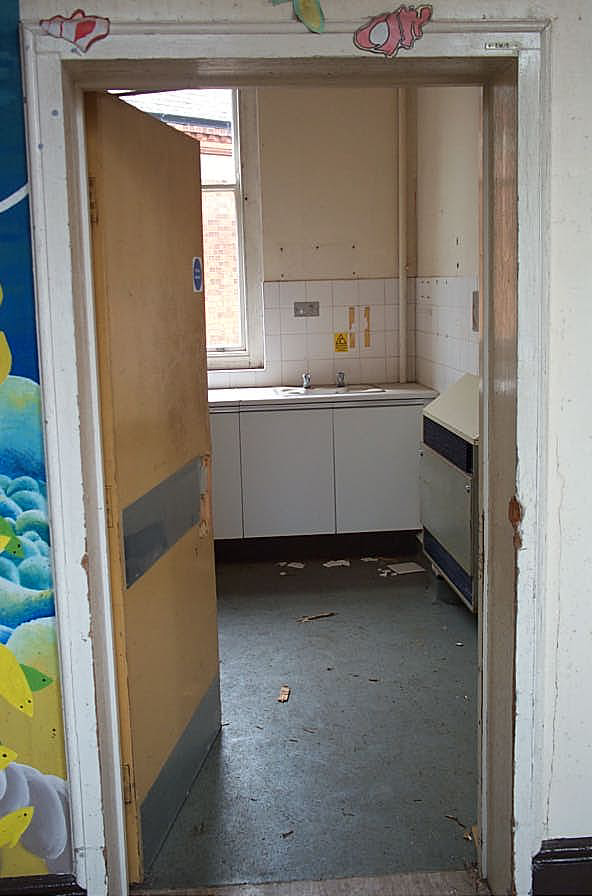 |
Corridor #11: West And from the corridor with the mosaic, looking west into the former Ward Scullery which was now a kitchen.
|
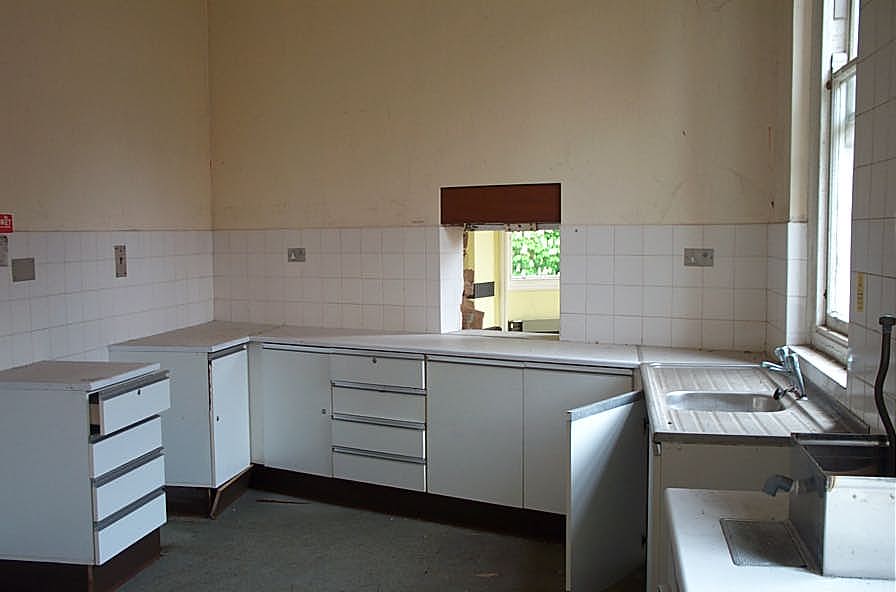 |
Room #13: South East The former Ward Scullery had been covered into a small Kitchen in exactly the same way as the room below.
|
 |
Room #14: South West And, just like the floor below, the rooms here had all been given new uses; this was now a general store room. (The other doors were locked and so were not photographed).
|
 |
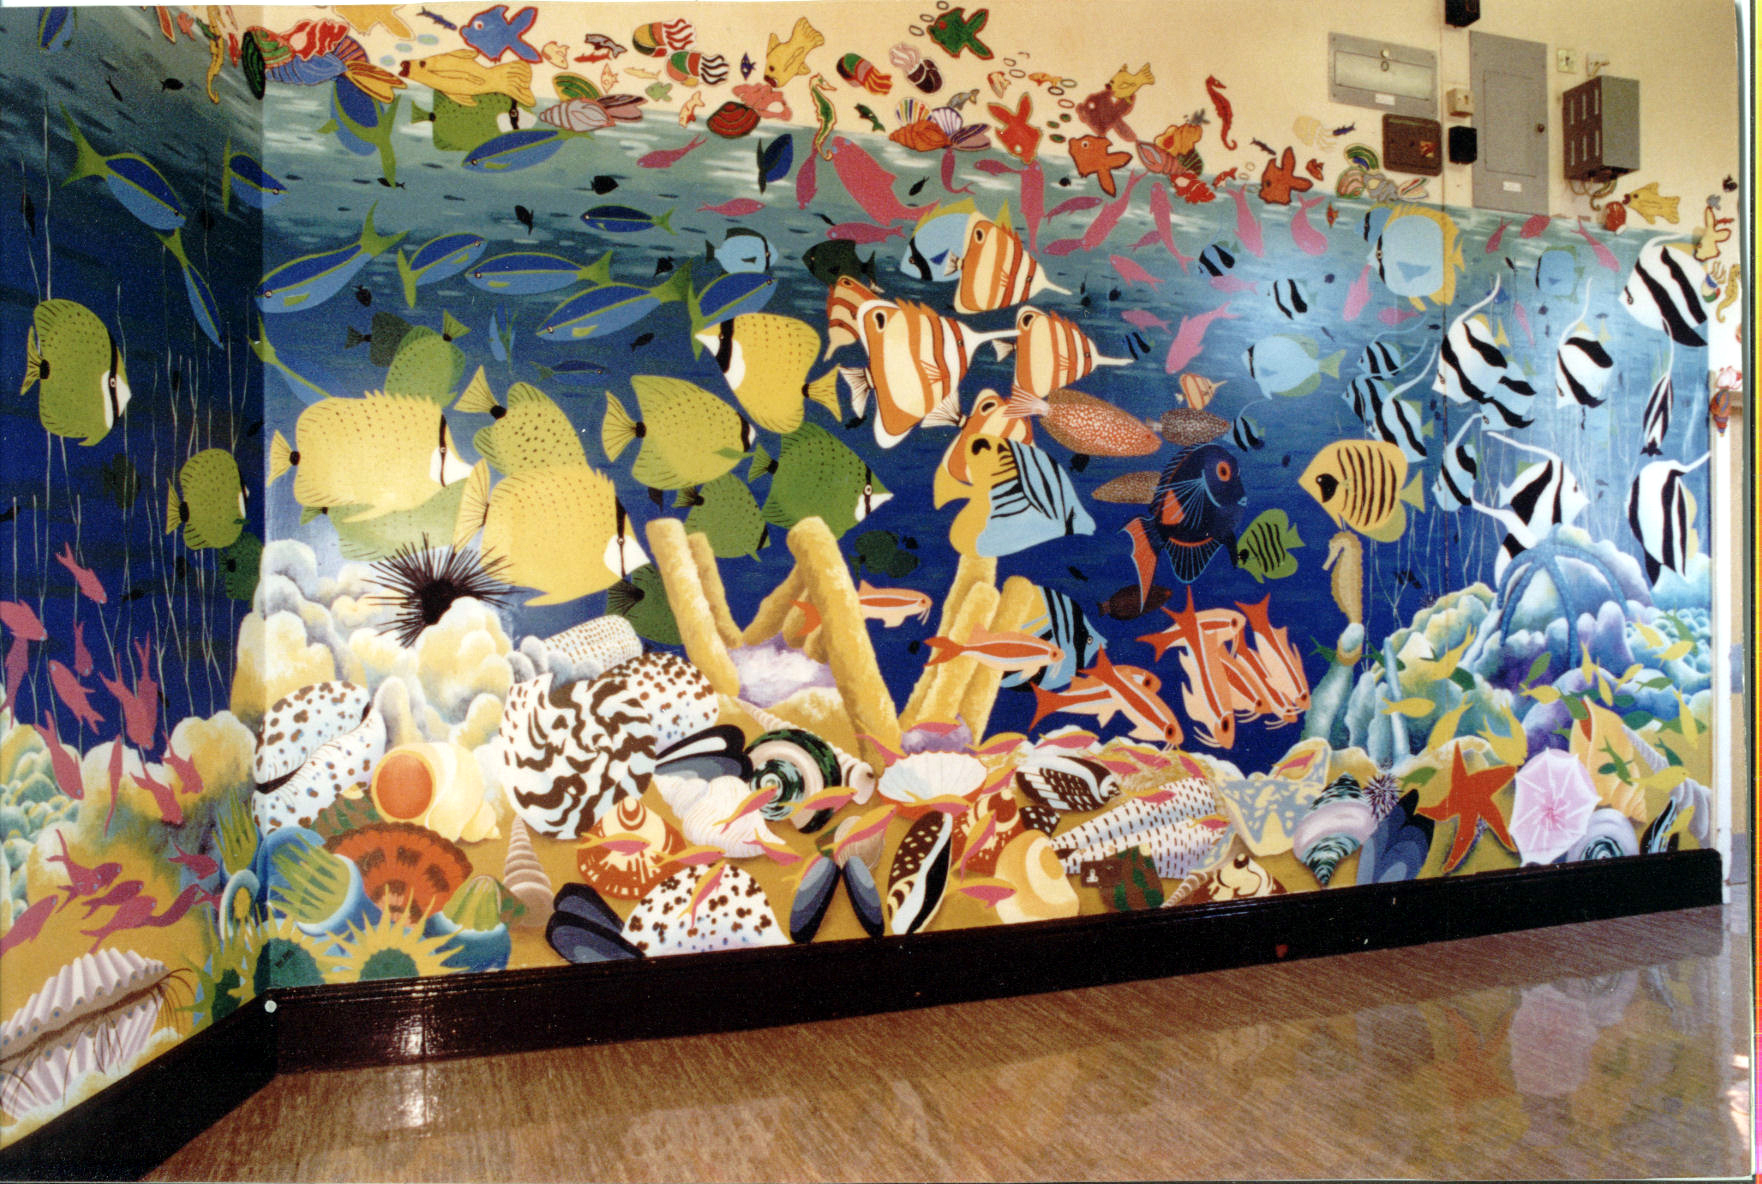
Corridor #11: South East A final shot of this corridor which clearly shows the full extent of the mosaic.
|
 |
Stairwell: North East Just like the other stairwell, this again featured Hine's characteristic brown tiles.
|
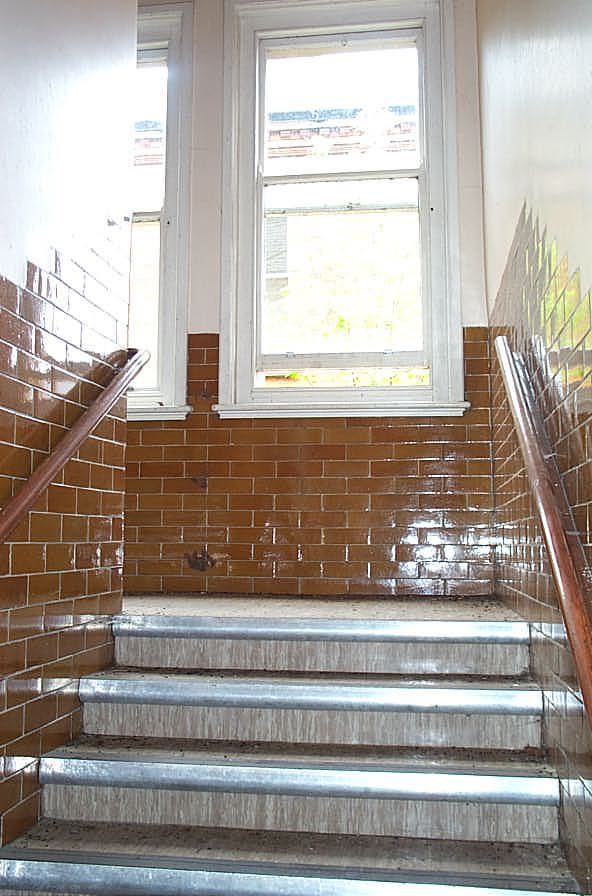 |
Stairwell: South West And continuing down... a double window here, because more light was needed...
|
 |
Stairwell: North East And here's the reason for the extra light - this staircase was three separate flights whilst the staircase at the other end of the ward was only two. Interesting. Again, Hine must have had a reason.
|
 |
Main Corridor: South West And finally we were back into the main corridor.
|
|
Return to: Rauceby Virtual Asylum
|
|