
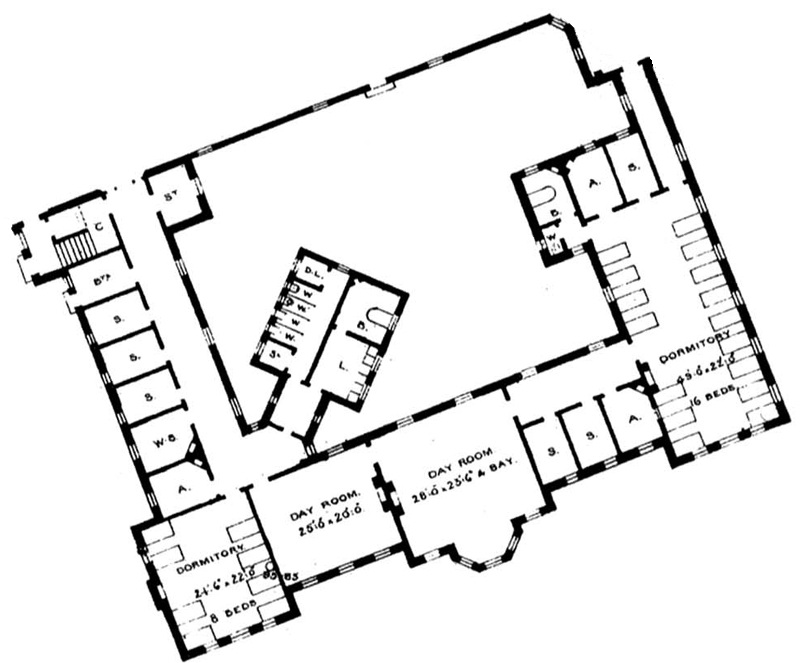
Hazel Ward - Post 1930s plan
 |
Hazel Ward was originally designed as a Sick And Infirm Ward.
Hine's specialization for this ward included:
" Hazel Ward was the old Hospital Ward." - Charles
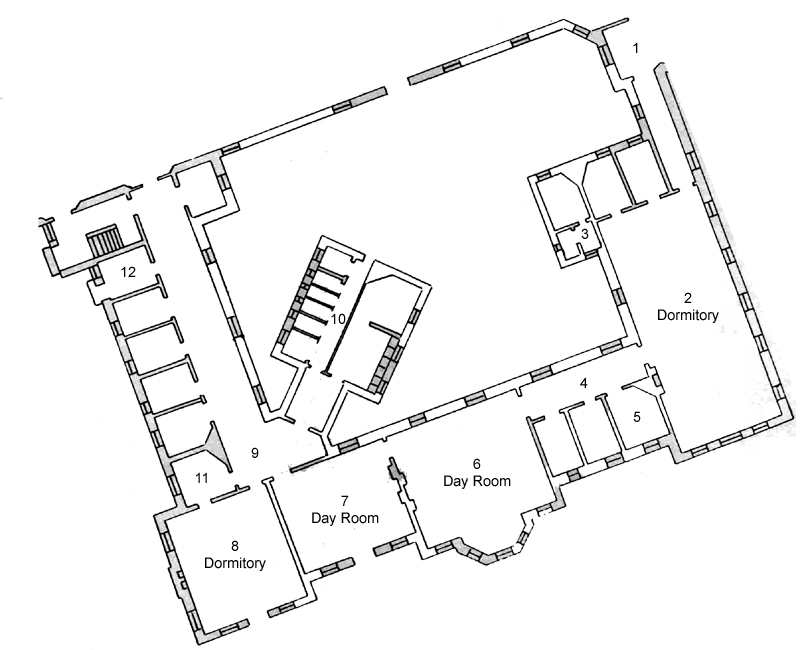
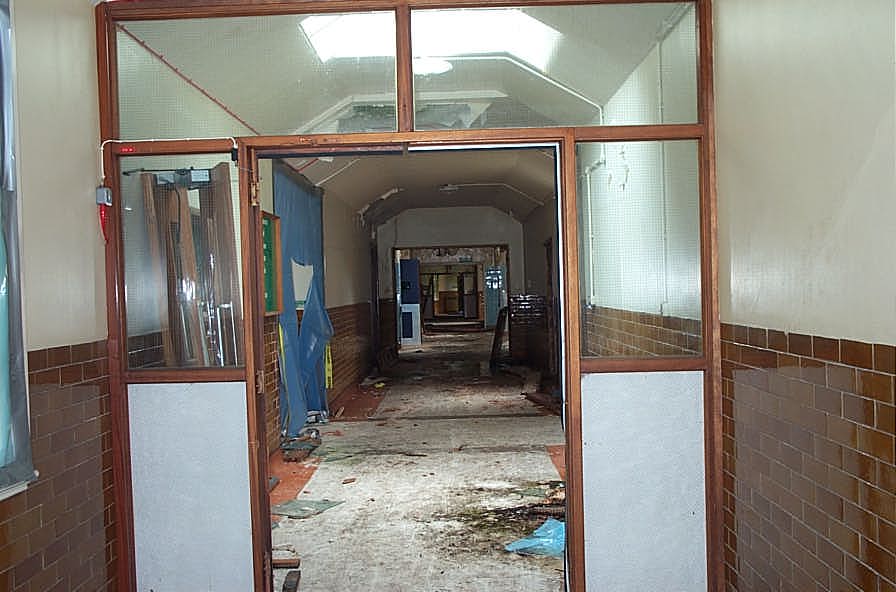
Ward Corridor #1: South
|
 |
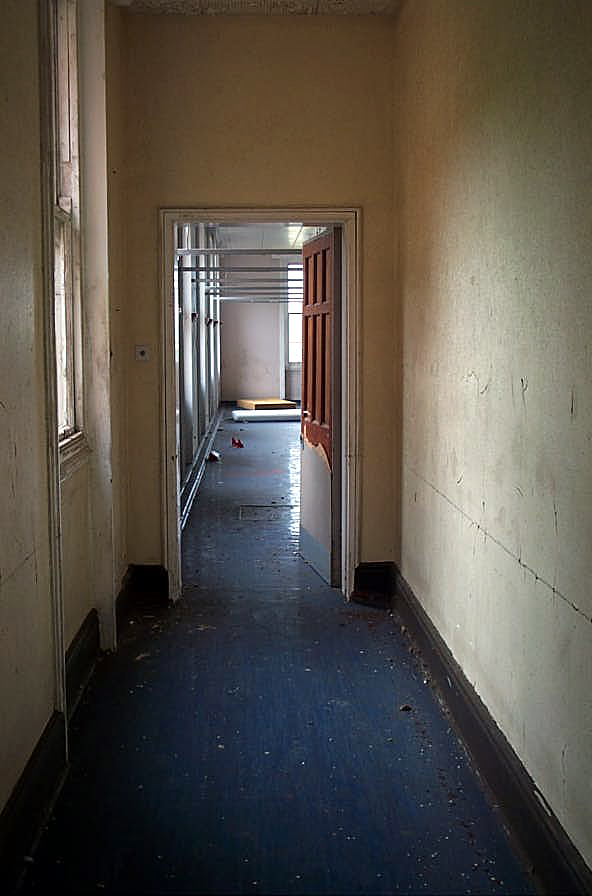
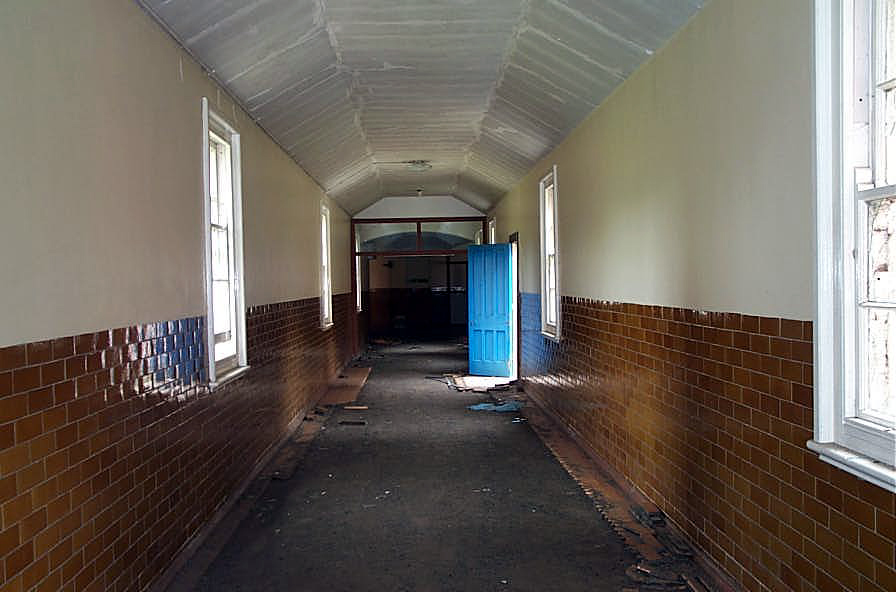
Main Corridor: South West Before going into the ward, a shot along the main corridor. The open door which can be seen on the left leads into the ward's courtyard.
|
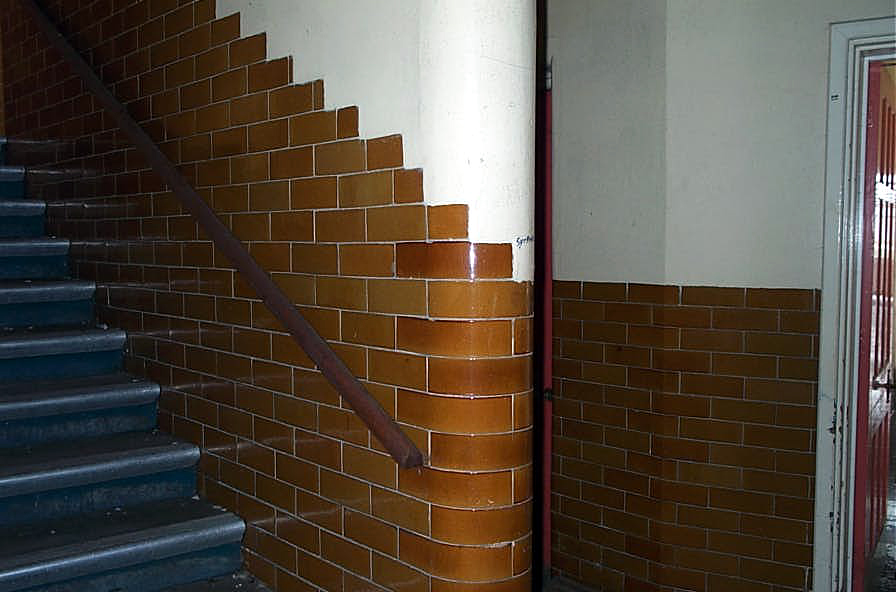 |
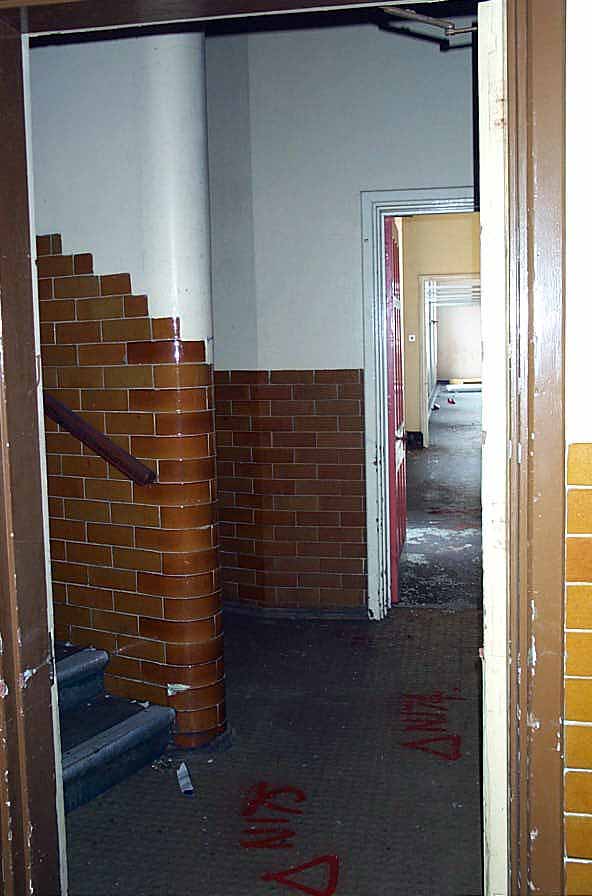
Ward Corridor #1: South A detail of the stairway. The door in the middle lead into the asylum's Subway tunnel network.
|
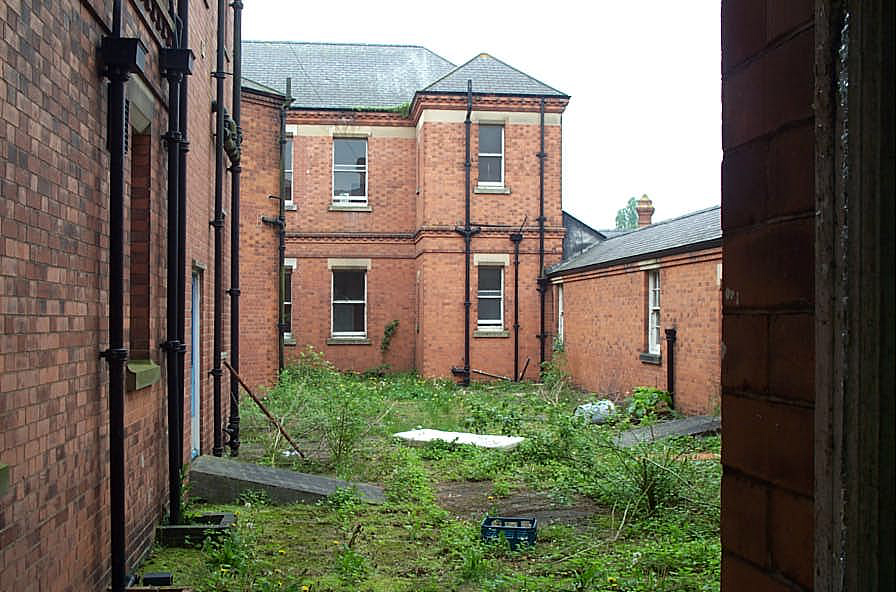 |
Ward Corridor #1: South West This view shows the small courtyard formed by this ward. The immediate wall on the left is part of the second toilet/bathroom that Hine added to this ward. The block furthest away was the former Boot Store.
|
 |
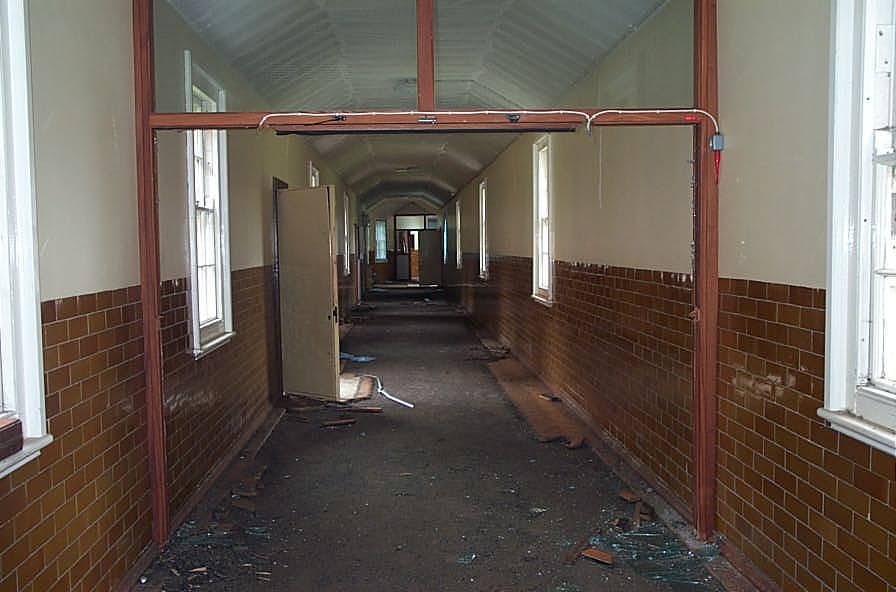
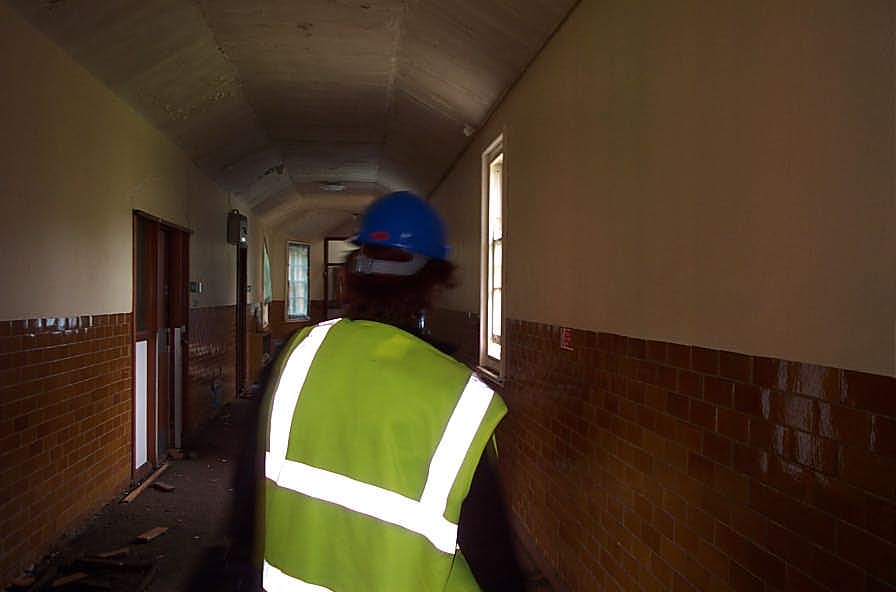
Corridor #1: South We then moved down the narrow back corridor into the ward proper.
|
 |
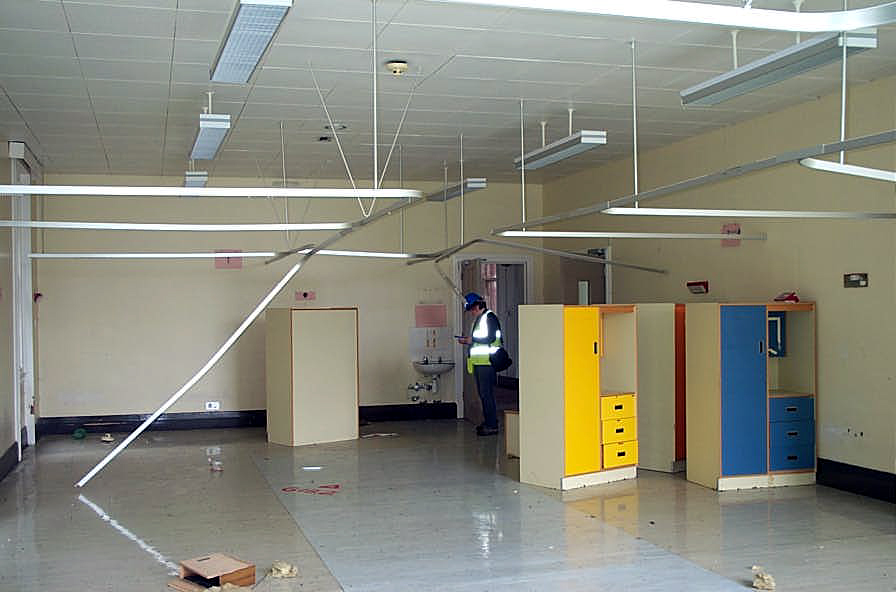
Dormitory #2: South This room, originally designed as a Dormitory was still used as sleeping space; the overhead rails for curtains were still in place. The room offered a superb view of the airing court and its shelter.
|
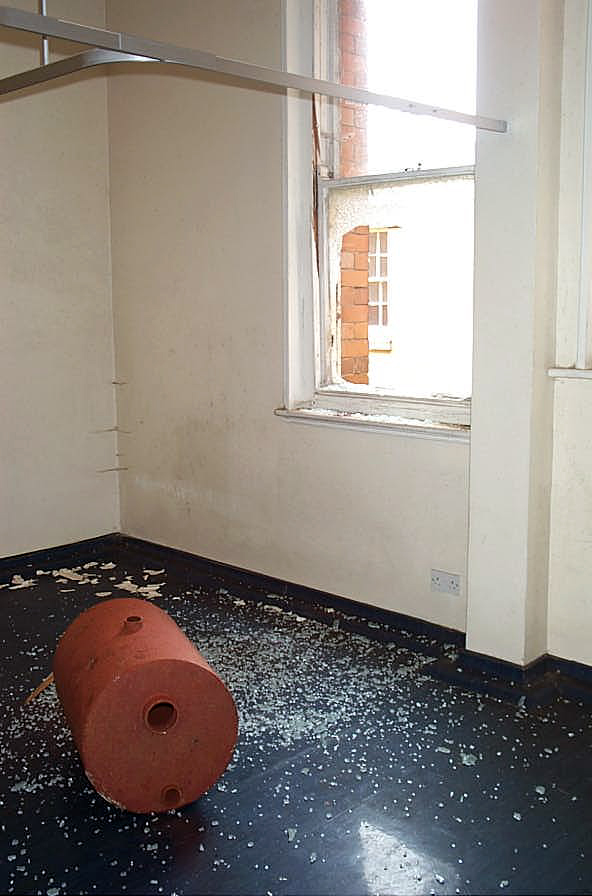 |
Dormitory #2: North East I took this picture simply to wonder if a vandal had really thrown a large metal cylinder through the window. I guess so.
|
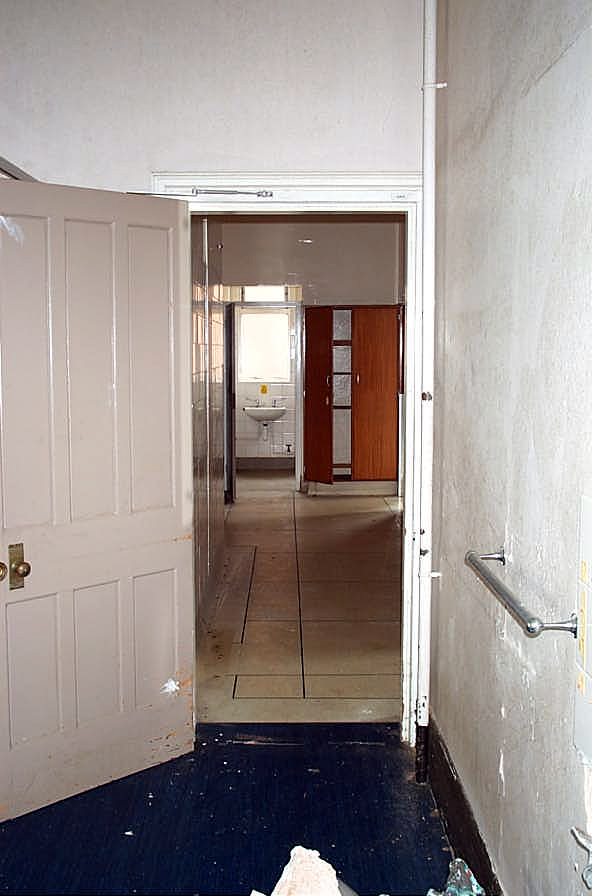 |
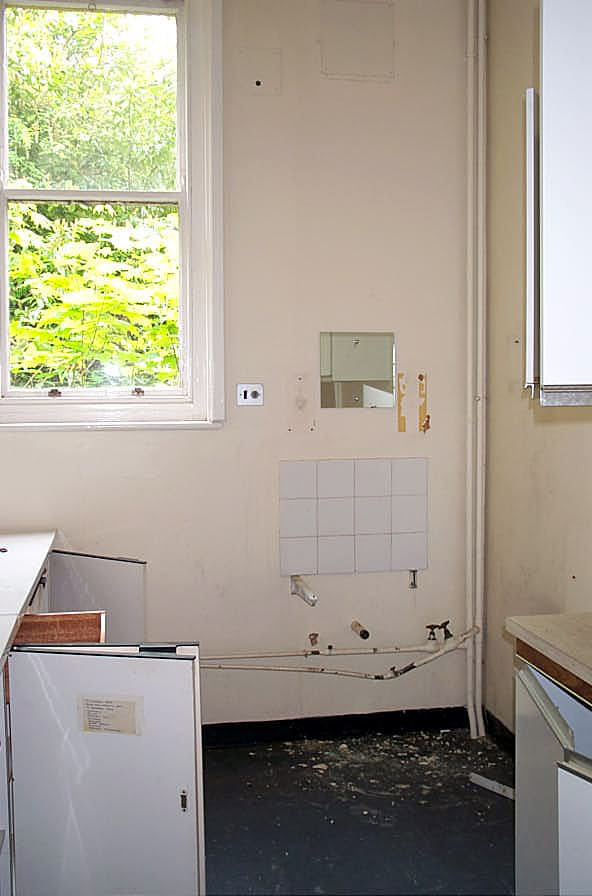
Bathroom #3: East A door at the end of the dormitory lead to Hine's extra bathroom. It would be clearly seen that the room had not changed its use either, but it looked far, far bigger than the original plans. Checking the aerial views from the watertower confirmed that Hine's original toilet facilities were inadequate and the area had been extended.
|
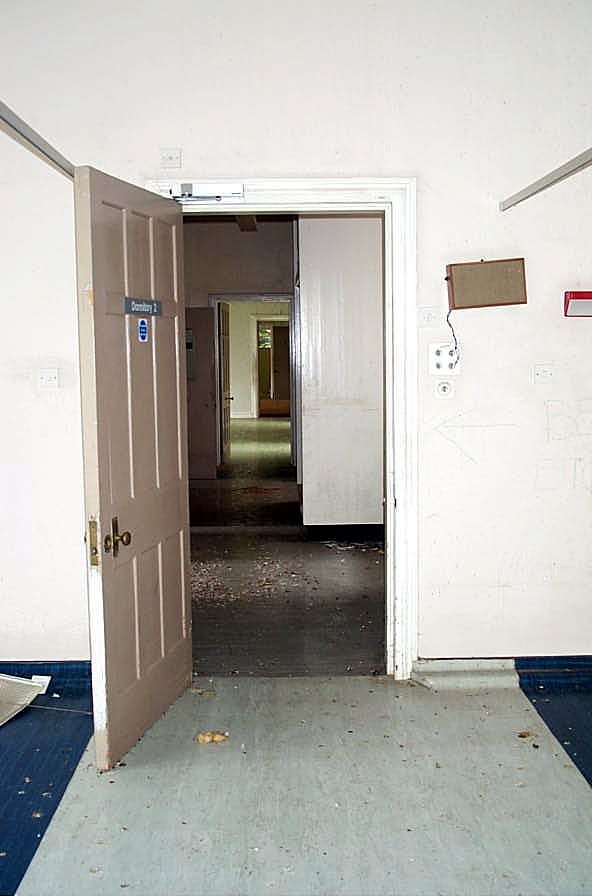 |
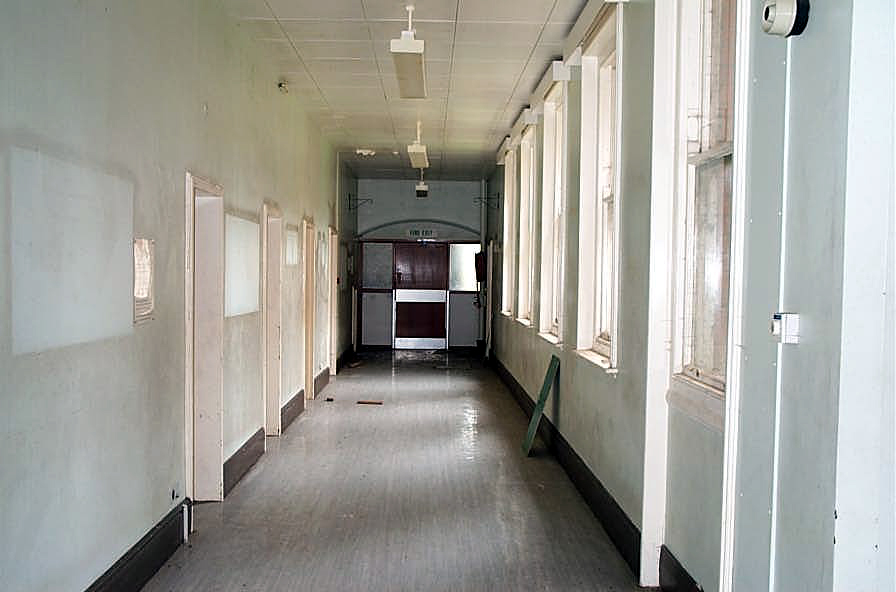
Corridor #4: East Finally we looked down the corridor towards the Day Rooms and other Dormitory. |
 |
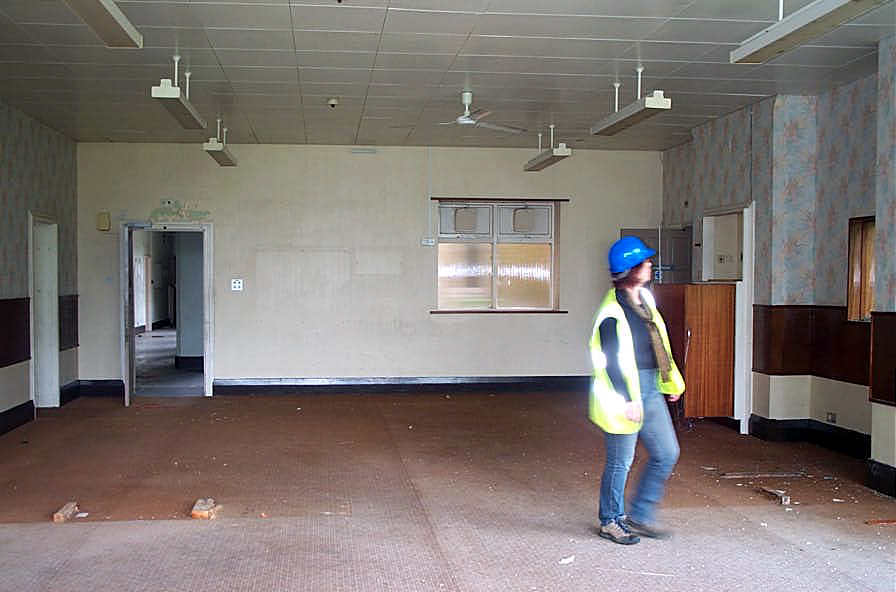
Room #5: South The three rooms to the south of the corridor (two single rooms and an Attendant's Room) were still here although there was nothing left to suggest their last use. I wondered why Hine had put these rooms here, and not on the other side of the corridor (as in the other wards). He could've extended the site of the Day Rooms had he done so. "These were used as bedrooms before closure" - Steve
|
 |
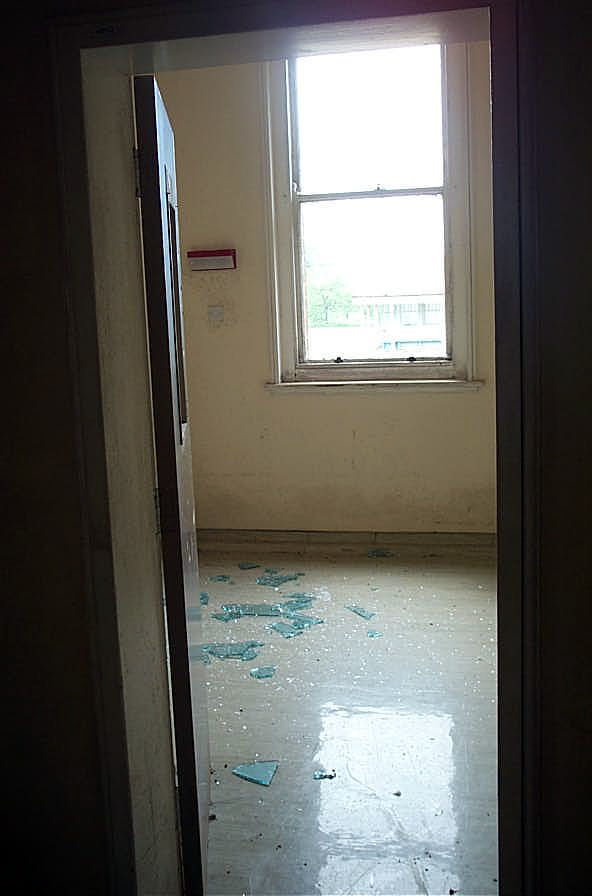
Day Room #6: South West The first Day Room encountered was fairly small by Rauceby's standards. |
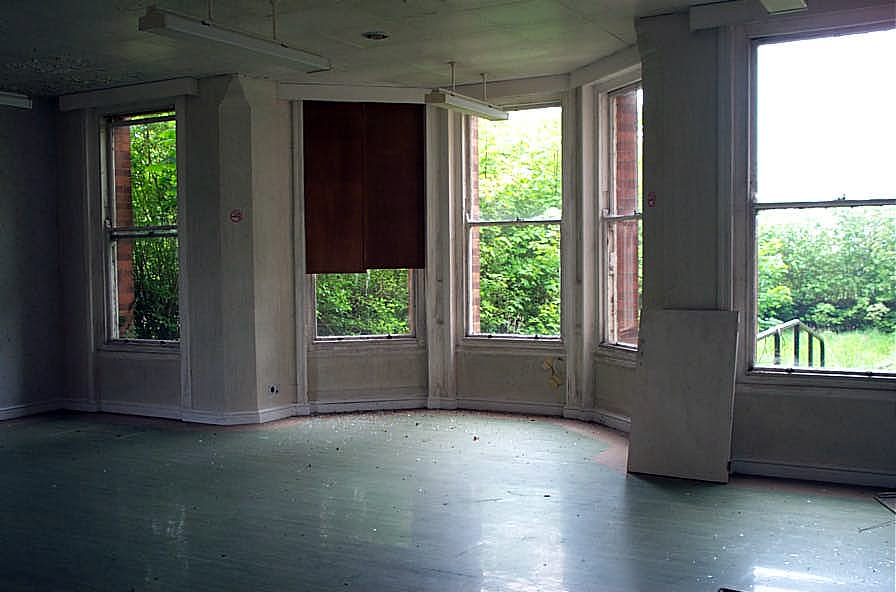 |
Day Room #6: South The bay window framed the view into the airing court perfectly. The modern wheelchair ramp can be seen outside, and from the various handles and supports found around the ward, I can only conclude that the ward was still being used for elderly and/or infirm patients right up until the hospital closed. "This room was used as a dining room before closure" - Steve
|
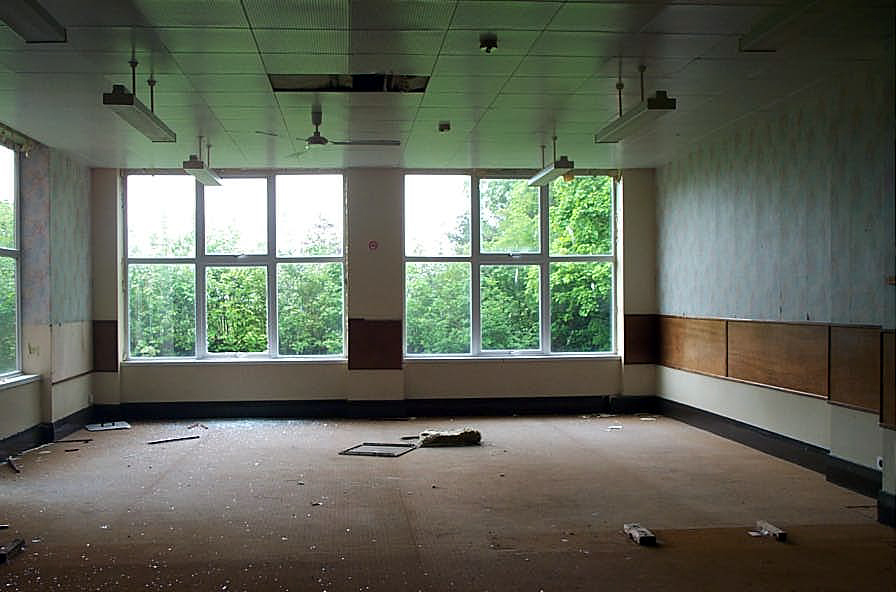 |
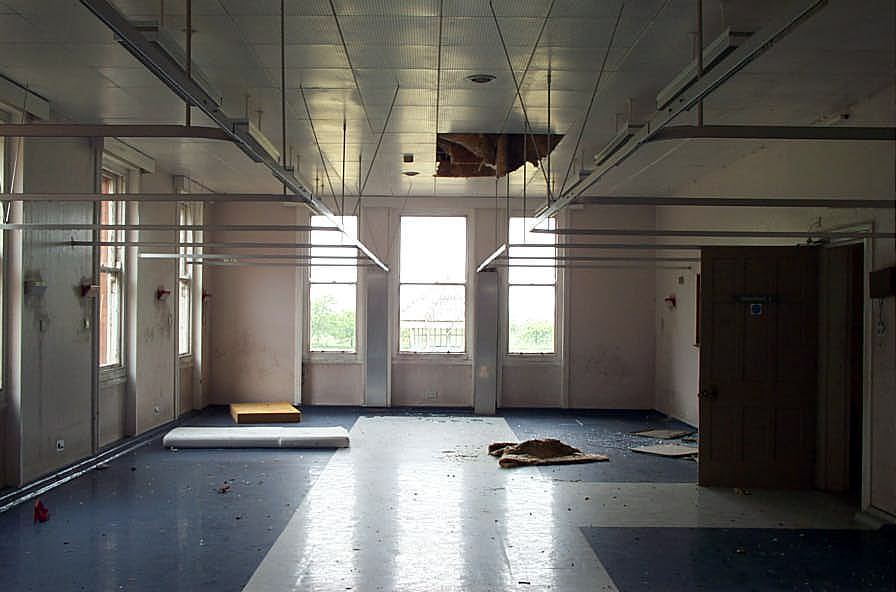
Day Room #7: South The next day room was larger (which we found odd as the plans showed a small room). It also lacked the elegant bay window of its neighbour. The clue were the large modern windows, the result of an inelegent extension added to this room, making it much larger than it originally appeared on the plans. Obviously Hine's small and cosy rooms were too cramped and needed extending. "These rooms were extended in the 1960s" - Steve
|
 |
Day Room #7: North Loking north, the room was similarly boxy and square. The main ward corridor can be seen through the doorway.
|
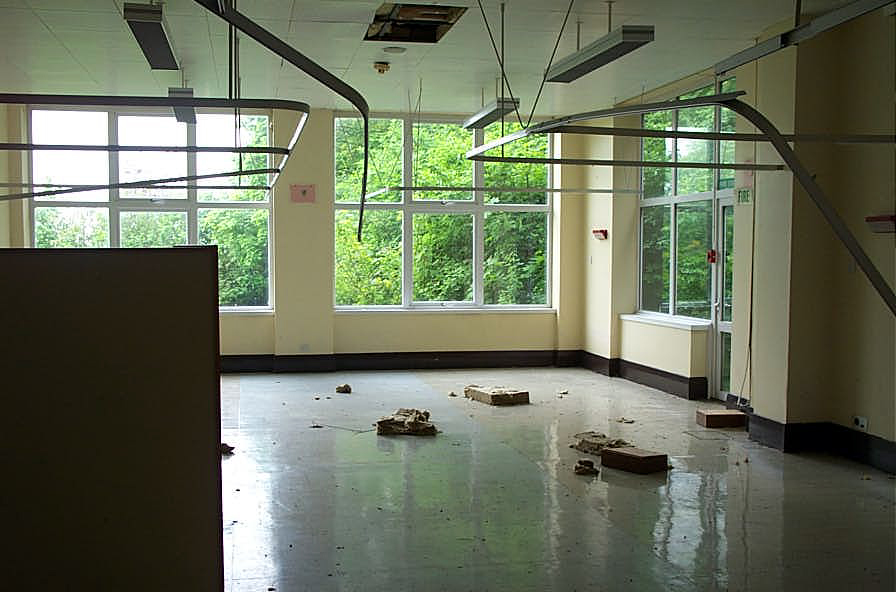 |
Dormitory #8: South Again, we expected a small room, but it had been extended in the past, the windows pushed out, and replaced with large modern ones. It would seem that the number of infirm/elderly patients required the hospital to be extended.
|
 |
Dormitory #8: North It was still used as a dormitory as the overhead curtain rails showed. Some brightly coloured cupboards remained; obviously for patient's private items. "This was originally a dining room when I started in 1979" - Steve
|
 |
Corridor #9: North We exited the dormitory and found ourselves in the main corridor which left the ward, and travelled back to the main corridor.
|
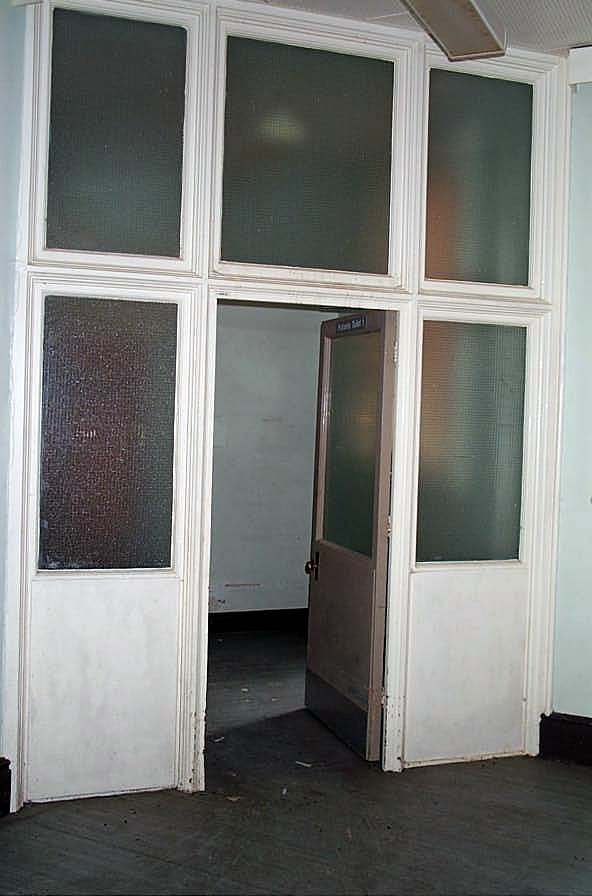 |
Corridor #9: East Looking east revealed the frosted glass doors leading into the Sanitation Tower.
|
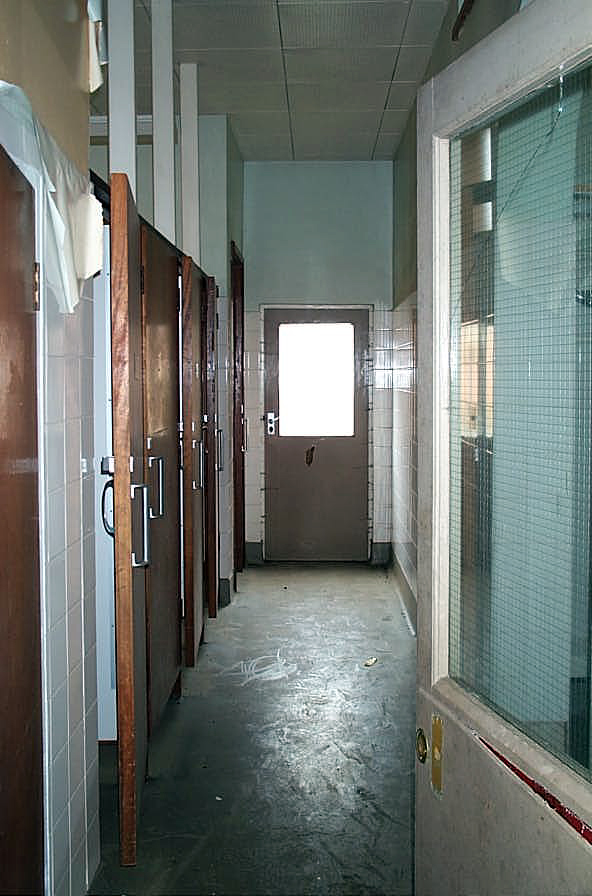 |
Sanitation Tower #10: North East Again, the Sanitation Tower had been modified like the others; whilst the basic layout was the same, the wall separating the toilets and sinks had been partially removed.
|
 |
Kitchen #11: West As, in many other places, the former Ward Scullery was still used as a kitchen.
|
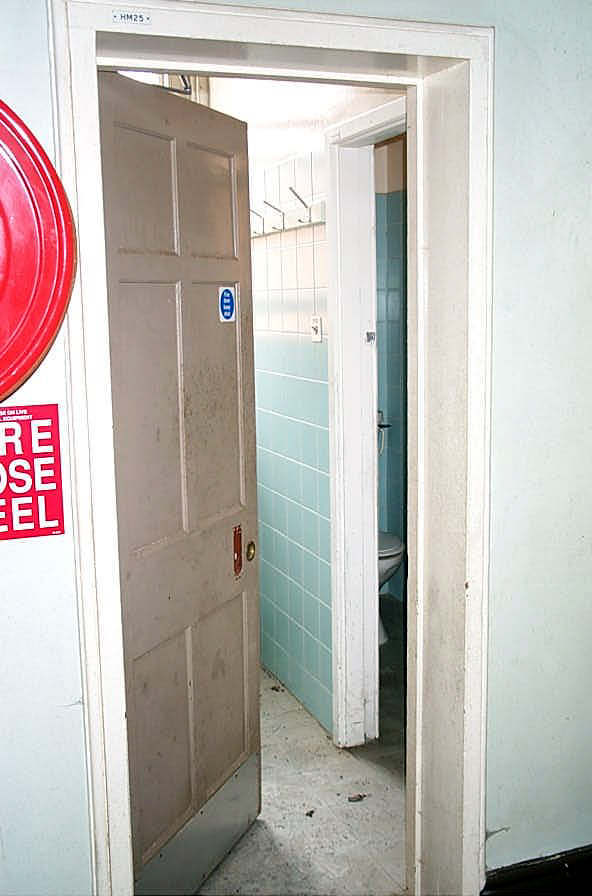 |
Toilet #12: West The other rooms along the corridor were still as the original plans, but their uses had changed (but there was little left to determine their modern uses). The final surprise was the change of the former Boot Store into a handy toilet.
|
 |
Main Corridor: North East As we emerged from the ward, I took a final snap looking north east, back up the corridor. The open door lead into Hazel's courtyard (and was the door mentioned in the second picture).
|
 |
Main Corridor:South West And this is the view looking down the corridor towards the central core of the hospital.
|
 |
Main Corridor: West After turning the slight bend, the corridor can be seen now crossing the main core of the corridor and the Kitchens.
|
|
Return to: Rauceby Virtual Asylum
|
|