
 |
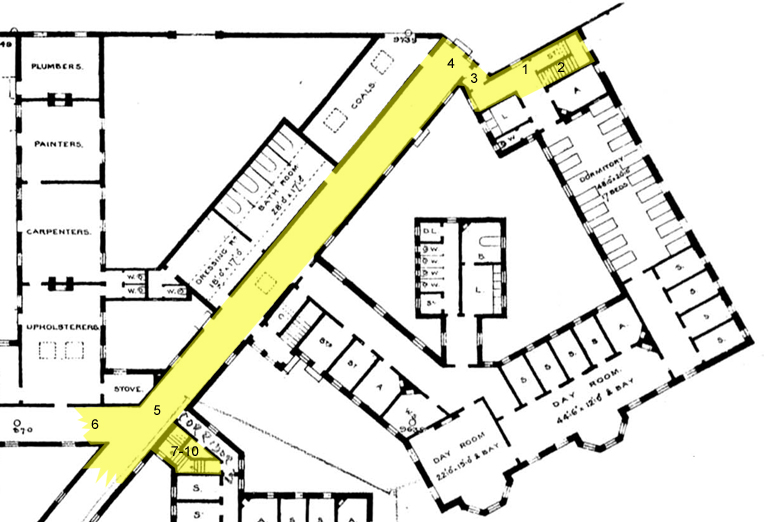
The Rauceby tunnel network traversed the main corridor network with a large section present under
Engineering. A separate cut-and-cover tunnel lead from Engineering all the way down to
Orchard House. It allowed gas and water supplied to be fed from Engineering to the various wards of the hospital in a tidy and unintrusive manner. As the tunnels were the same width as the corridors above them, there was plenty of space for the routing of electrical cables when electricity eventually arrived. Time constraints meant that only a segment of the tunnel network was documented. Additionally the most interesting part, the section under engineering and the entrance to the cut-and-cover tunnel towards Orchard House, was flooded so access was difficult and we didn’t attempt it.
|
 |
Ward Dog Leg: #2: South West Having turned the corner, we've now reached the level of the tunnels, and are following this small, cramped route under the ward entrance and corridor.
|
 |
Ward Dog Leg: #3: North West The tunnel's size gradually increases as it continues towards the main network. At this point, the end of the main tunnel under the corridor network can be seen here.
|
 |
Main Network #4: South West After turning left around the corner, we've now in the main corridor network.
|
 |
Main Network #5: South West This is the split in the main tunnel network which matches the split in the corridor above. The spur on the left follows the angled main corridor southwards towards the ballroom whilst the right spur followings the east-west corridor towards Engineering and the hospital's core.
|
 |
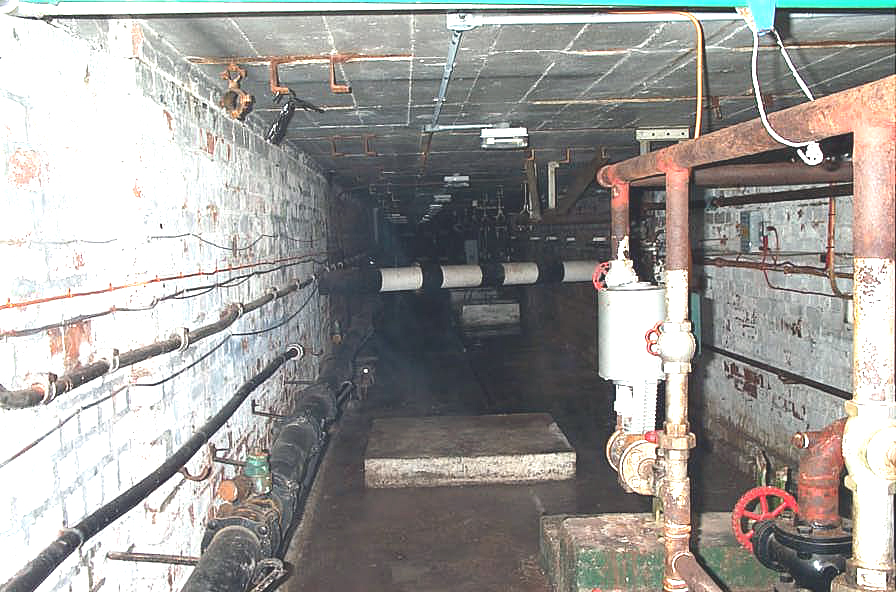
Main Network #6: West One final shot of the main network as it disappears in the darkness towards Engineering.
|
 |
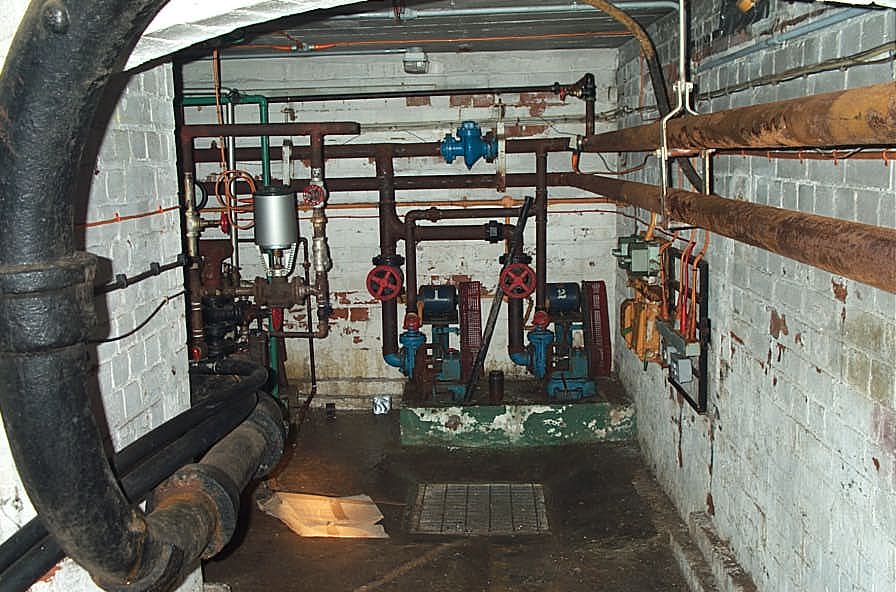
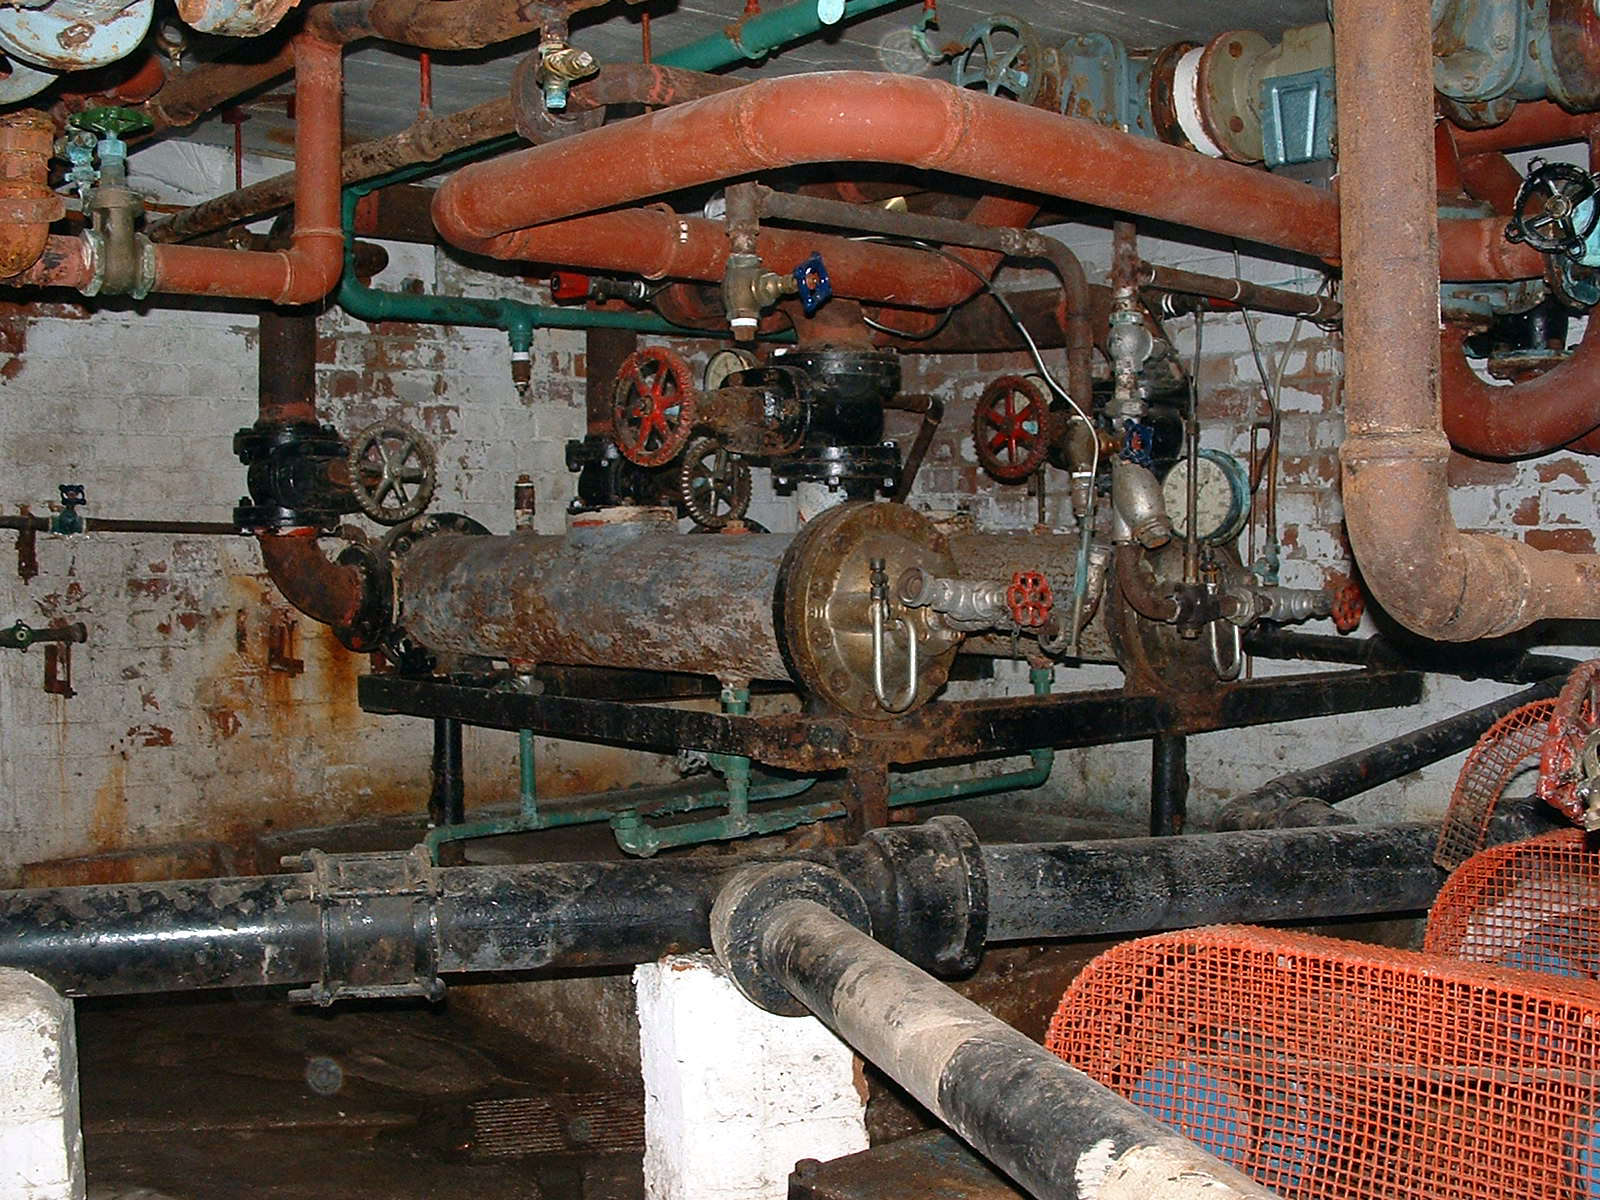
Tunnel Access #7 I am unable to place the following three shots but they were all taken in the main tunnel network and the access tunnels underneath Cedar ward. I believe this equipment was situated in an alcove off the side of the main tunnel network.
|
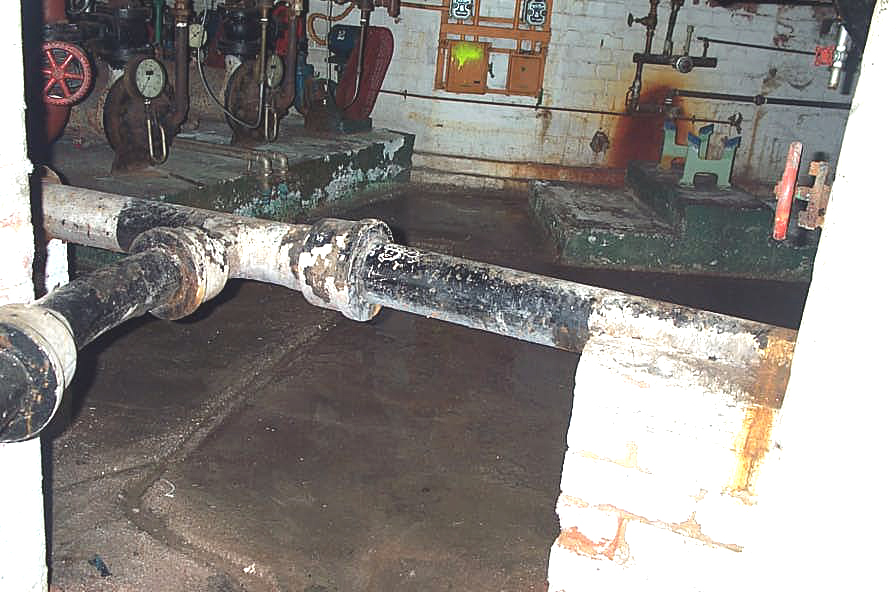 |
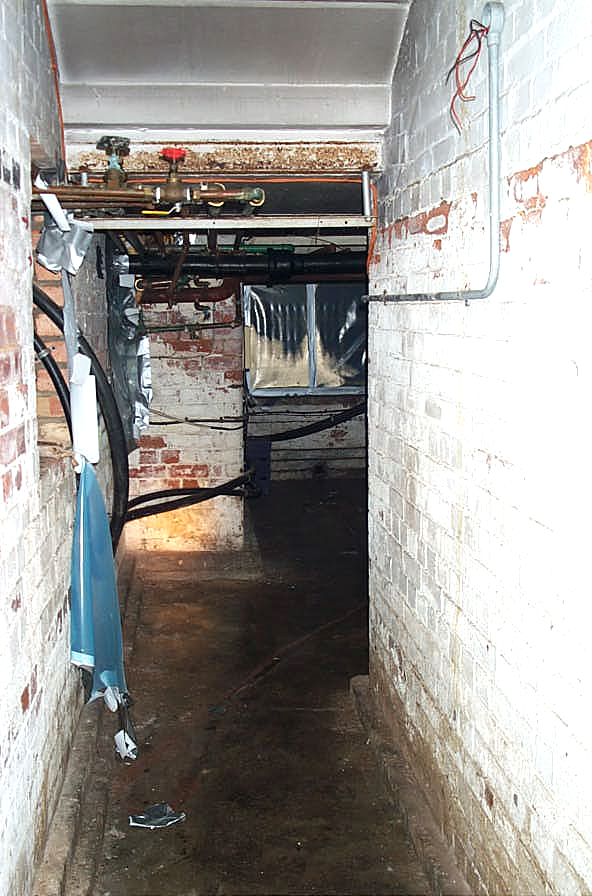
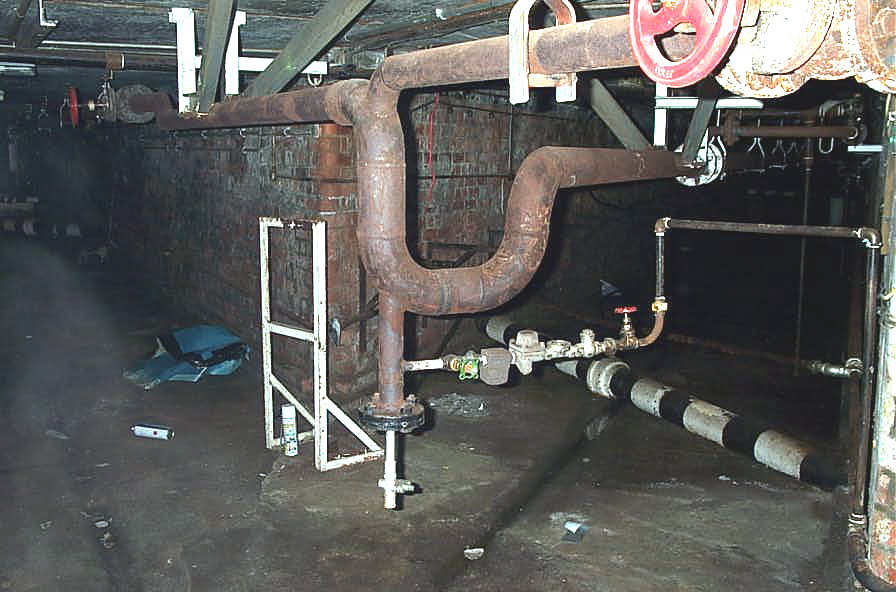
Tunnel Access #8 In this shot, the alcove above can be seen from a different angle. Furthermore, you can see I'm in a small entrance (partly blocked by a pipe) suggesting we were now in a much smaller tunnel that lead to a stairway back to the main corridor network. |
 |
Tunnel Access #9 |
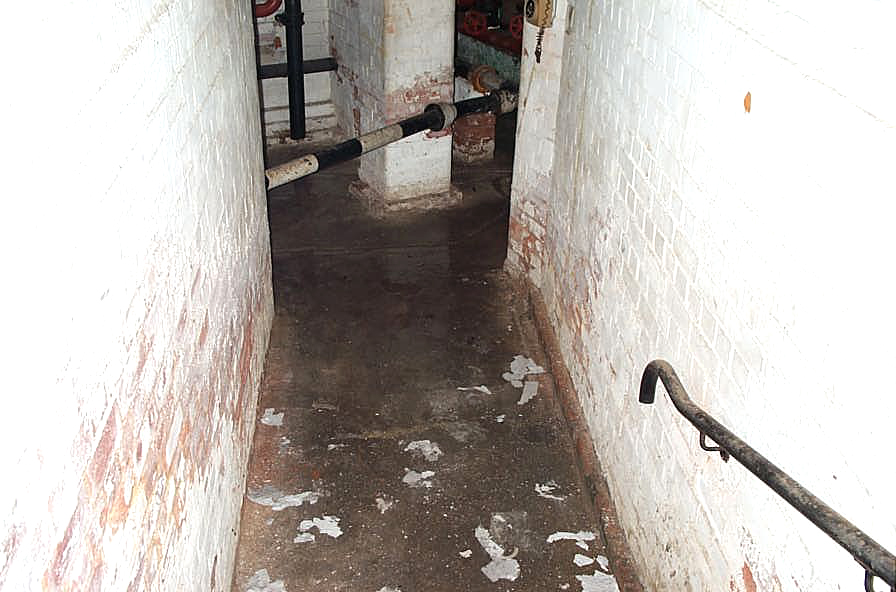 |
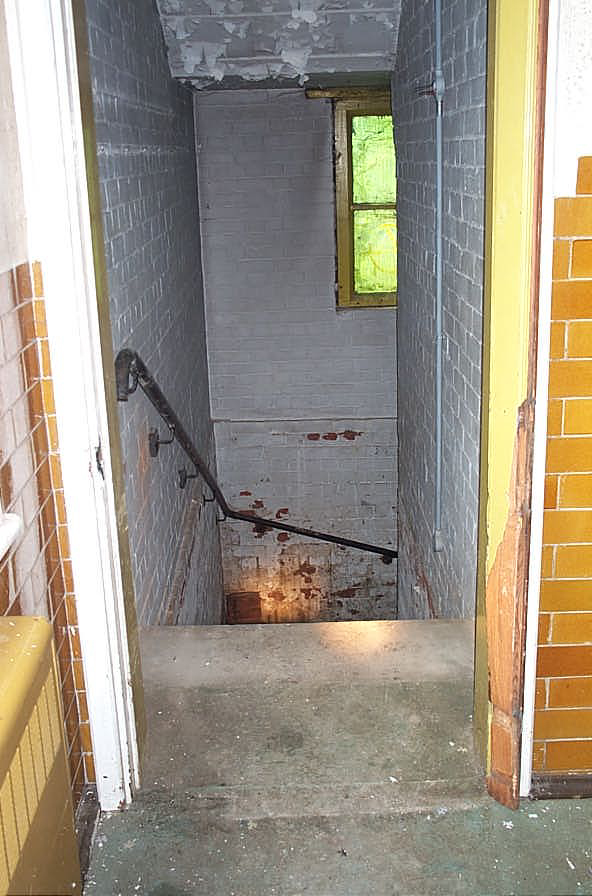
Tunnel Access #10 The stairs leading back up to the main corridor network.
|
 |
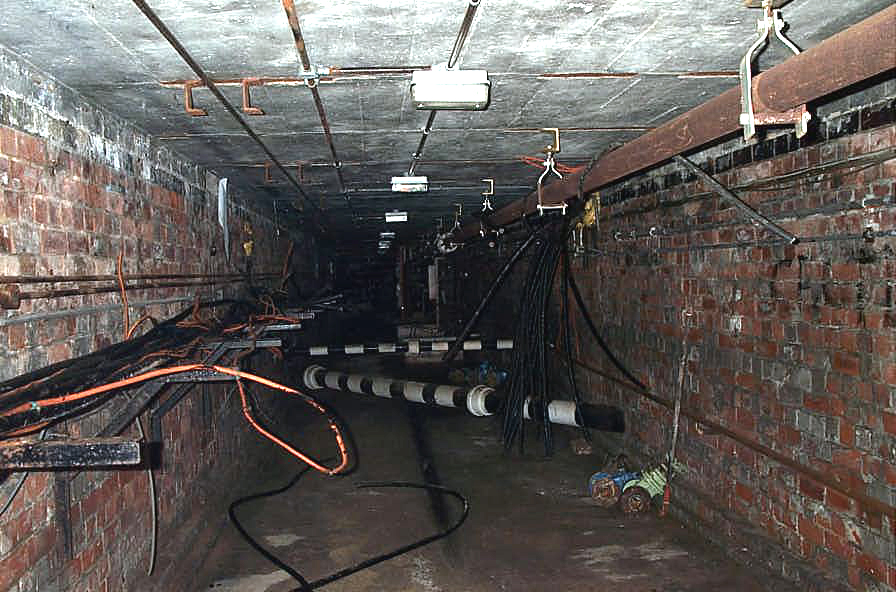
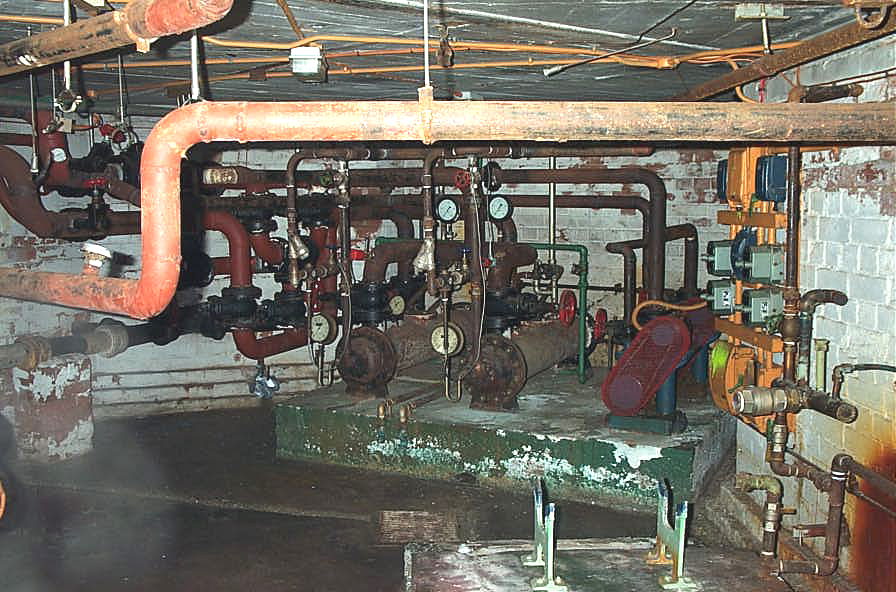
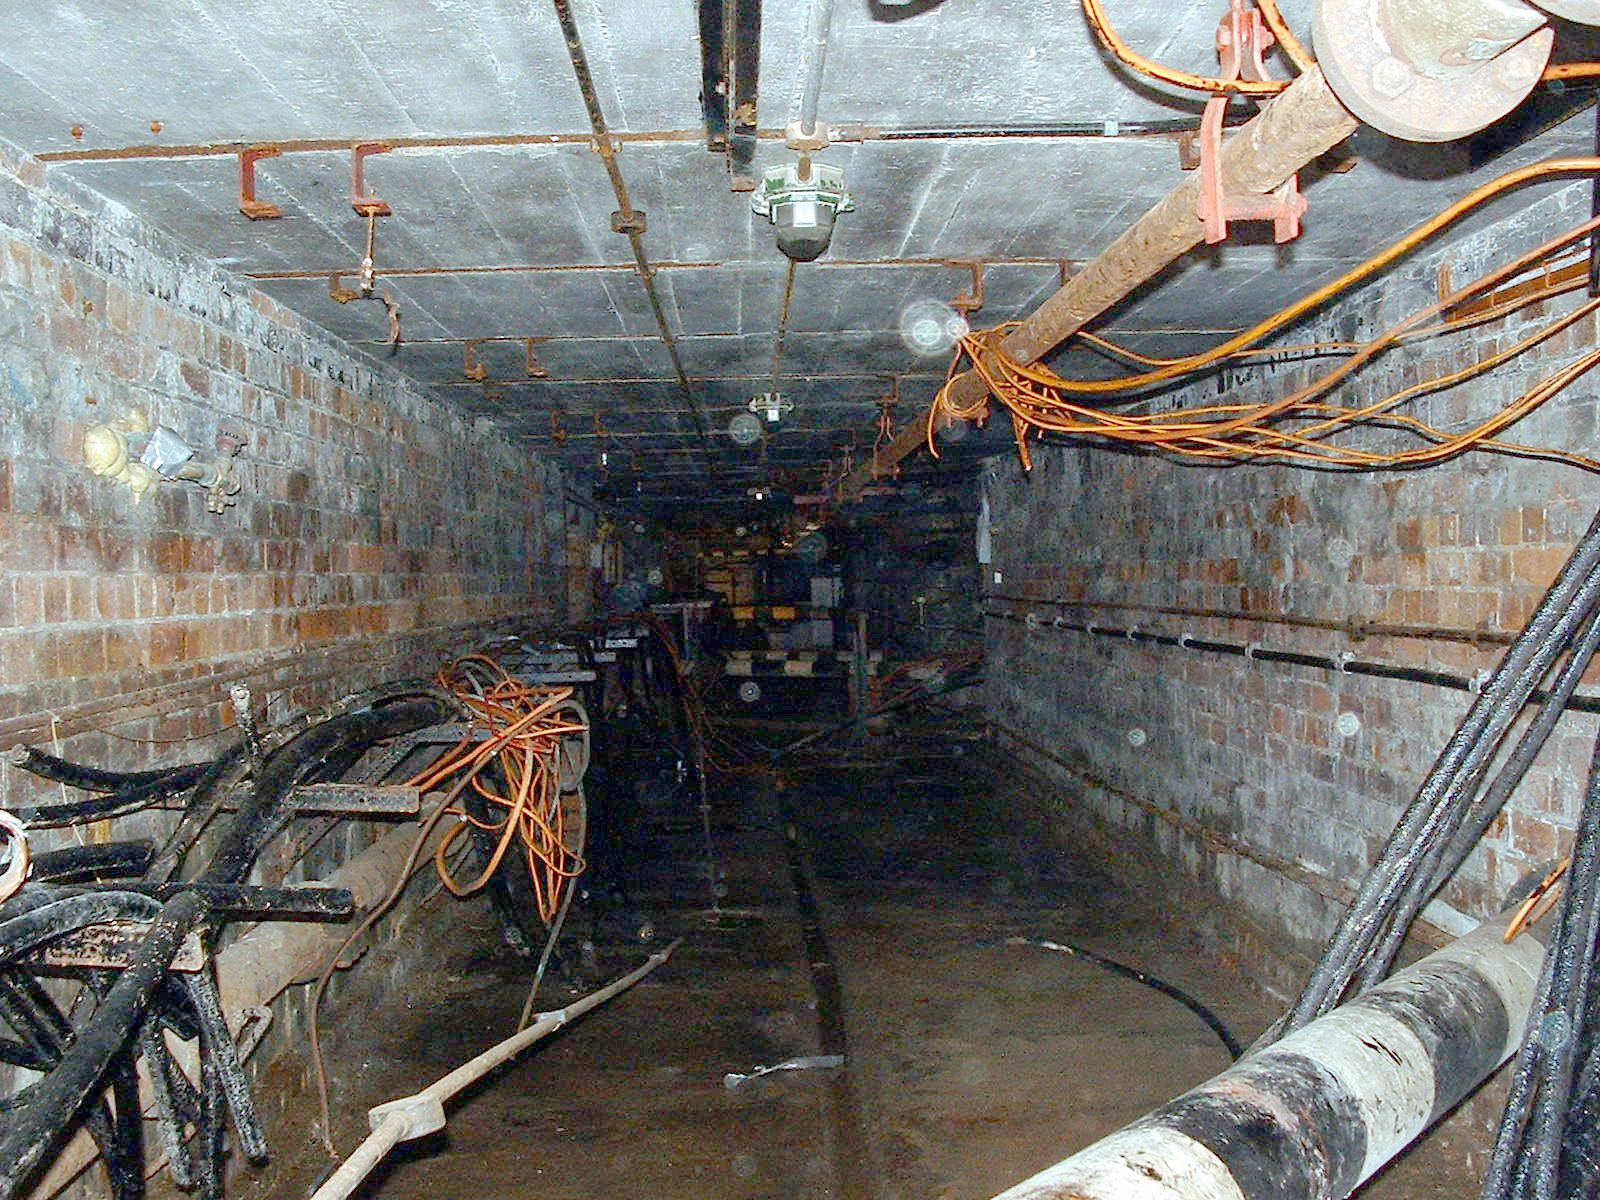
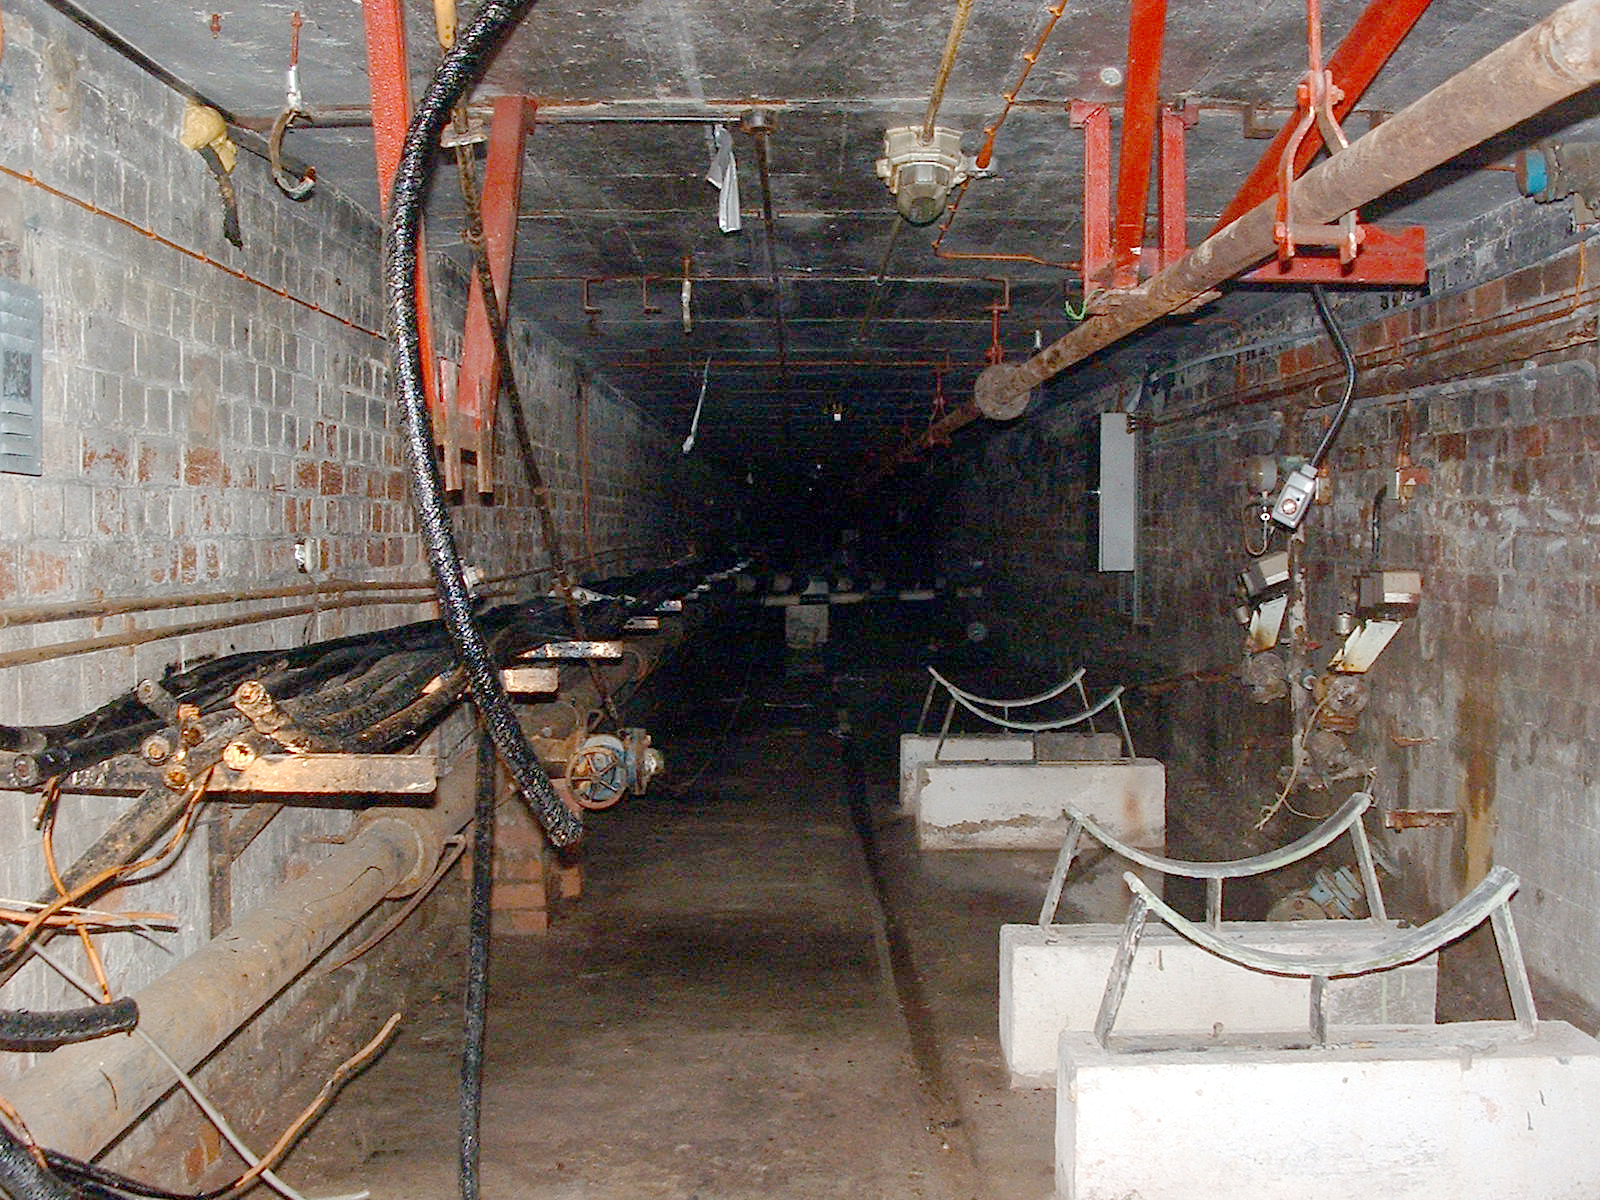
Tunnel The following pictures were sent to me by James and consist of four shots of another area of the tunnel section.
|
 |
Tunnel |
 |
Tunnel |
 |
Tunnel "When I went down there as a student (guided tour) all those pipes where kept painted as where the walls, the engineering staff were very particular in the days before NHS Trusts came along and Mrs Thatcher's interference." - Steve
|
|
Return to: Rauceby Virtual Asylum
|
|