warley hospital | the essex county lunatic asylum
Last update: 23|08|10
Warley Hospital


hall and side corridors
general orientation

General view of the hall


The hall and side corridors from the 1853 plan (coloured)


hall and side corridors
detailed pictures

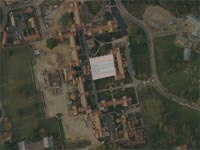
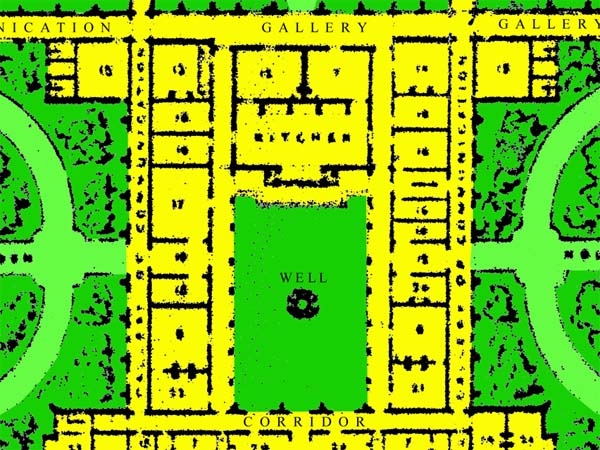
The central section of the hospital changed greatly over its lifetime and the 1853 map offers little correspondence 
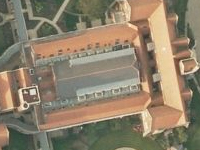
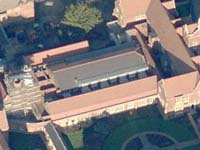
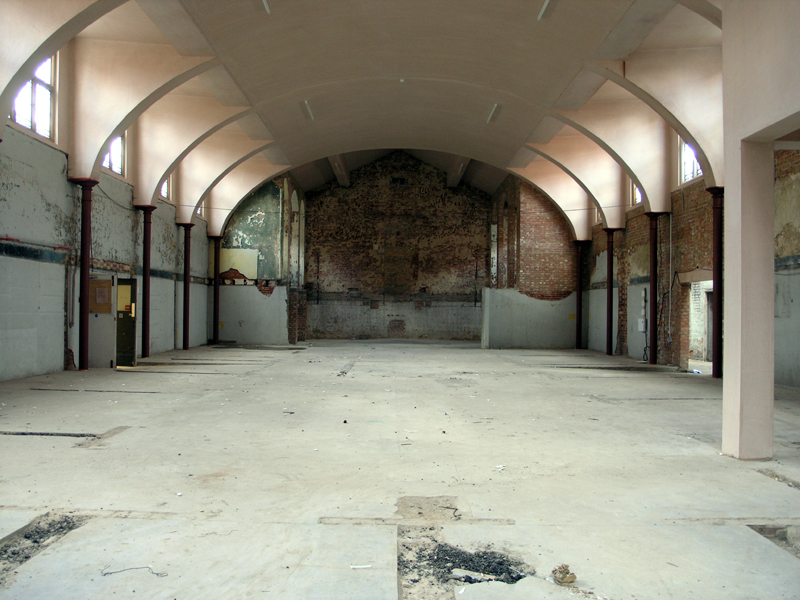
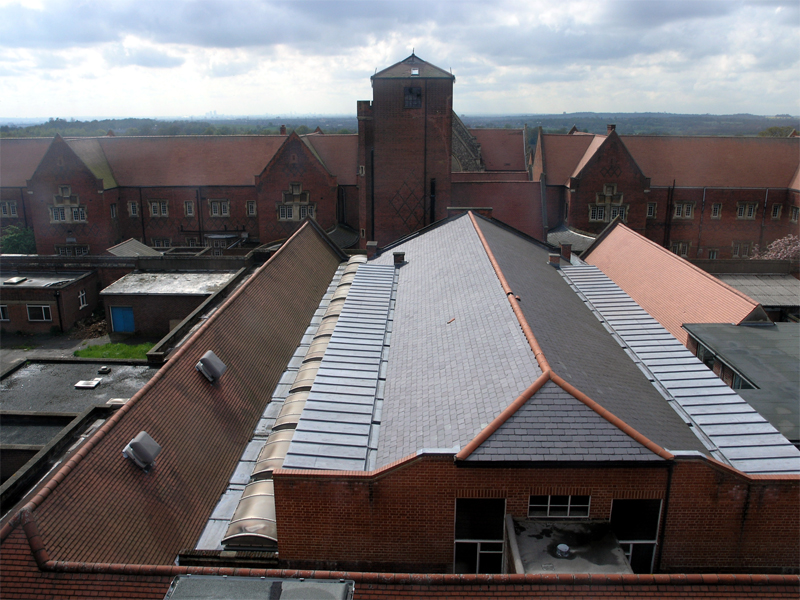
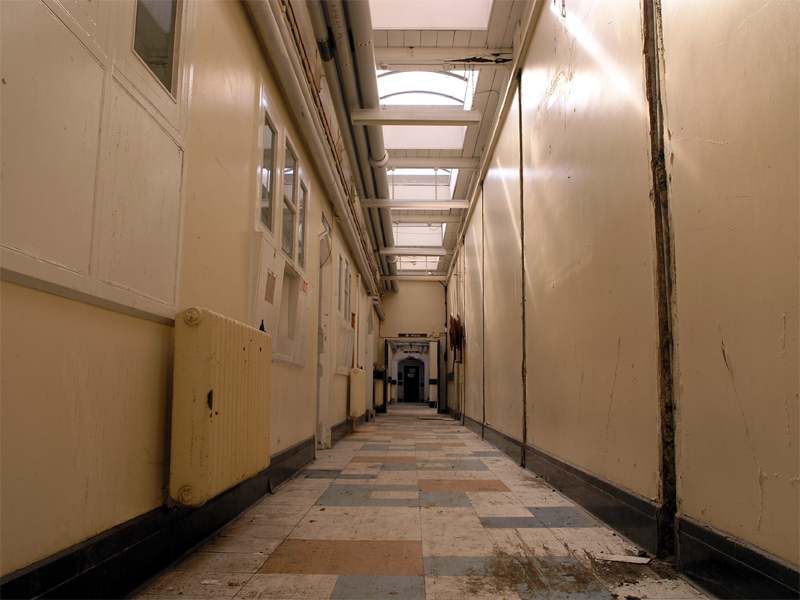
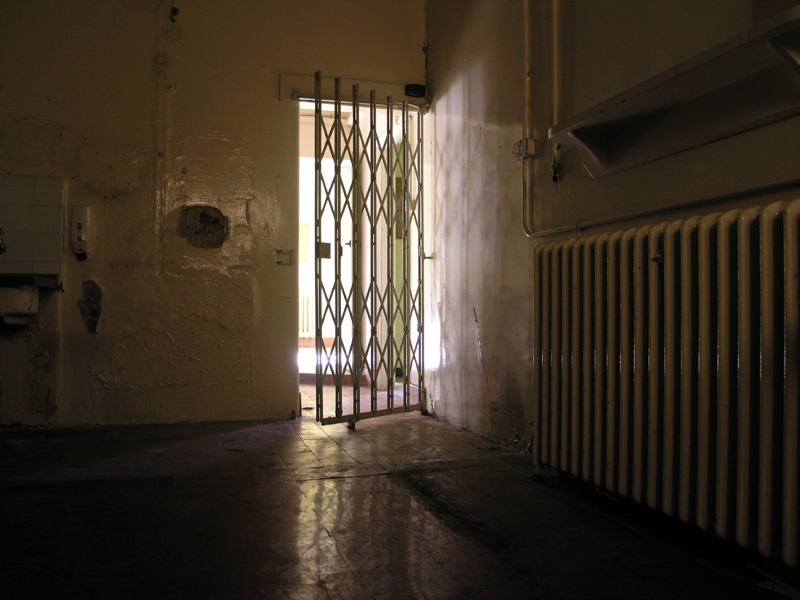
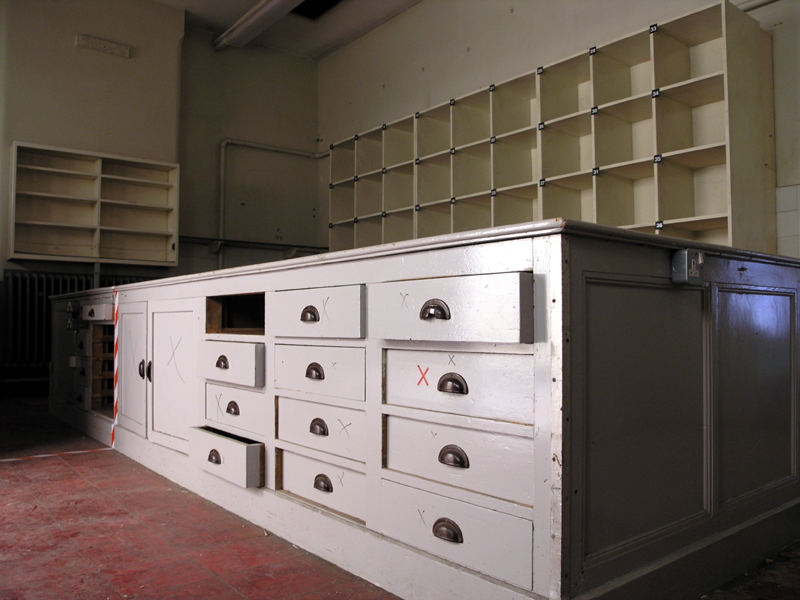
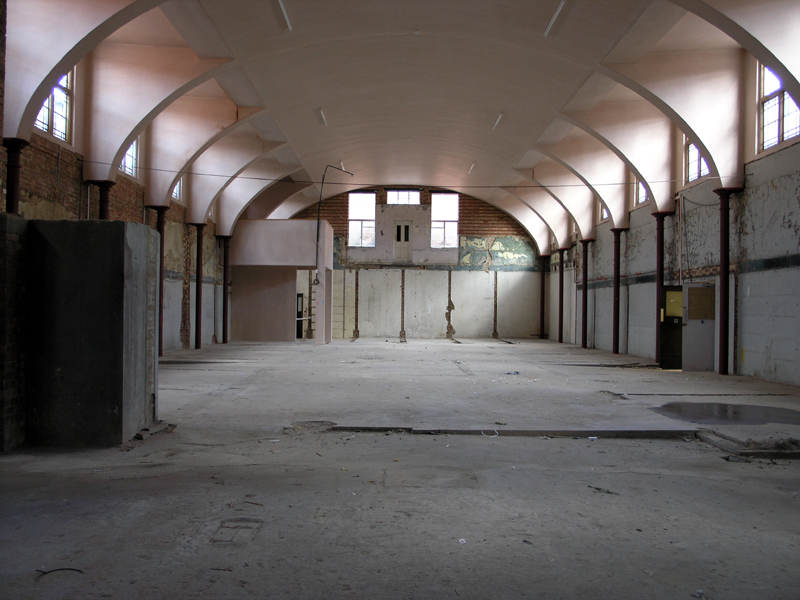
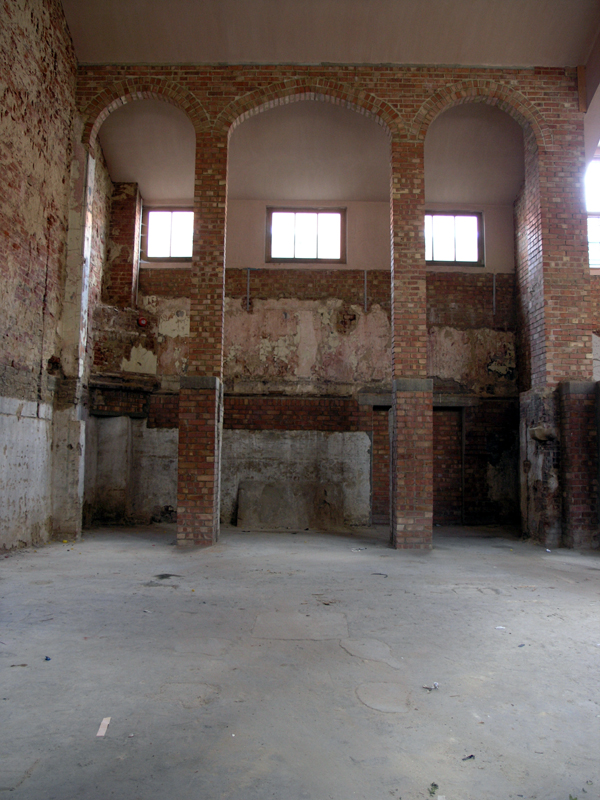
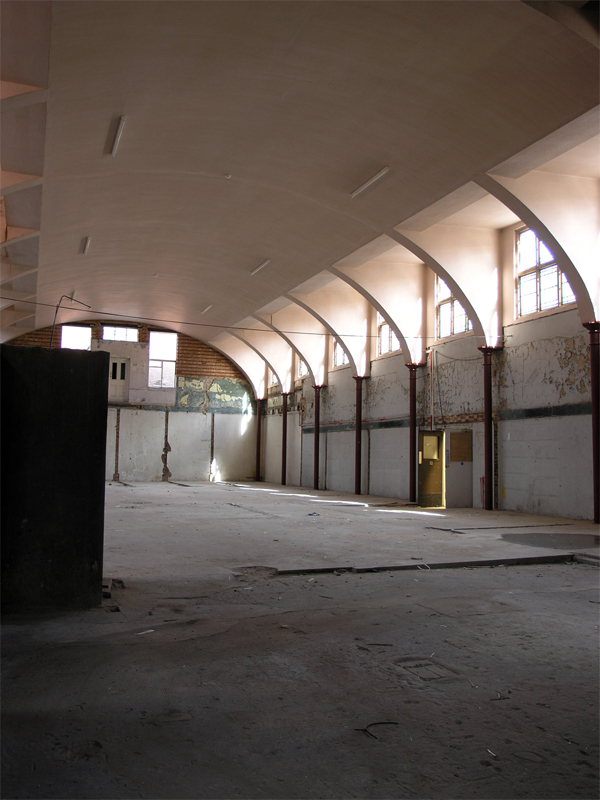
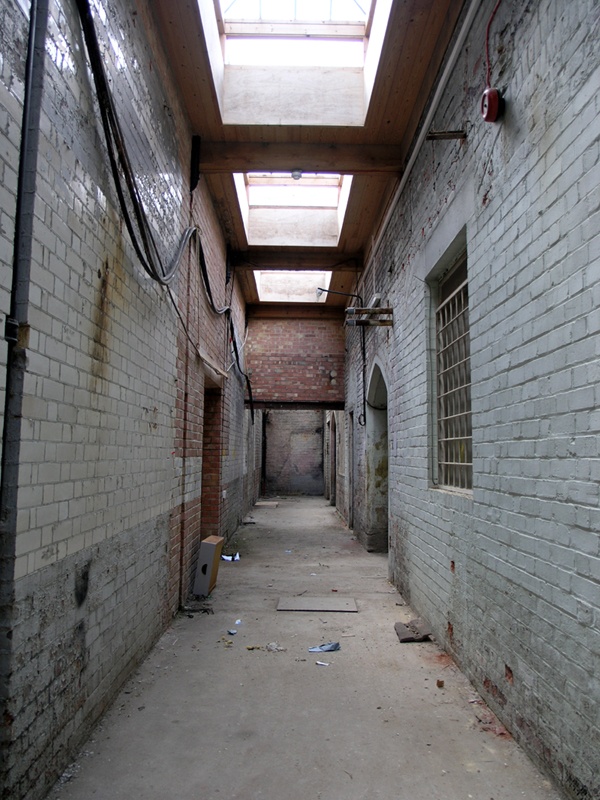
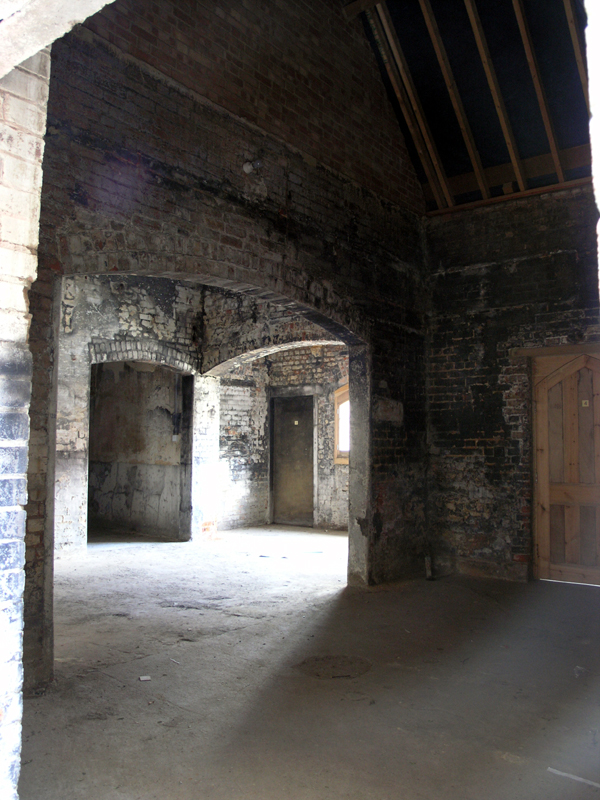
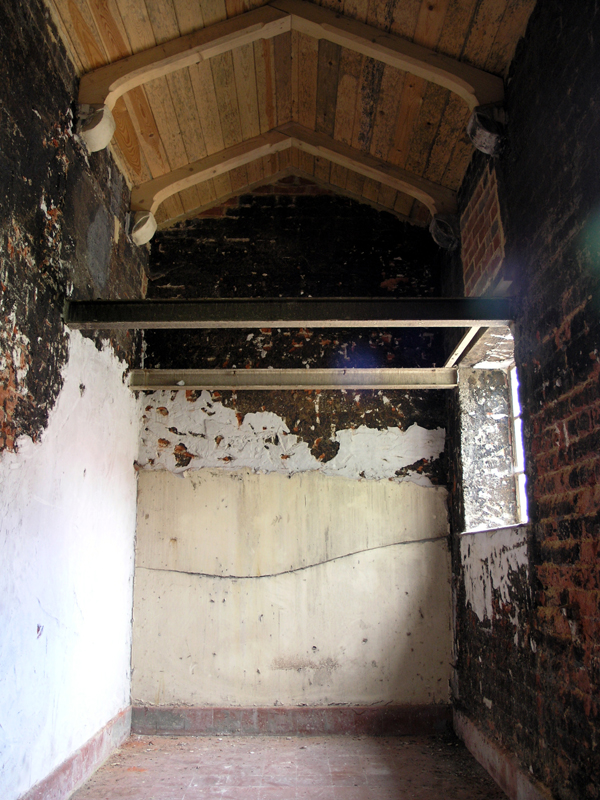
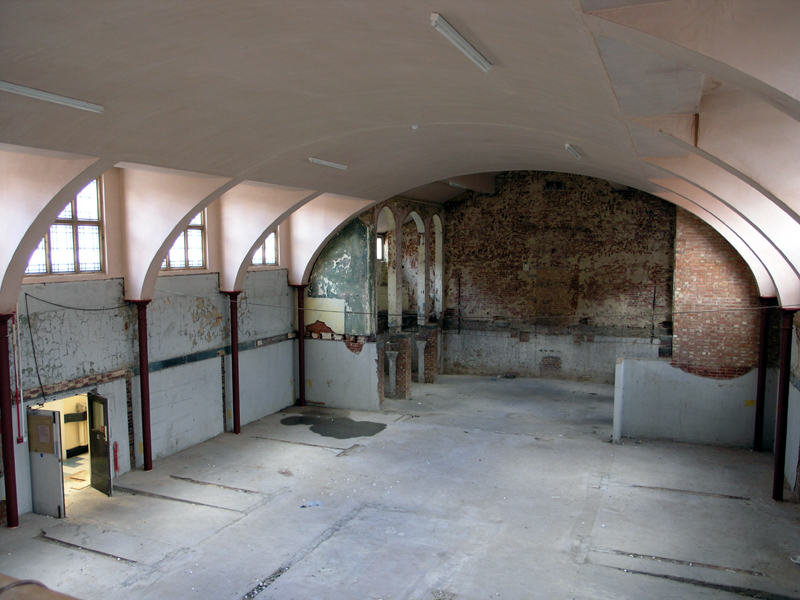
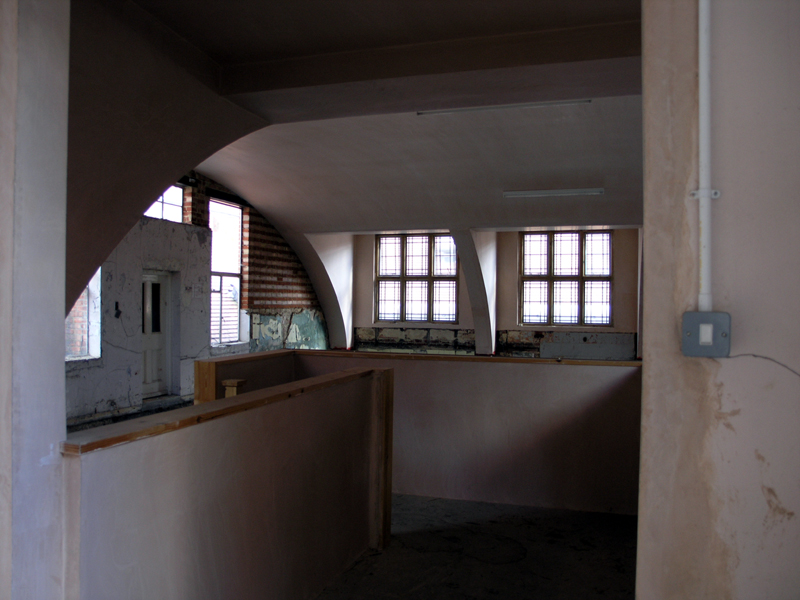
with the buildings located in that region over one hundred years later.

As designed by Kendall, the central core of the hospital included a courtyard with a central well. Two parallel covered ways formed cloisters around this "Central Courtyard" whilst another pair of covered way enclosed sets of rooms either side (although the plan is too illegible to be able to read their function). This well was presumably the asylum’s original water source, oft contaminated by sewage and the cause of several outbreaks of cholera.

The largest room was the kitchen, situated near the top of the plan. Its positioning, and that of the original dining room/entertainment hall (below the chapel), was poor as there were several corridors separating the two.

It obviously proved unworkable from the outset, and the new recreation hall was built over the central courtyard in 1879. All the cloisters were bricked in to form enclosed corridors, those to the north forming the new stores. The kitchens remained where they were, now situated adjacent to the new hall, and were converted to gas in 1877. The old dining room/entertainment hall was converted to an Epileptic Dormitory.

Another new recreation hall was built in 1890 as part of the F Block extension. Despite the problems encountered with this building (it proved to be ill-designed, badly built and suffered from rot and damp), the hall became the asylum’s primary recreation area, right up until the hospital’s closure. The hall in the main block became used as part of the hospital’s stores.

It isn’t known what happened to this part of the building in the last years of the asylum. It was clearly being rebuilt when the buildings closed, leaving the hall and the side rooms in a partially finished state. The main structural work was complete, as was the wiring and plastering, but there was no decoration or any other features. It’s also odd to consider why this work was carried out when, presumably, the asylum was winding down to close.

central core: exterior: view west
The newly rebuilt Recreation Hall, side rooms and connecting corridors were obviously newly built and refurbished as this elevated view from the roof of the Administration Block shows. (The central tower to the back was the original water tower whilst the flint brick of the hospital’s original chapel can just be seen behind that).


gallery of communication: interior: view north
A thin corridor, which traversed the length of the back of the Administration Block, gave access to the central core. Originally part of this corridor would’ve been open and formed the eastern cloister of the central courtyard.


former southern cloister: interior: view west
This corridor traversing the southern side of the recreation hall was originally the southern cloister. The northern walls and roof were all added in the 1879 when the recreation hall was built. The windows in the southern wall, which originally looked out over the central courtyard, were retained.


store room: interior: view north towards the souther cloister corridor
The geometry of the rooms along the southern cloister had also changed over the hospital’s lifetime. Most were fitted with steel barriers over the windows and meshes over the doors, suggesting they were used for the storage of drugs and valuables.


store room: interior: view south
Some rooms were still fitted with shelves and cupboards, but all were cleared.


store room: interior: view south
Whilst other store-rooms were completely empty. This was one of the few areas of the hospital where some furniture remained.


recreation hall: interior: view west
The recreation hall was clearly unfinished. It looks like the builders left after plastering the ceiling. I assume a stage was planned for the southern end, but there’s also evidence to suggest that this space was also part of the original hospital kitchen.


recreation hall: interior: view east
The view from the other direction also shows the space where a gallery was planned. This was never built and the door to the gallery has been left positioned in mid-air.


recreation hall: interior: view north
The stage area (assuming a stage was planned) was flanked by three arches which weren’t in keeping with the rest of the recreation hall. It’s assumed these were the "arched bays" written by Doctor Nightingale when he described the original asylum’s kitchens. These were retained when the recreation hall was built, eventually becoming the Nurses’ Lecture Rooms during the later life of the hospital. It appears these lecture rooms were knocked into the main recreation hall when it was rebuilt but the arched bays were retained.


recreation hall: interior: view south-east


former northern cloister: interior: view west
The northern cloister was extremely basic and undecorated in comparison with its southern counterpart. It was blocked at its western end so was never a major route through the hospital (which probably explains its rough appearance). Its basic state clearly shows the original exterior wall and windows on the right and the single entrance to the recreation hall on the left.


store rooms: interior: view north-west
The rooms adjoining the northern cloister corridor had all been rebuilt but were left unplastered.


store rooms: interior: view north
The quality of the rebuilding work was extremely high. Newly carved stone corbels support the carved wooden beams whilst the original lime plaster is still in-situ. (Although the RSJ spoils the whole effect).


recreation hall: interior: view south-west
A small balcony was constructed at the rear of the recreation hall from which this elevated view was taken. It’s clear in this view how a stage was probably planned in the old kitchen area.


recreation hall: interior: view south


gallery of communication: interior: view south
The central core ended at another north-south gallery of communication. This corridor was the main thoroughfare through the asylum and led to the main wards. You turned left to visit one half of the hospital and turned right to visit the other side.


    Return to: Warley Hospital