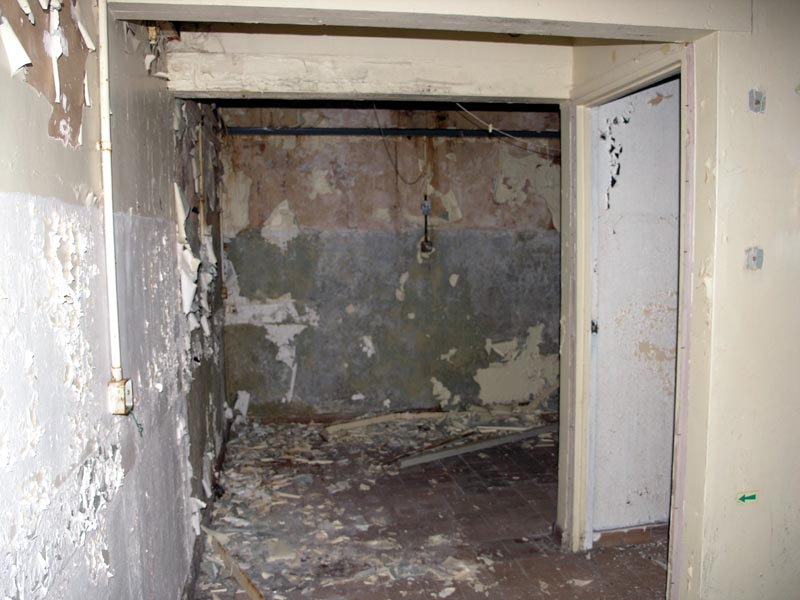
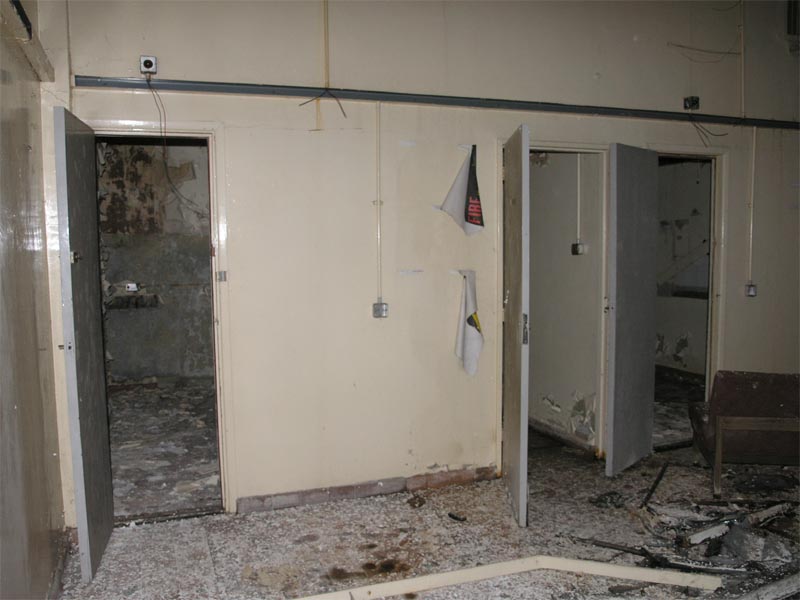
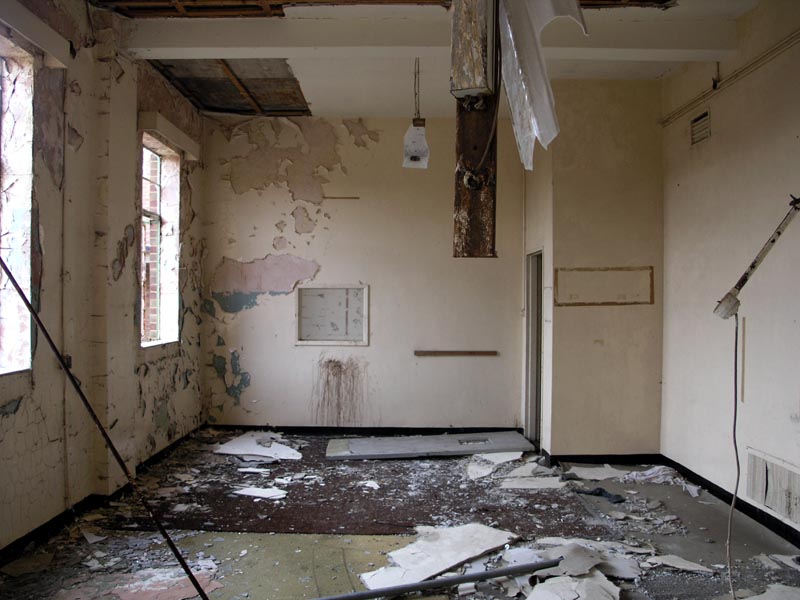
 room w1: view east into chemical store
The north western corner of the building was dominated by the chemical store. However, three smaller rooms (W1 – W3)
straddled its western side. None retained any clues of their former use having been stripped bare.
room w1: view east into chemical store
The north western corner of the building was dominated by the chemical store. However, three smaller rooms (W1 – W3)
straddled its western side. None retained any clues of their former use having been stripped bare.
|
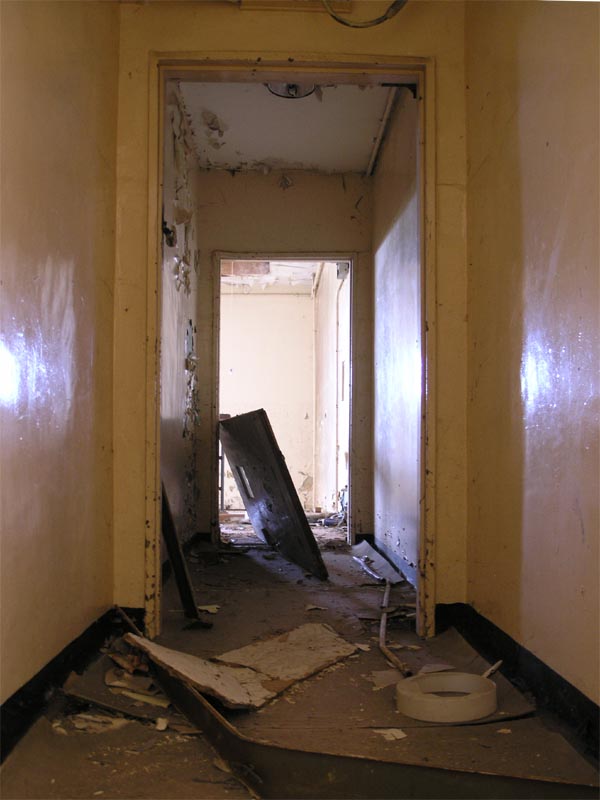
 room w1: view south across room w2 and into room w3
W1 and W3 both had large western facing windows suggesting they weren’t used as darkrooms. W2 probably received goods and
chemicals for the chemical store via its large double doors which lead outside to the western side of the building.
room w1: view south across room w2 and into room w3
W1 and W3 both had large western facing windows suggesting they weren’t used as darkrooms. W2 probably received goods and
chemicals for the chemical store via its large double doors which lead outside to the western side of the building.
|
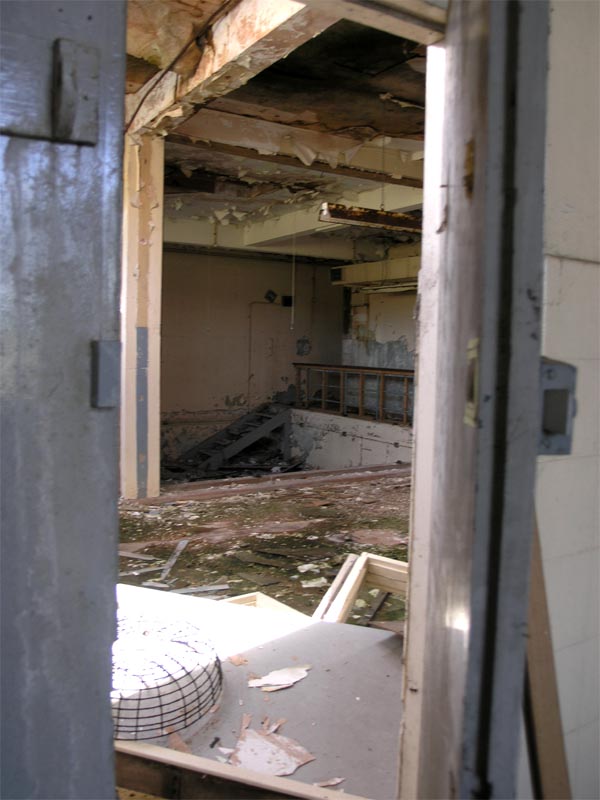
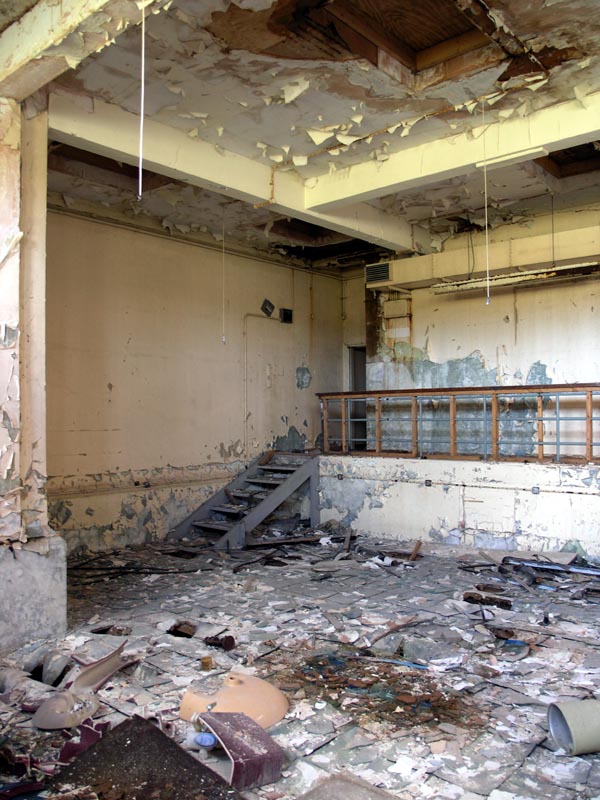
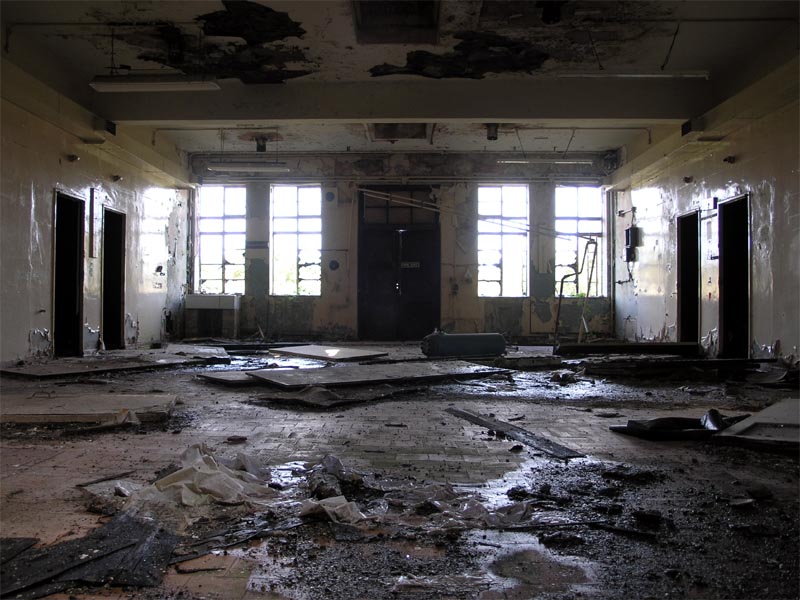
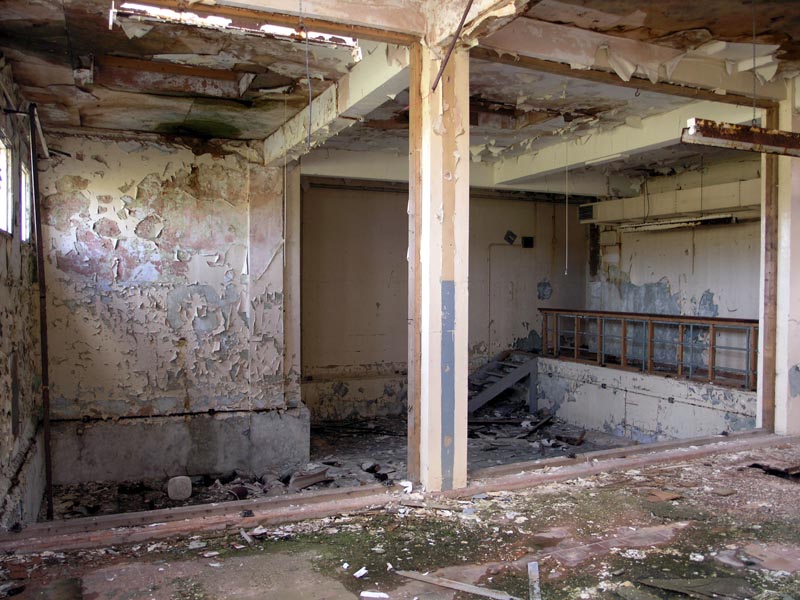 room w3: view east
The chemical store resembled an ops room with its elevated walkway and sunken tank area. The walkway straggled its western
and southern sides where a waist-high wooden barricade prevented anyone falling in (although much of this has now been removed).
room w3: view east
The chemical store resembled an ops room with its elevated walkway and sunken tank area. The walkway straggled its western
and southern sides where a waist-high wooden barricade prevented anyone falling in (although much of this has now been removed).
"The large room with steps down into it (possibly the room that looks flooded) was the general engineering flight
for the building. Electricians and the like." - Chris Player
|
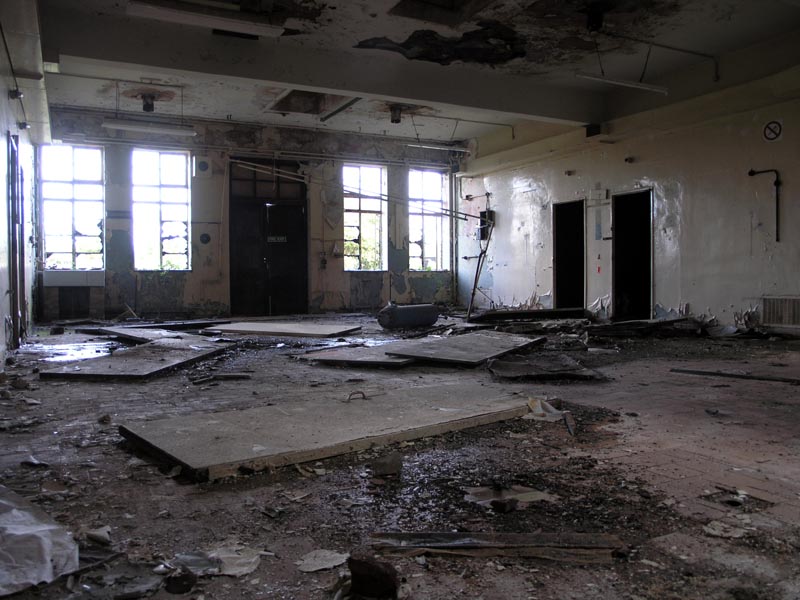
 room w4: view south-east
The floor of the sunken area was now in a precarious condition. Holes could be seen through the wooden supporting
grid through to the oily water beneath.
room w4: view south-east
The floor of the sunken area was now in a precarious condition. Holes could be seen through the wooden supporting
grid through to the oily water beneath.
"This was not a viewing room but was the room containing 5000?? gallon tanks."
"The room was rather like a swimming pool with no water. The raised walkway all around the outside of the 'pool' was just that - a
walkway for inspection."
"The tanks/pipes/pumps etc. were all sited in the body of the floor and you looked down on
them from the walkway."
"As you look at your photograph, you will see a set of steps in the far corner which allowed one to go down into the tank area.
The door immediately behind this set of steps (just visible) was the laboratory where I worked."
"I also recall that we had the services of an elderly civilian whose job it was to keep this whole room clean. I can see him
now sitting down with a cup of tea, a cleaning rag in his hand and a mop and bucket by his side." - George
|
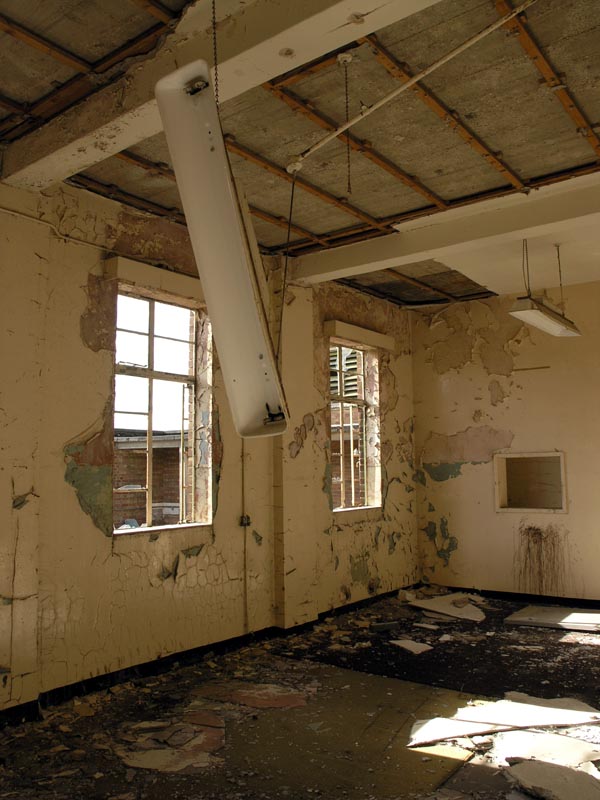
 room w5: view north-west
The room was lit by five small northern facing windows and numerous skylights.
room w5: view north-west
The room was lit by five small northern facing windows and numerous skylights.
|
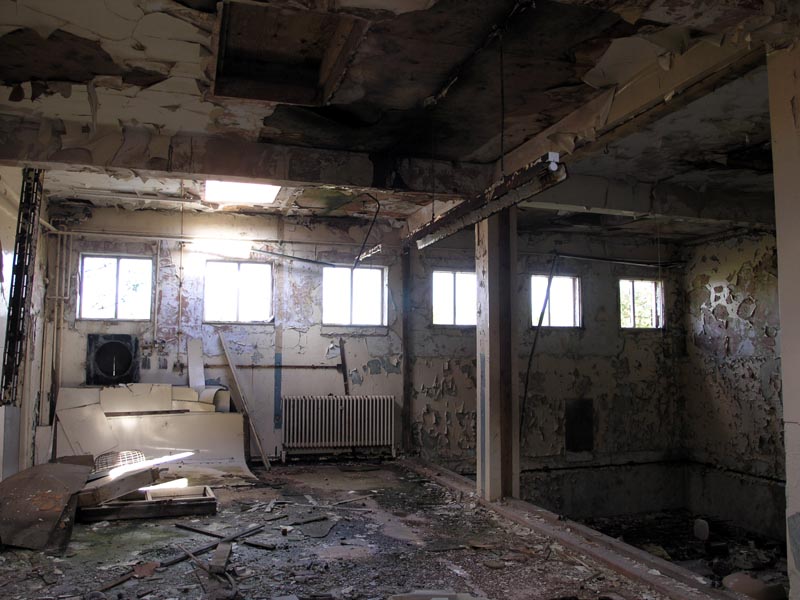 room w5: view north
Nothing remained of the pumps and piping which would’ve transported the chemicals to the various darkrooms scattered around the complex.
room w5: view north
Nothing remained of the pumps and piping which would’ve transported the chemicals to the various darkrooms scattered around the complex.
|
 room w5: view west
There was no direct access from the chemical store to the building’s exterior. The only ways in or out were through rooms
W1 and W3 to W2 and the outside door; or the southern corridor which led to the main corridor network.
room w5: view west
There was no direct access from the chemical store to the building’s exterior. The only ways in or out were through rooms
W1 and W3 to W2 and the outside door; or the southern corridor which led to the main corridor network.
|
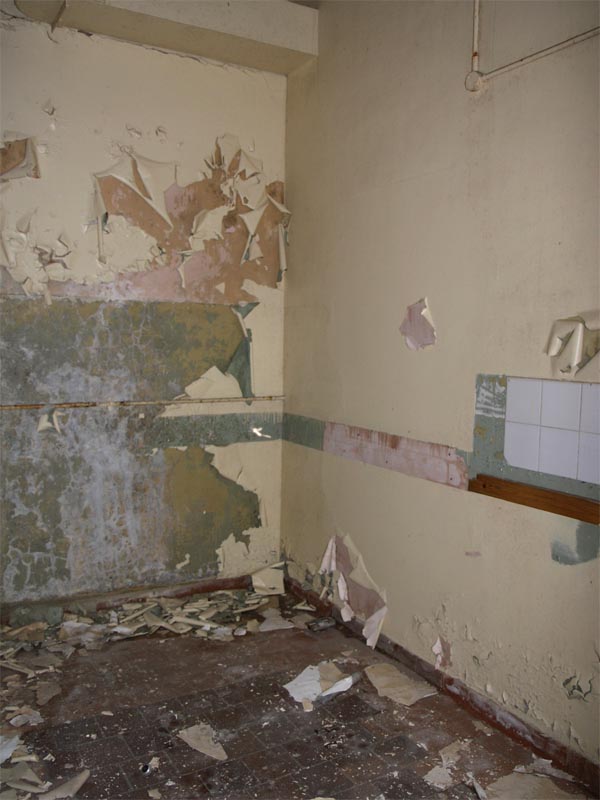
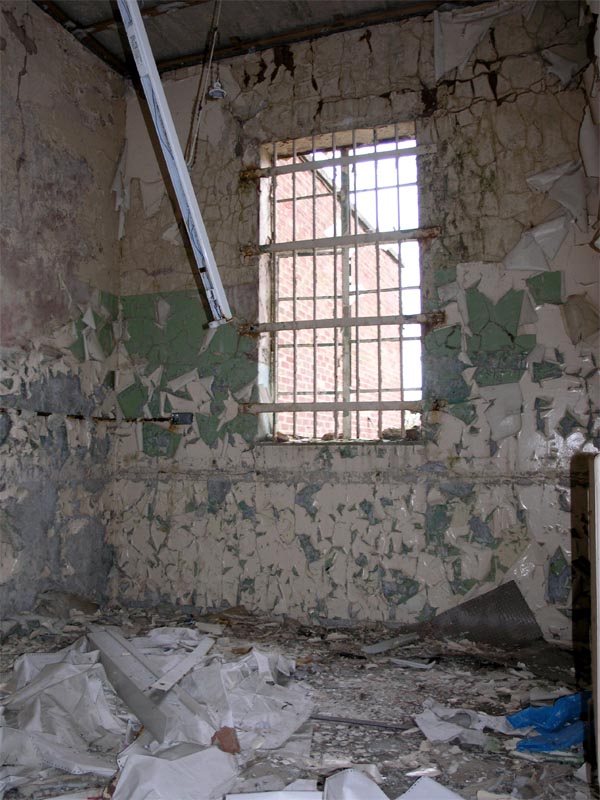
 room w3: view west
Room W3 resembled a small laboratory. Working level tiles surrounded three of the walls (where marks suggested there was one a large table),
power points were installed at the same level of the table, an air extractor was fitted to the window and the tiled floor could contain
any chemical spills.
room w3: view west
Room W3 resembled a small laboratory. Working level tiles surrounded three of the walls (where marks suggested there was one a large table),
power points were installed at the same level of the table, an air extractor was fitted to the window and the tiled floor could contain
any chemical spills.
|
 room w4/w5: looking west along the corridor to rooms w4 and w5.
Room W4 and W5 were reached via a small corridor which led from W8 thus making them entirely self contained.
room w4/w5: looking west along the corridor to rooms w4 and w5.
Room W4 and W5 were reached via a small corridor which led from W8 thus making them entirely self contained.
|
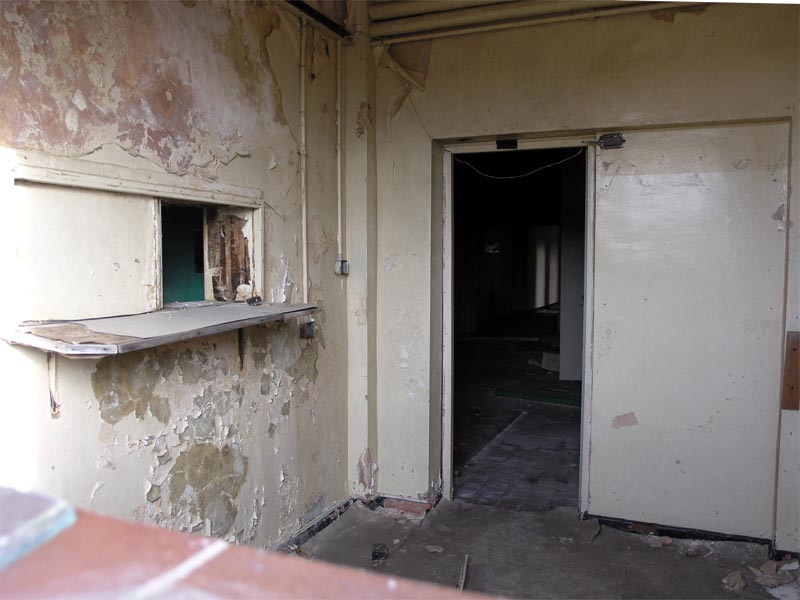
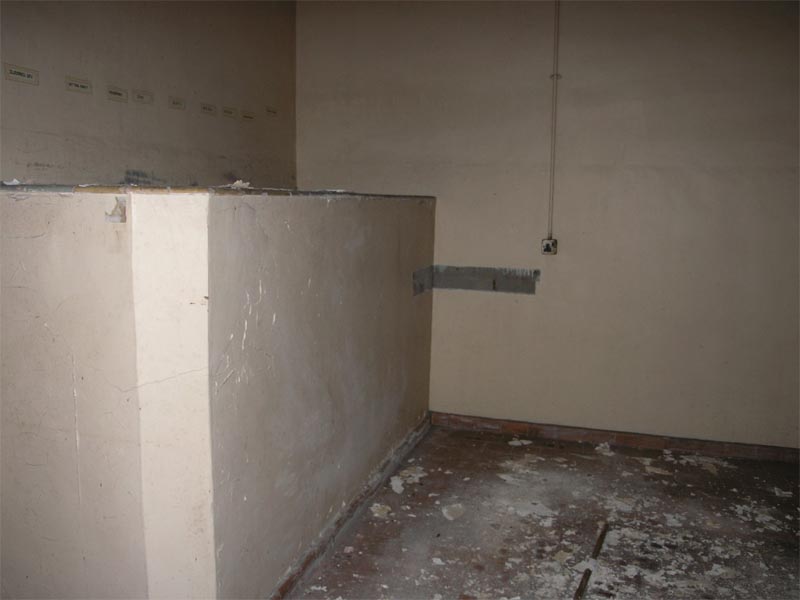
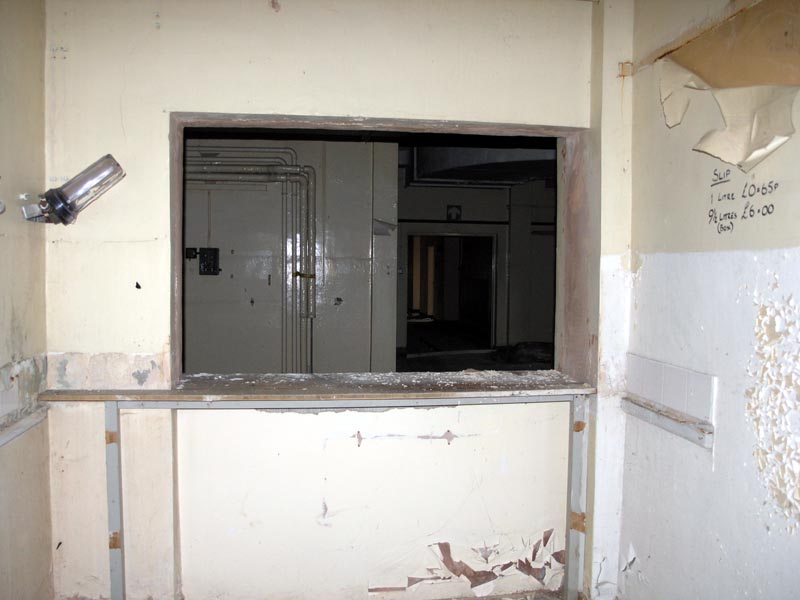 room w5: view east through the serving hatch
Room W5 resembled a dispatch area with a large hatch opening into W8. Wall markings suggested a table was originally
fitted beneath the hatch area. The idea of it being some form of equipment dispatch area was reinforced by some prices
written on the right wall.
room w5: view east through the serving hatch
Room W5 resembled a dispatch area with a large hatch opening into W8. Wall markings suggested a table was originally
fitted beneath the hatch area. The idea of it being some form of equipment dispatch area was reinforced by some prices
written on the right wall.
|
 room w4: view north
Room W4 was entirely empty (and entirely dark as there were no windows in this part of the building). Given its coupling with room W5 then it was probably used as a store room.
room w4: view north
Room W4 was entirely empty (and entirely dark as there were no windows in this part of the building). Given its coupling with room W5 then it was probably used as a store room.
|
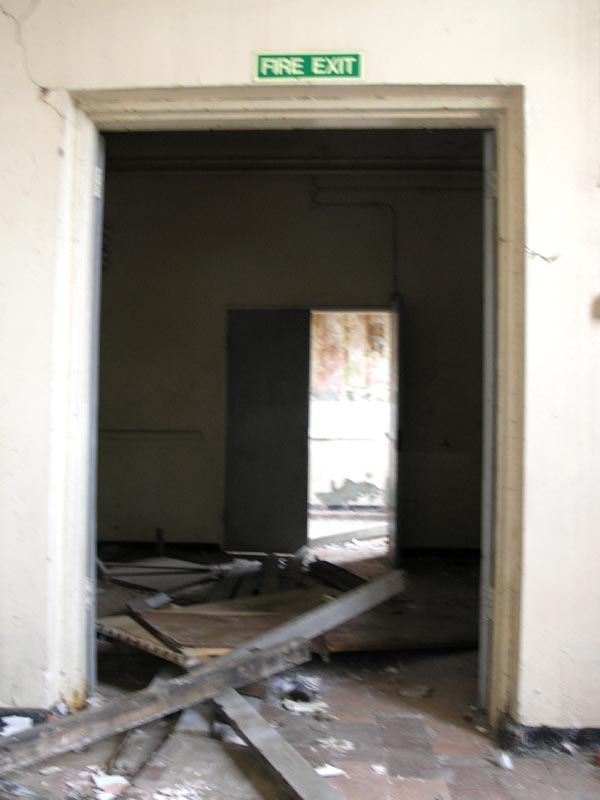
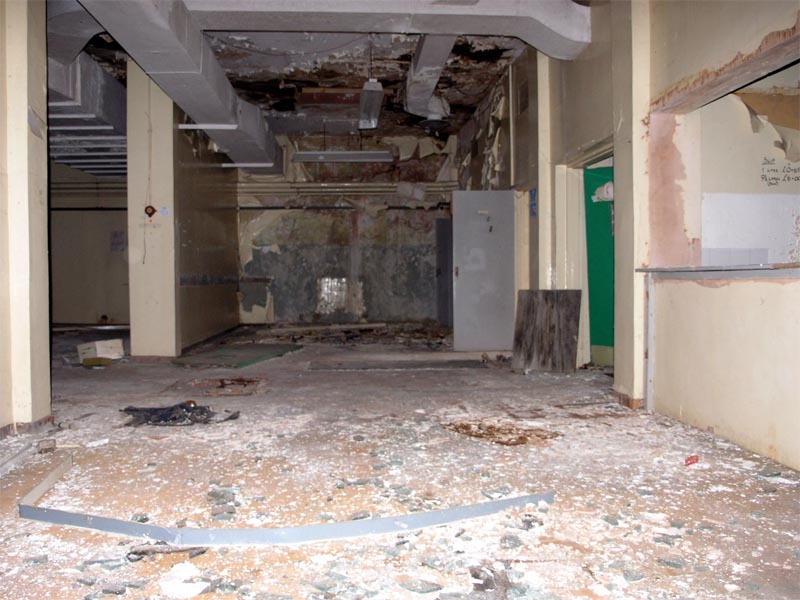 room w8: view south
Room W8 was one of the largest open areas in the complex. Large ducts carried air away to the Plant House which was immediately
adjacent to it. The serving hatch of room W5 can be seen to the right, as well as the small corridor to the exterior door
(with green paint) and further rooms to the south.
room w8: view south
Room W8 was one of the largest open areas in the complex. Large ducts carried air away to the Plant House which was immediately
adjacent to it. The serving hatch of room W5 can be seen to the right, as well as the small corridor to the exterior door
(with green paint) and further rooms to the south.
"Right at the bottom [of the corridor] was the ground photo department, almost immediately opposite their
entrance was again doors to the outside. We used to get a lot of work from what was called JARIC models based at
Wyton in some old WWII buildings near the airfield (gone now). One time the section was locked down even to
"factory" staff as the models were classified secret and above." - Chris Player
|
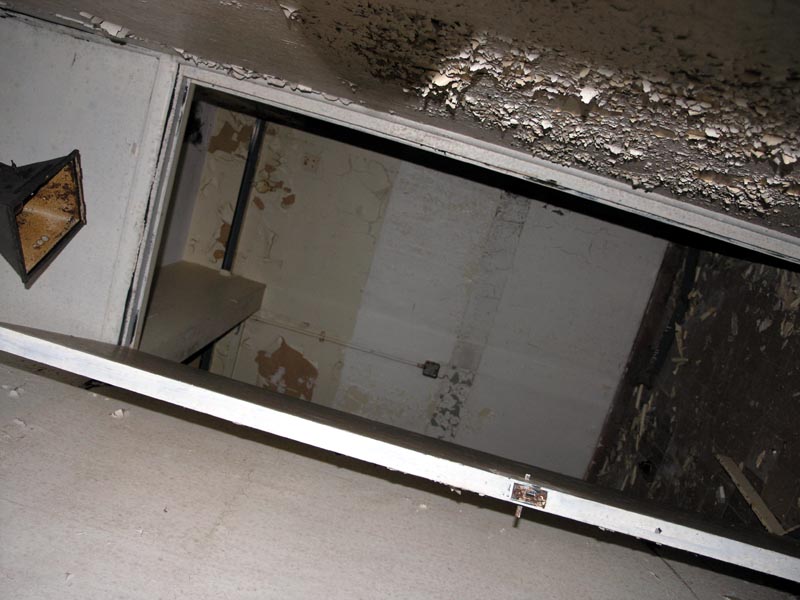
 room w6: view east through window
Room W6 featured a small hatch to the north which looked into the connecting corridor between room W8 and
the exterior. The room’s position (and the hatch) suggests it was used to check people in an out of the building.
room w6: view east through window
Room W6 featured a small hatch to the north which looked into the connecting corridor between room W8 and
the exterior. The room’s position (and the hatch) suggests it was used to check people in an out of the building.
|
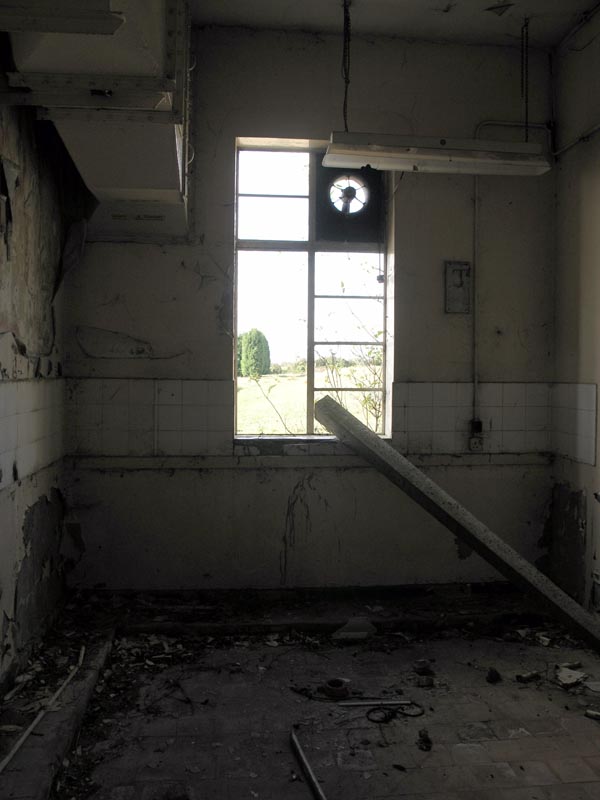
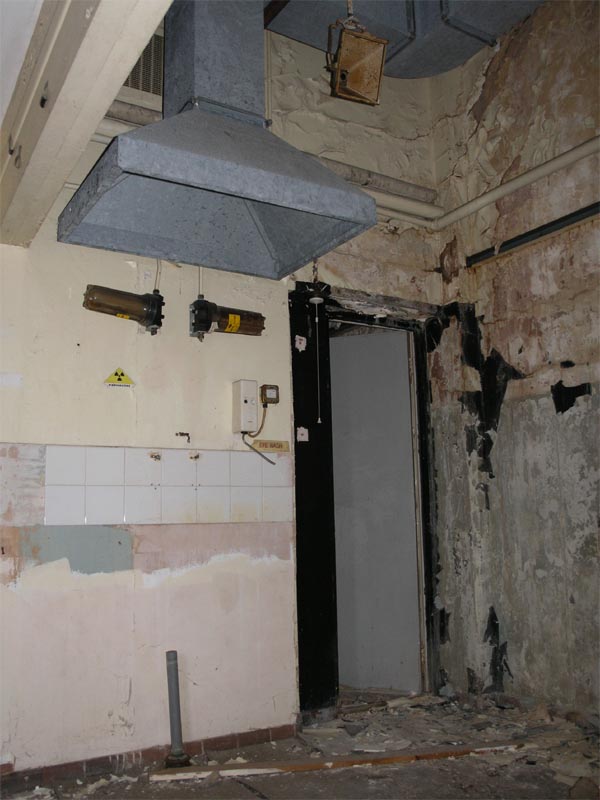 room w7: view east
Room W7 resembled a dark room with its large extractor hood, bottles of distilled water (on the wall), workbench level
tiling and the remains of black paint around the door. The distinctive directional light was operated by a pull-switch to the left of the door.
room w7: view east
Room W7 resembled a dark room with its large extractor hood, bottles of distilled water (on the wall), workbench level
tiling and the remains of black paint around the door. The distinctive directional light was operated by a pull-switch to the left of the door.
|
 room w9: view south
Room W9 shared similar dimensions to Room W8 and was one of the few areas in the former photographic factory with furniture.
The room was dominated by the huge duct which served the rest of the building. Several darkrooms were placed along its eastern side.
room w9: view south
Room W9 shared similar dimensions to Room W8 and was one of the few areas in the former photographic factory with furniture.
The room was dominated by the huge duct which served the rest of the building. Several darkrooms were placed along its eastern side.
"...I may think of other things, such as the morning when we were all assembled in the main hall (the one with the dark rooms all down one side)
to view the first ever Infra Red night photo of the total British Isles, taken by one of Wytons V bombers (I think it was a Valiant) of
543 squadron, then based at Wyton."
"And the numerous times after a good night at The Dun Cow in St Ives when we put hangover sufferers into a dark room,
switched on the red (room occupied) light and left them in there for as long as it took to sleep the thing away." - George
|
 room w9: view east
The doors of the darkrooms opened outwards (as there was so little space inside). Each darkroom had a red indicator light above the door which was illuminated if someone was working inside.
room w9: view east
The doors of the darkrooms opened outwards (as there was so little space inside). Each darkroom had a red indicator light above the door which was illuminated if someone was working inside.
|
 room d1
The interiors of the darkrooms were sparse and little remained. White tiling remained where the developing table used to stand.
room d1
The interiors of the darkrooms were sparse and little remained. White tiling remained where the developing table used to stand.
|
 room w9: view east
Two further darkrooms were located in the southern part of Room W9. (Where there was also a safe in the corner of the room
which was closed on my first two trips but was open and empty on my third).
room w9: view east
Two further darkrooms were located in the southern part of Room W9. (Where there was also a safe in the corner of the room
which was closed on my first two trips but was open and empty on my third).
|
 room d4: view east
The leftmost room was dominated by a large plinth above which were stuck labels denoting various developing
fluids e.g. “ILRSPEED DEV”, “WETTING AGENT” etc.
room d4: view east
The leftmost room was dominated by a large plinth above which were stuck labels denoting various developing
fluids e.g. “ILRSPEED DEV”, “WETTING AGENT” etc.
|
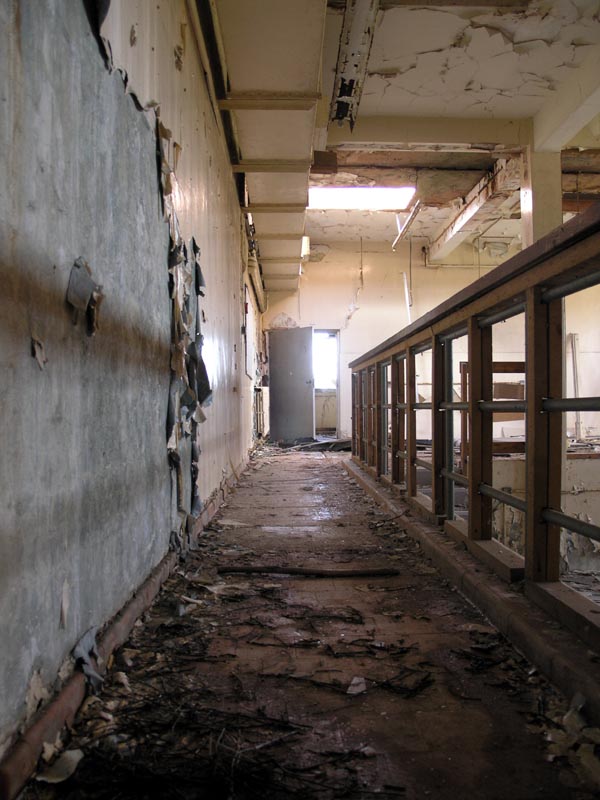
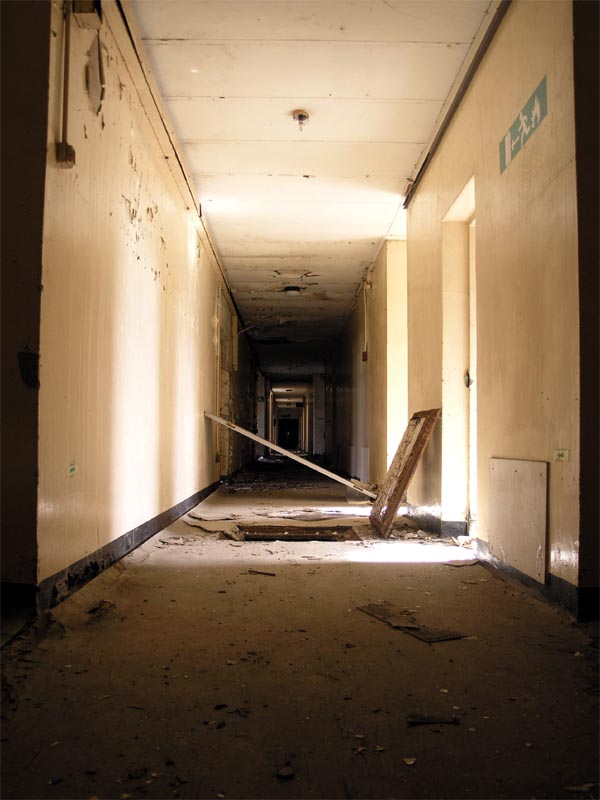 corridor wc1: view east
A wide corridor led from the western complex of large rooms towards the centre of the photographic factory. Light streamed
in from the open doors and windows which looked out into the loading bay at the back of the building.
corridor wc1: view east
A wide corridor led from the western complex of large rooms towards the centre of the photographic factory. Light streamed
in from the open doors and windows which looked out into the loading bay at the back of the building.
|
 corridor wc1: view north to chemical store
A narrower corridor travelled north towards the chemical store.
corridor wc1: view north to chemical store
A narrower corridor travelled north towards the chemical store.
|
 room w10: view north
The other large complex of rooms, and one of the defining features of the facade of the building, was the central complex of six darkrooms which opened out into this wide communal room.
room w10: view north
The other large complex of rooms, and one of the defining features of the facade of the building, was the central complex of six darkrooms which opened out into this wide communal room.
"The large door with windows either side on the initial approach to the building was the main air camera
process room, housing Type 11 and Type 12 processors. The type 11 was for 70mm, the type 12 for the larger 10in
roll film. The type 11 processor, up to the demise of 41 Sqn at Coltishall (The last tacce recce Sqn) was the
fastest processing machine in the world. We could process a full pod of cameras from say a harrier in about 4 mins.
That’s about 1400 feet of 70mm black and white air film dry too dry. The large doors was the easiest way to get some of the kit in and out." - Chris Player
|
 room w10: view north east
The four large windows (originally with blackened glass) and double door opened out onto the northern exterior of the building. The darkrooms themselves were fully enclosed.
room w10: view north east
The four large windows (originally with blackened glass) and double door opened out onto the northern exterior of the building. The darkrooms themselves were fully enclosed.
|
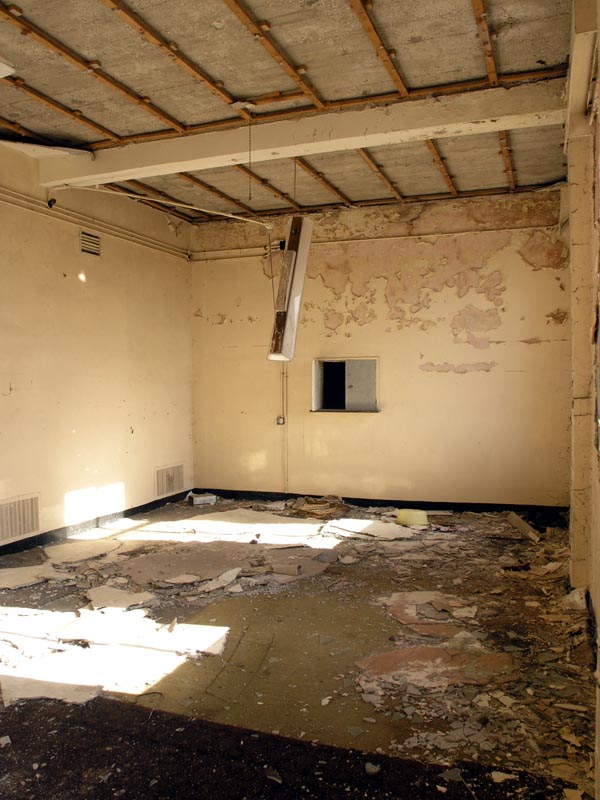
 room w10: view south
This view of room W10 shows the extensive ductwork which sucked air (and noxious chemical fumes) from each of the darkrooms.
The doors of all the darkrooms had been ripped from their hinges and lay scattered on the floor.
room w10: view south
This view of room W10 shows the extensive ductwork which sucked air (and noxious chemical fumes) from each of the darkrooms.
The doors of all the darkrooms had been ripped from their hinges and lay scattered on the floor.
Again, each of the darkrooms had an indicator light above the door to show if it was occupied.
|
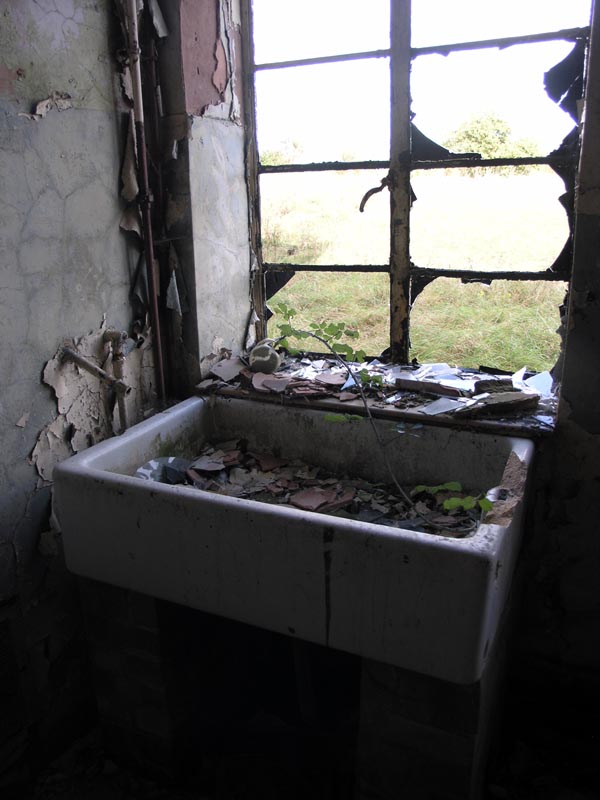 room w10: detail of sink
The last remaining fitting in the whole room was a lone butler sink by one of the windows.
room w10: detail of sink
The last remaining fitting in the whole room was a lone butler sink by one of the windows.
|
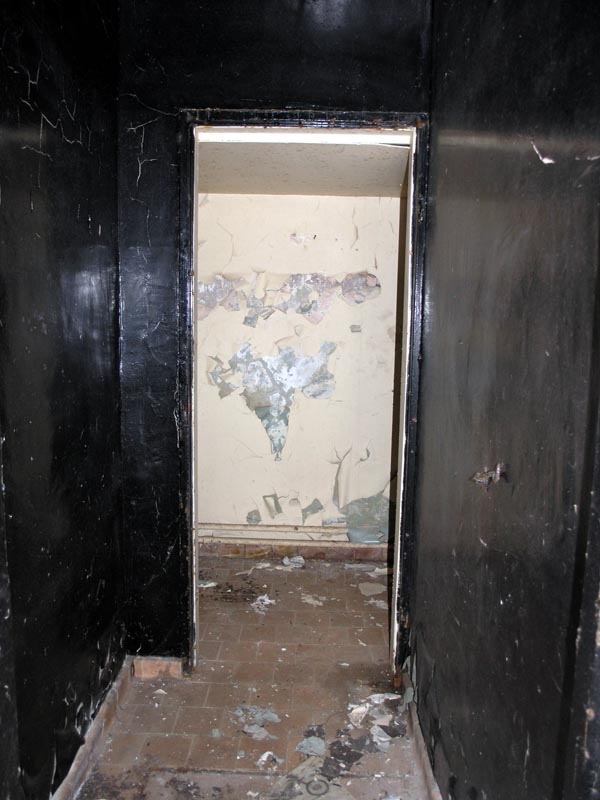 room d10: view east
Darkrooms were accessed by short, black painted corridors. Further protection against any intrusion of light was achieved by positioning the darkroom itself around a further corner.
room d10: view east
Darkrooms were accessed by short, black painted corridors. Further protection against any intrusion of light was achieved by positioning the darkroom itself around a further corner.
|
 room d10: view south
Some fittings remained in the darkrooms themselves such as the overhead lights, back boards, table legs and floor tiles. Everything else had been ripped out.
room d10: view south
Some fittings remained in the darkrooms themselves such as the overhead lights, back boards, table legs and floor tiles. Everything else had been ripped out.
|
 corridor wc1: view south
The large sturdy door which led out onto the covered portion of the back courtyard was firmly shut.
corridor wc1: view south
The large sturdy door which led out onto the covered portion of the back courtyard was firmly shut.
|
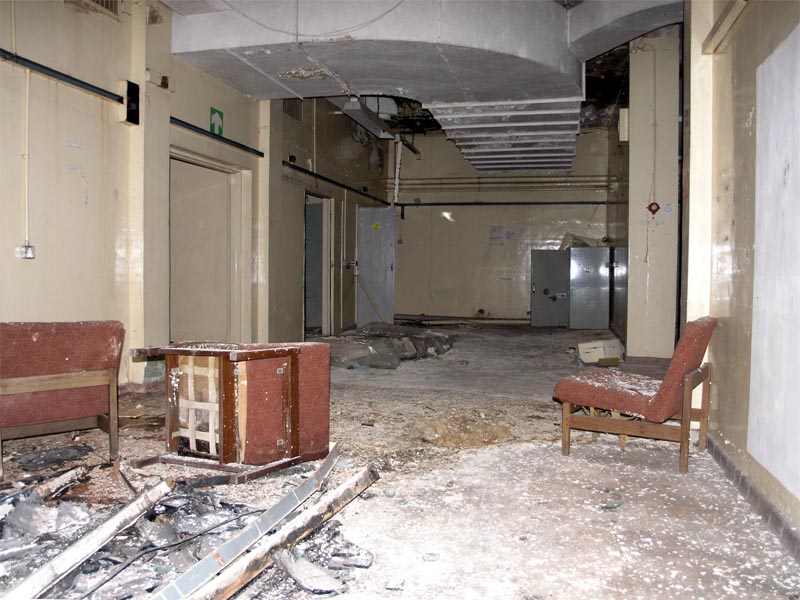
 room w11: view south
The southern part of the main corridor travelled past two rooms, each of which looked out onto the courtyard, and each of which had
interconnecting hatches. The westernmost room (W11) resembled an office and two chairs remained.
room w11: view south
The southern part of the main corridor travelled past two rooms, each of which looked out onto the courtyard, and each of which had
interconnecting hatches. The westernmost room (W11) resembled an office and two chairs remained.
|
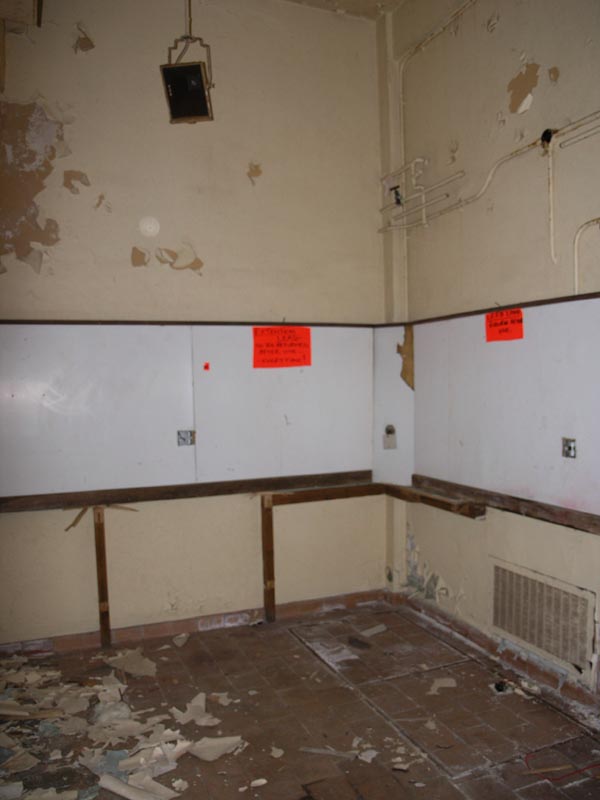
 room w12: view east
Adjoining room W12 was also completely cleared. It featured two interconnecting hatches so its immediate neighbours.
room w12: view east
Adjoining room W12 was also completely cleared. It featured two interconnecting hatches so its immediate neighbours.
|
 room w12: view east
The room lacked any ducting, vents, tiling or specialised lighting so wasn’t concerned with photograph development. Its use remains unknown.
room w12: view east
The room lacked any ducting, vents, tiling or specialised lighting so wasn’t concerned with photograph development. Its use remains unknown.
|
 room w13: view north
Room W13 was originally a store room as confirmed by the heavy metal grills over the door. The floor was strewn with dot-matrix computer paper. The headers and footers of each page were marked “TOP SECRET” in red type.
room w13: view north
Room W13 was originally a store room as confirmed by the heavy metal grills over the door. The floor was strewn with dot-matrix computer paper. The headers and footers of each page were marked “TOP SECRET” in red type.
"However the doors to the left of those main windows (W10), approached via a small ramp was the main door.
On access the first small room on the right was indeed the stores room." - Chris Player
|