|
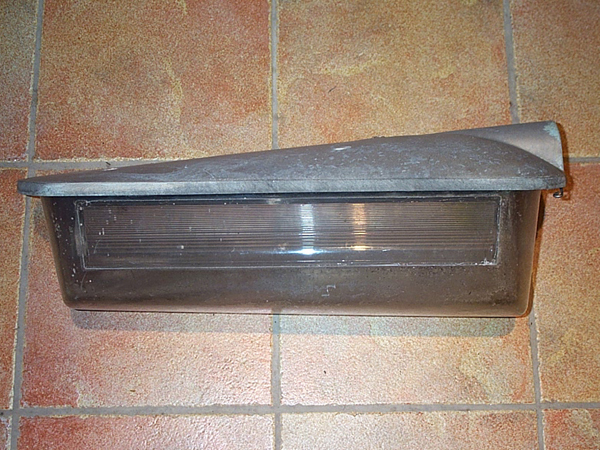
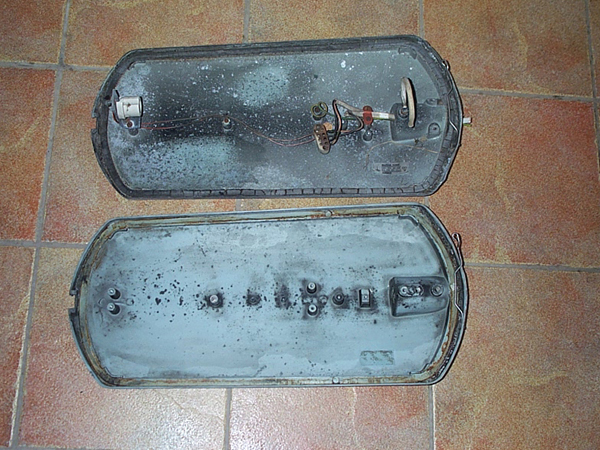
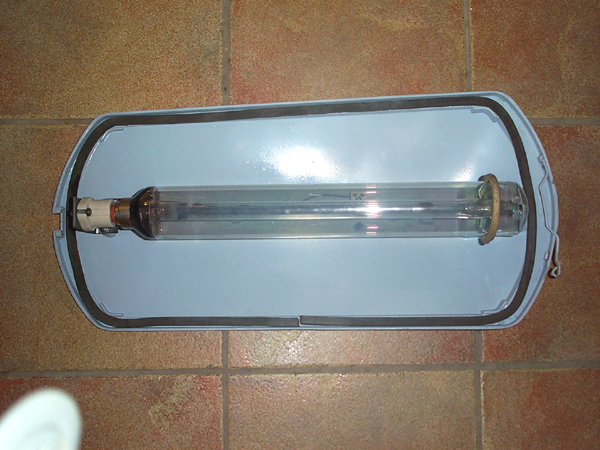
before restoration
The canopy is pitted and dull with splashes of the post paint near the spigot whilst the bowl is dirty and
blackened. Water got in and a small patch of algae has grown in the bowl.
|

|
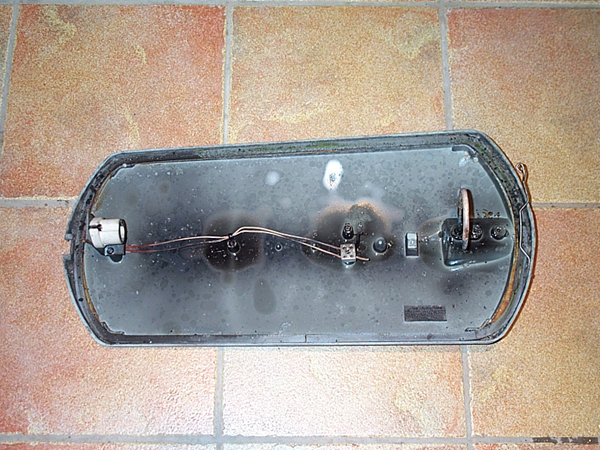
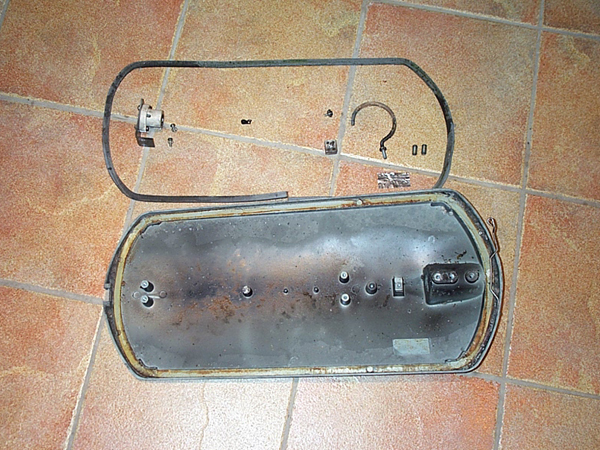
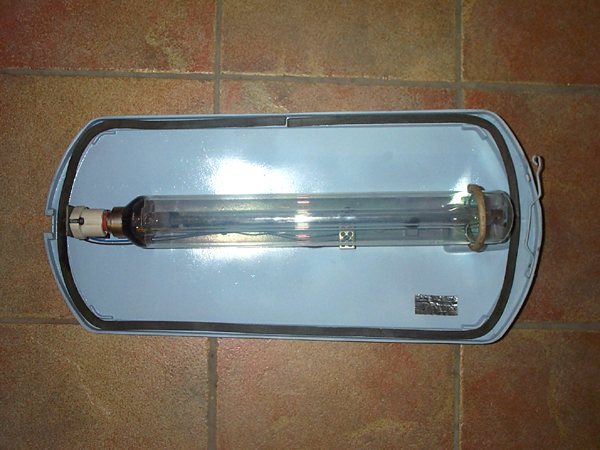
bowl removal
The first thing to do is strip the entire lantern down to its individual components. So the bowl is opened, revealing
a blackened canopy and charred wiring.
|
|
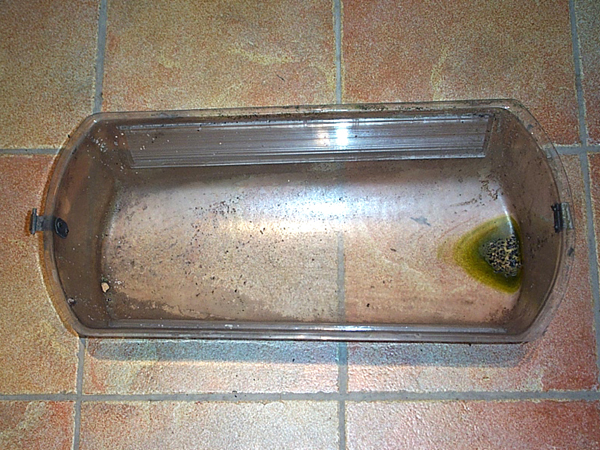
bowl cleaning #1
A small hole in the bowl has allowed water to ingress and green algae to form (at the opposite end of the hole - this
is due to the slope of the Alpha Nine bowl). So, the bowl is given a
wash in warm, soapy water.
|
|
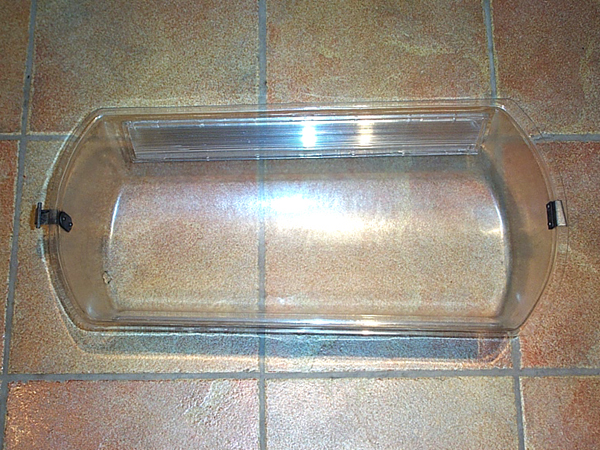
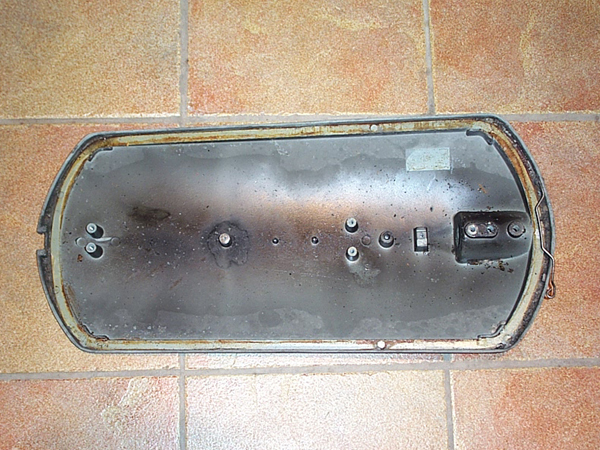
bowl cleaning #2
After a wash, the bowl is almost as good as new (with the exception of the small hole - but there’s not much
I can do about that.)
|

|
strip down #1
Turning my attention to the canopy, the bulb is removed, cleaned and put to one side. All the screws and
bolts in the lantern are given a liberal dose of penetrating oil before being left overnight.
|
|
strip down #2
After a good soaking in oil, most of the screws and bolts are removed, stripping the canopy completely. Unfortunately,
the screw holding the cable tie sheers off - I’ll have to deal with that later.
The gasket is also removed - it gently pulls off as the glue holding it in place has perished.
|
|
strip down #3
All the components are removed - this includes the porcelain bulb holder and it’s mounting bracket, the cable tie,
a porcelain terminal strip, earthing screw, bulb holder, metal identification plate, two grub screws
and the gasket.
The gasket is washed in warm soapy water and then left to dry.
|
|
strip down #4
All that remains of the cable tie screw is a ragged stump left in the canopy. Steel screws and bolts in aluminium
will often rust in place and sheer if undue force is put on them.
Heating the canopy with a blow torch expands the aluminium and the remains of the cable tie screw is
removed with a pair of piers. The canopy is now completely stripped.
|
|
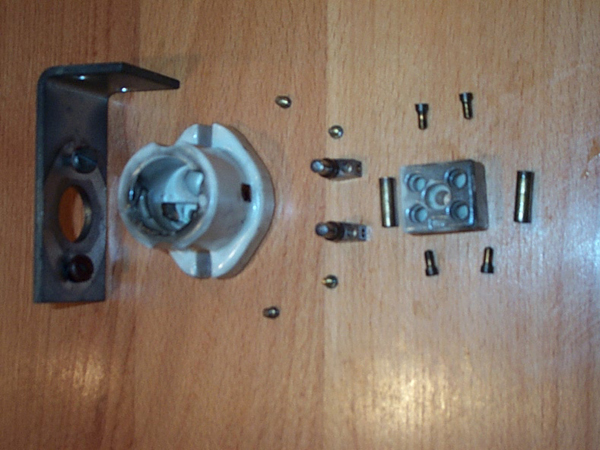
porcelain components #1
As the porcelain components in the lantern are very grubby and dirty, they are also stripped down completely.
|
|
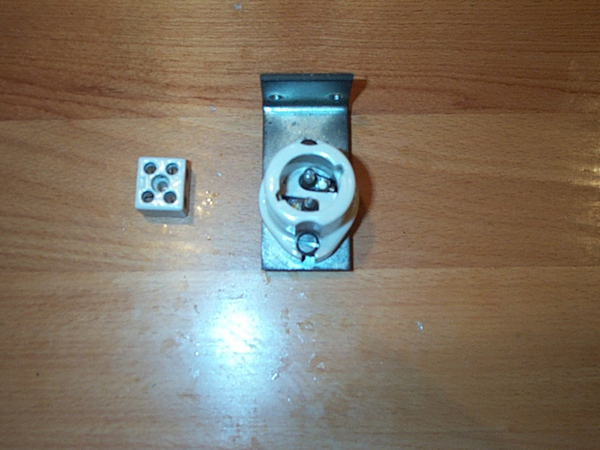
porcelain components #2
Here are the same components having been vigorously cleaned and all the screws reinstalled.
|
|
final cleaning and preparation
The canopy is cleaned to attempt to restore the paint work - but the dirt and grime is too ingrained. But, surprisingly,
after cleaning, the canopy appeared to be light blue - and not white.
I found another Alpha Nine canopy (an earlier model) and after some cleaning, also discovered it was
also light blue.
So, light blue it is.
|
|
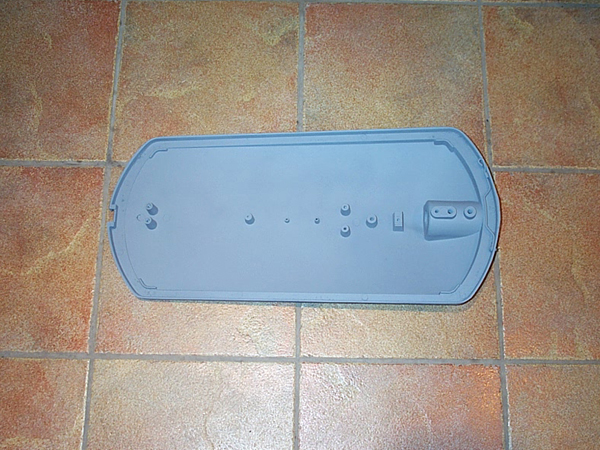
undercoat #1
The interior of the interior is sprayed with blue primer.
|
|
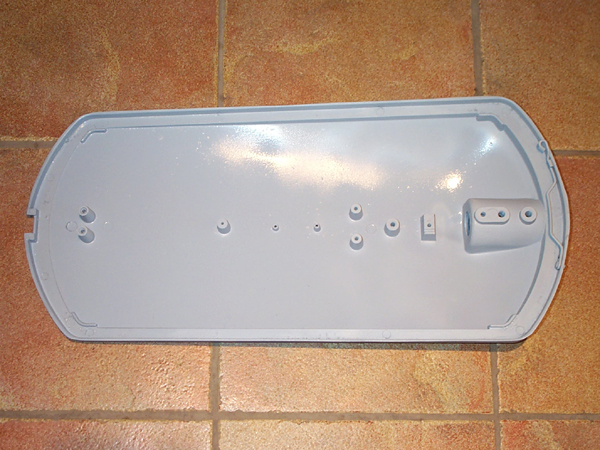
new interior paintwork
And then it’s sprayed with a light blue paint - which was a good match for the original colour.
|
|
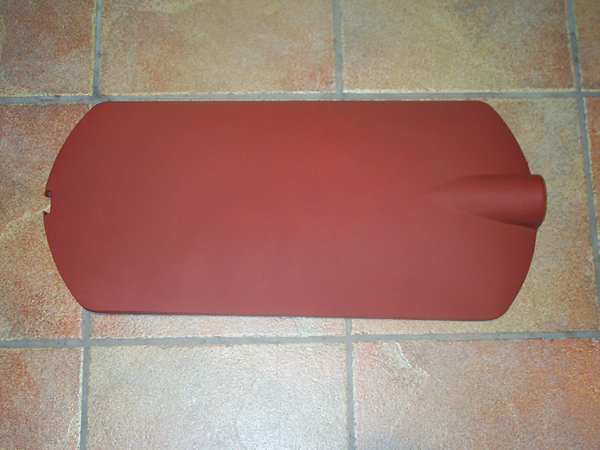
undercoat #2
The exterior is sprayed with red primer and then with chrome aluminium (which I’ve forgotten to take a
picture of).
|
|
rebuild #1
Most of the components are installed. All the screws and bolts are given liberal coverings of grease.
|
|
rebuild #2
The lantern is now rewired (the old wiring was cracked and dangerous) and the identification plate is glued
back on.
|
|
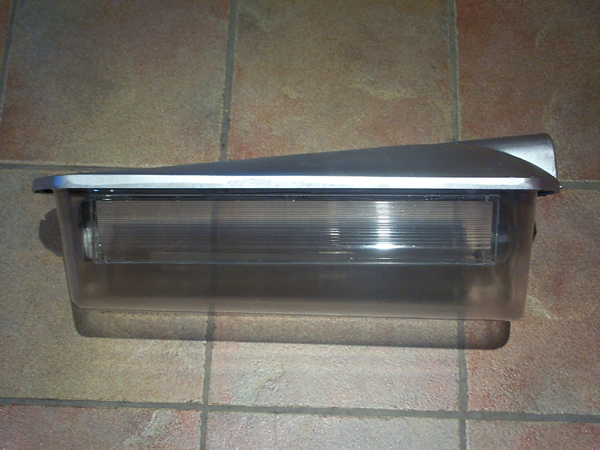
final assembly
And the restoration is complete - this is as good as it’s going to get.
|
|
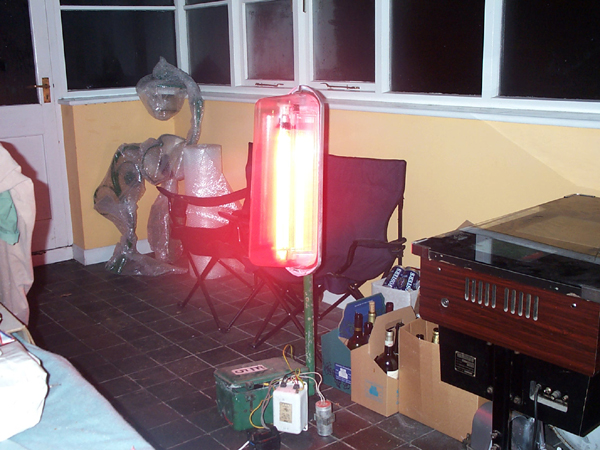
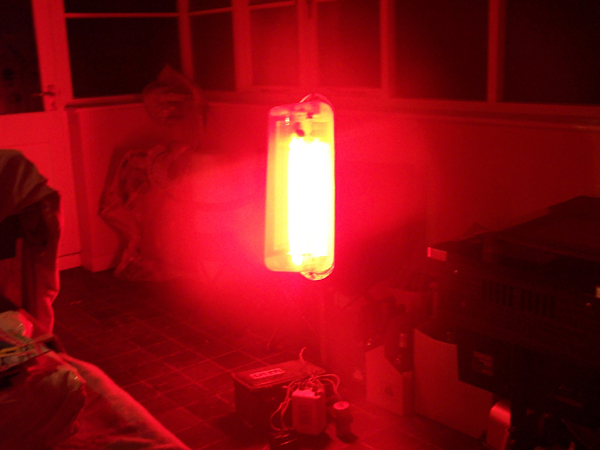
test #1
In order to test some old gear I had, I wired up the lantern to test the gear and the bulb. This picture was
taken just as the sodium started to vaporise.
|
|
test #2
The lantern has now reached full brightness and everything is working well. It needs its mug shots taken for
this site, and then it can be packaged up in the collection, awaiting installation somewhere.
|
