|
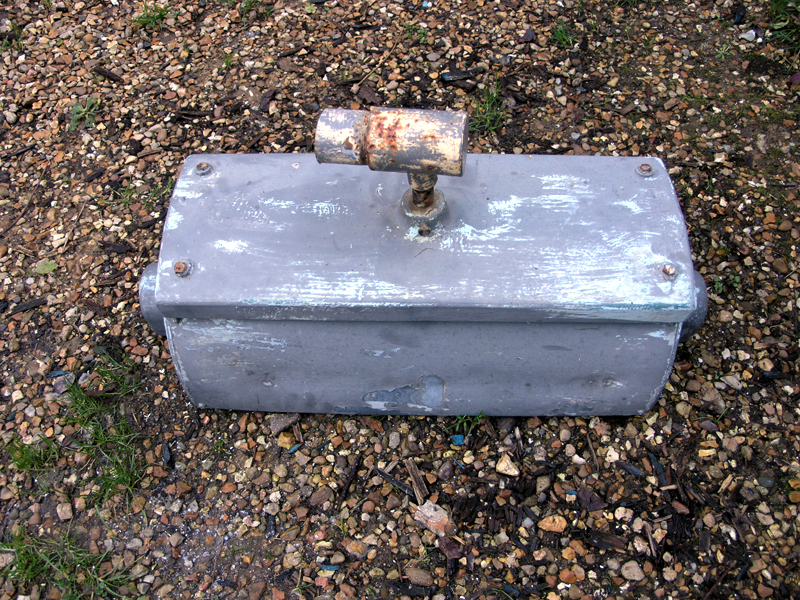
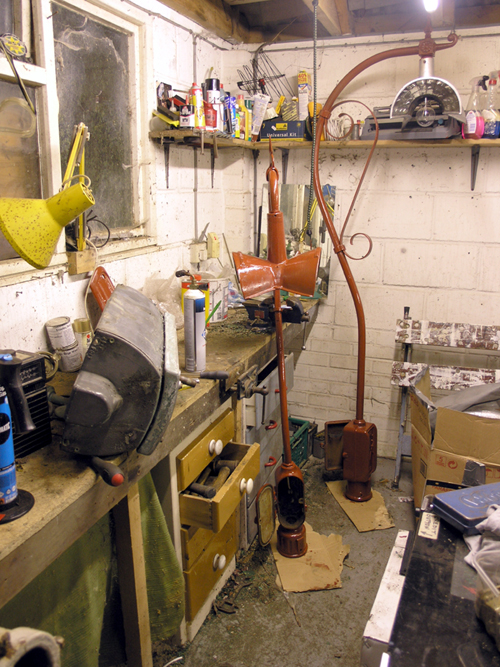
before restoration #1
The lantern was in good condition; no holes in the canopy or sides, but some of the side pieces were slightly bent in places.
|
|
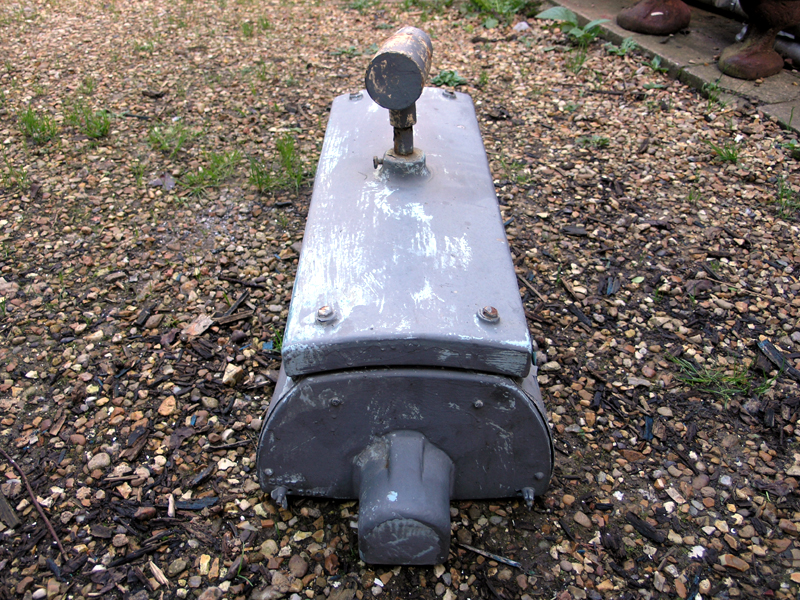
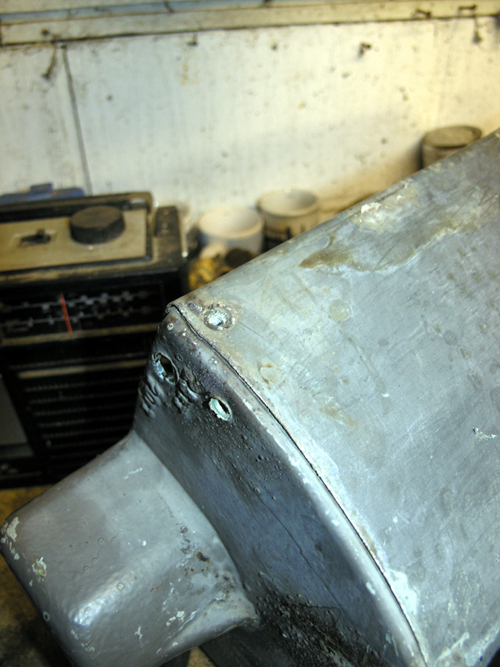
before restoration #2
It betrayed its 1930s heritage: it was to all purposes a box lantern made of separate pieces of metal all bolted together. By the
1950s, this manufacturing style had been replaced by the one-piece die-cast canopy.
|
|
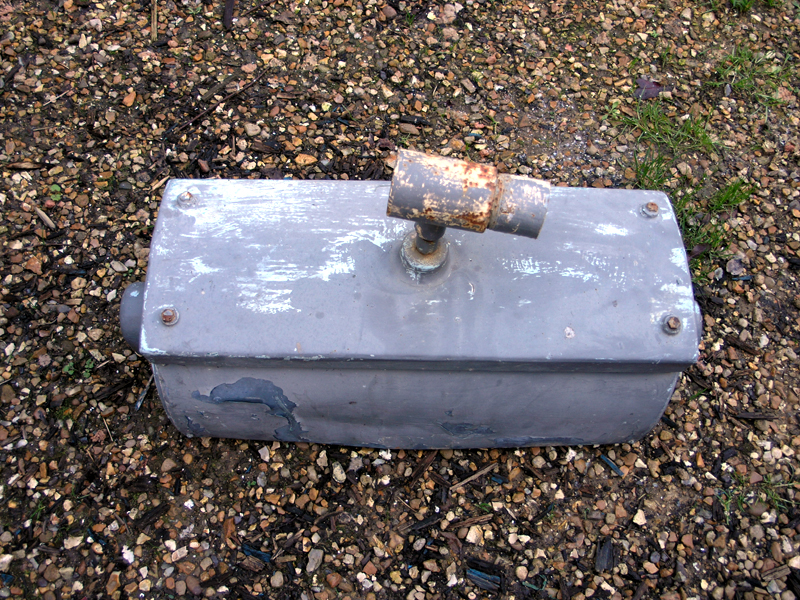
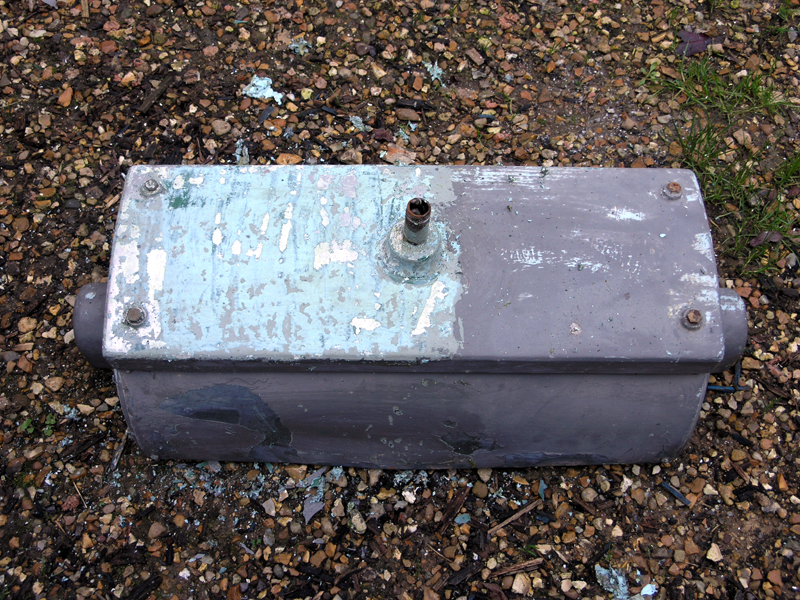
before restoration #3
The paint was flaking in places and revealed several coats; dark blue/grey on the surface with a lighter blue underneath.
|
|
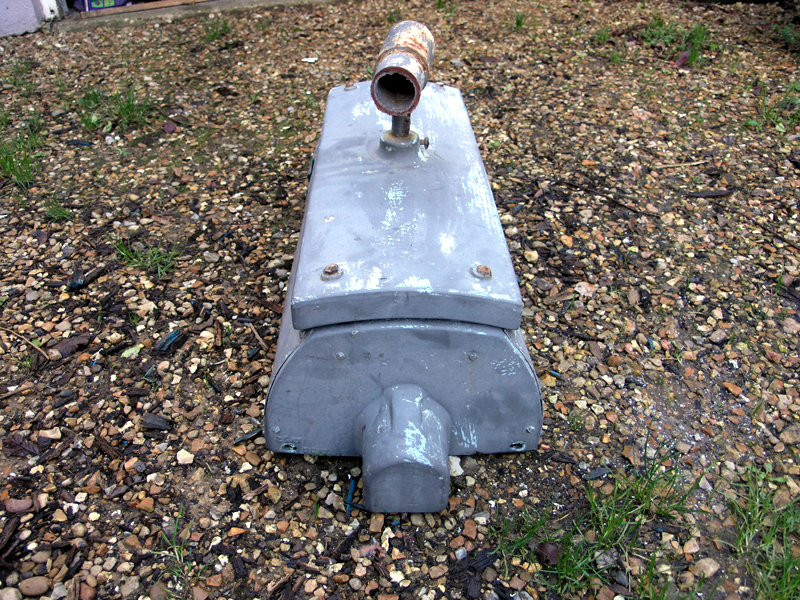
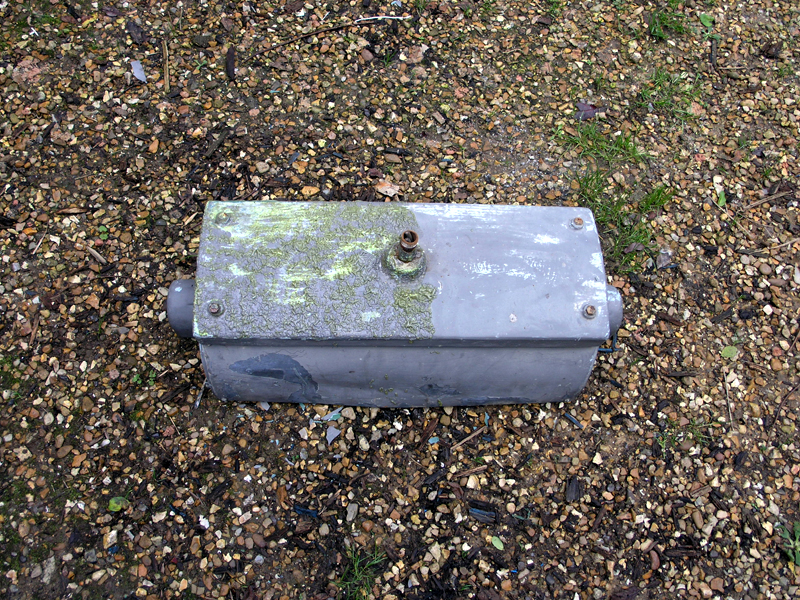
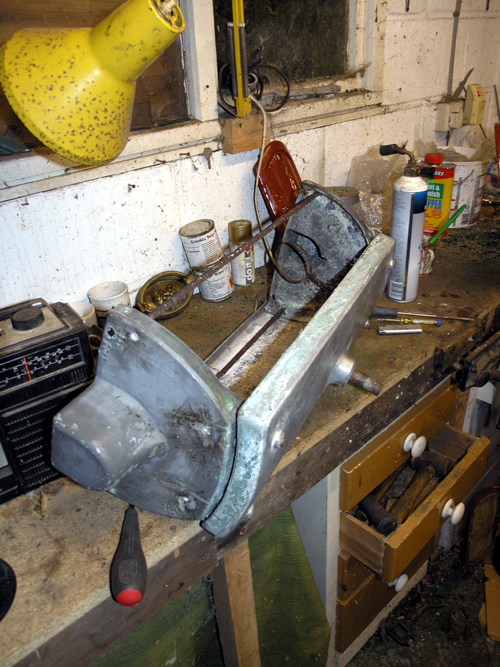
before restoration #4
The lantern was entirely symmetrical with bulb holder projections at both end of the lantern. In this photograph you can just
make out the adjustment groove in the bottom left corner - this is marked with 20ft and 25ft and allows the reflectors to be adjusted depending
on the lantern's mounting height.
|

|
before restoration #5
Inside, the lantern was in far worse condition; the side walls were covered in corrosion, the bulb holder was broken, and the internal
reflecting mirrors were long gone. However, three of the original mirror supports were still there, the bulb support was still there, and I had a second
lantern to use as spares. Time to start...
|
|
strip down #1
The finial simply unscrewed which was a good sign. It's an odd finial; the Wardle accepted a thread smaller than the
usual ¾" or 1" BSP. Hopefully I'll be able to unscrew the original bracket pipe (which was sawn through when the lantern was removed).
|
|
strip down #2
The first paint stripper was applied to the canopy. Unless the flaking paint was removed to the metal, a smooth finish
would be impossible. Plus it allowed me to reveal what colours the lantern had been painted through its history.
|
|
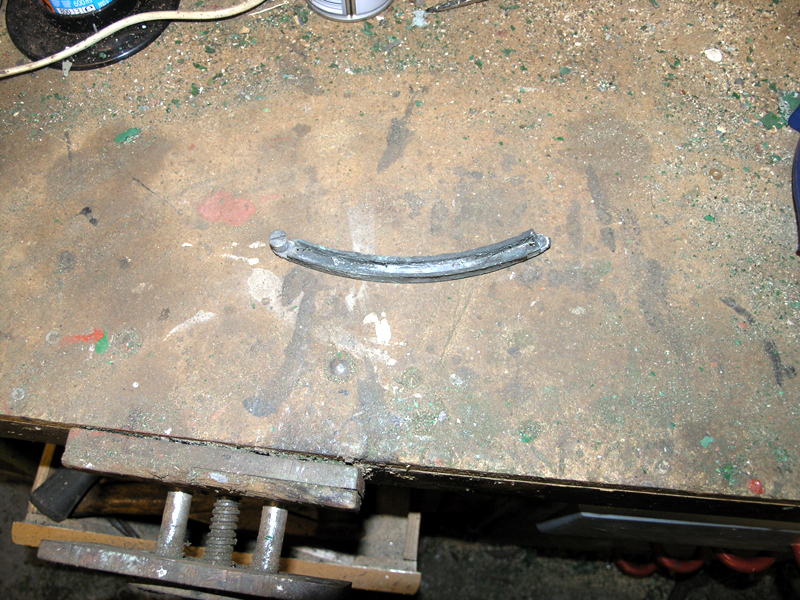
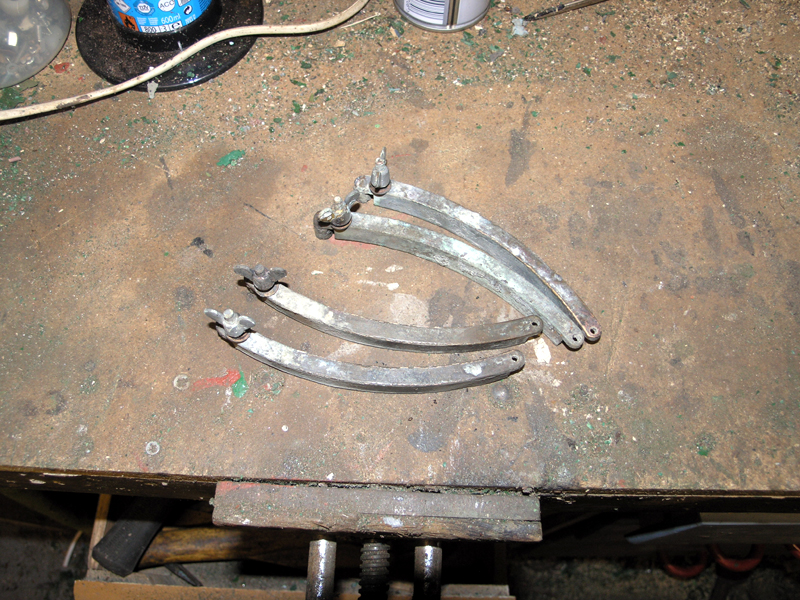
strip down #3
One of the mirror holders was removed. It came out extremely easily as the pivot brass screw had corroded away and the wing-nut
brass adjuster simply turned after being heated with a blowtorch. Here's the state of one of the holders when removed from the lantern. The
large thumbscrew held the mirror in place and was also easily removed after a little heat.
|
|
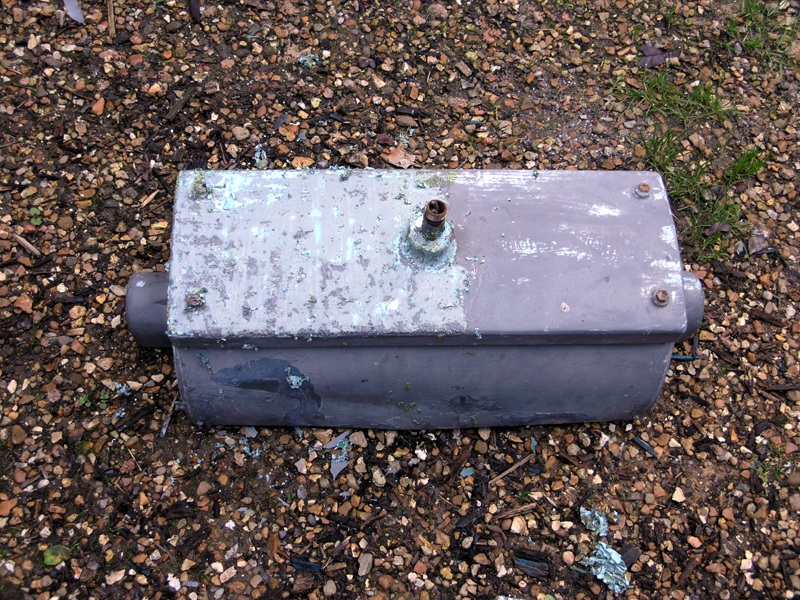
strip down #4
The first application of the stripper removed the dark blue/grey original coat and revealed a lighter blue/grey original. Hints of
a light blue primer coat started to appear.
|
|
strip down #5
In the end I had to borrow another mirror holder from my spare lantern to make up a full set of mirror holders. All the brass pivot
screws had simply corroded away inside the lantern leaving a nut and thread stud - these were simply removed by applying moderate heat. All the wing nuts
turned and unscrewed after heating as did the thumbscrews.
I've cleaned them up a little here but more work is required.
|
|
strip down #6
A second coat of stripper was applied. Now more of the primer could be seen along with the bare metal underneath. This Liverpool
was made of cast aluminium - the originals were cast iron.
|
|
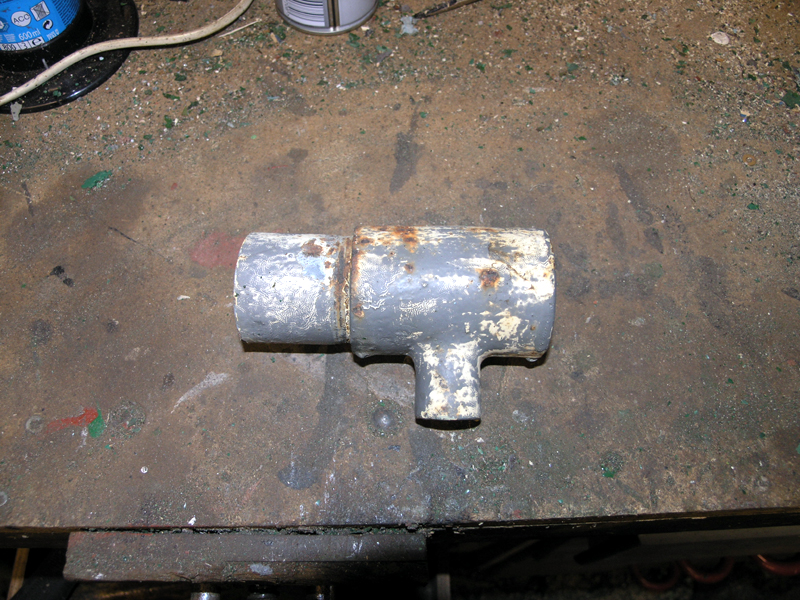
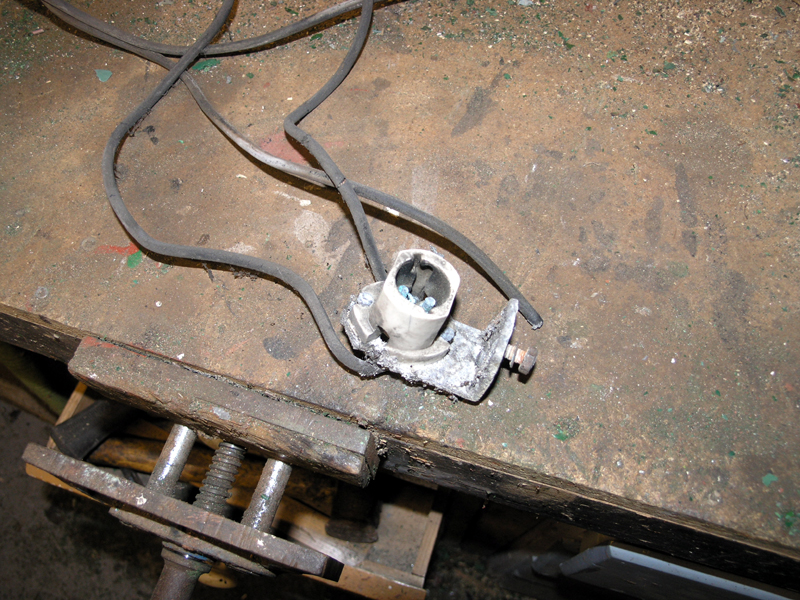
strip down #7
The bulb holder assembly was held in place by a large bolt. This time, more heat was required to tempt the bolt to turn but
eventually it did. The porcelean bulb holder was smashed in the lantern I was restoring, so this is the bulb holder from the spare. Interestingly
the bulb holder is not circular but has flattened edges. It was soaked thoroughly in penetrating oil - I'll have to get those old rubber insulated
wires out eventually.
|
|
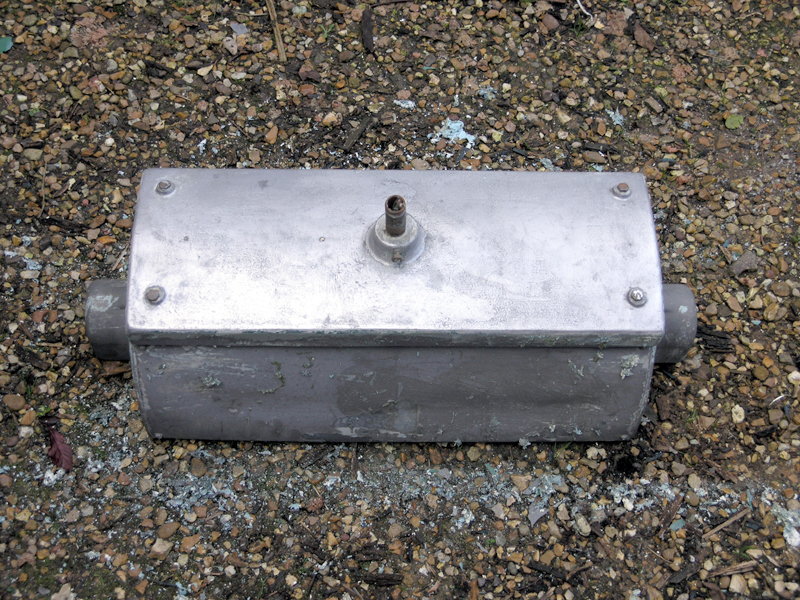
strip down #8
After several more applications of paint stripper, I'd removed all the paint. The aluminium canopy was in excellent condition and
I was in two minds whether to leave the lantern unpainted.
|
|
strip down #9
(Whilst waiting for paint strippers to work, or fittings to cool down, I'm always working on something else at the same time.
Here are two ESLAs which are currently being restored for fitting on my columns - they've just been coated in red oxide).
|
|
strip down #10
Rather than mess around trying to get all the paint out of corners, it made sense to try an fully disassemble the lantern. First
indications were good; the brass screws would come out - given liberal heating up and cooling down with the blow torch.
|
|
strip down #11
Despite being exposed to the elements for over fifty years, the lantern was fairly easy to take apart. None of the screws
seized or sheared - after moderate heat, enough screws were removed so I could take out one of the side panels. This revealed the original
paint - which was a dark green.
|
