|
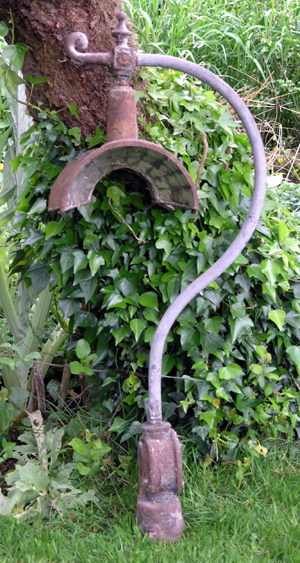
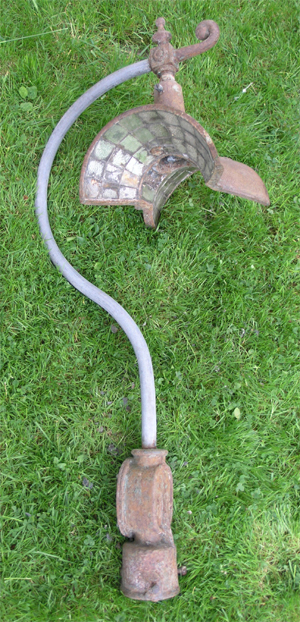
before restoration #1
Considering its age, and the condition it'd been kept in, it was in very good condition. Most of the glass was present and uncracked, the finial was
complete, and the fuse box seemed intact with its cover still in place.
Even better, it was a 175o version (which I didn't have) and featured dimpled glass facets. A unique addition to the collection.
|
|
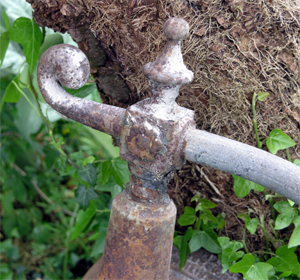
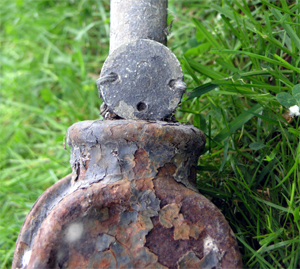
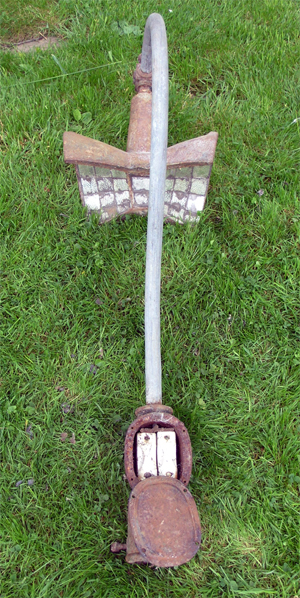
before restoration #2
The finial was rusty, but was was either A C Ford or REVO. The lantern itself was installed
badly, with a ¾" BSP bolt connecting the lantern and finial. I decided to keep this oddity.
|
|
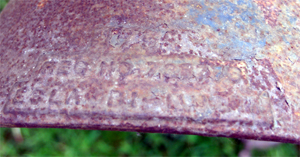
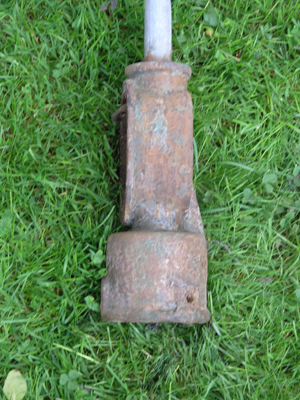
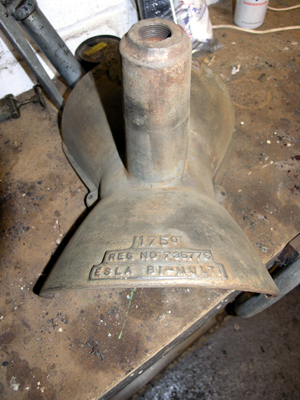
before restoration #3
The top of the ESLA itself was rusty but just starting to pit. This shot shows the angular designation,
patent number and lantern's maker and name.
|
|
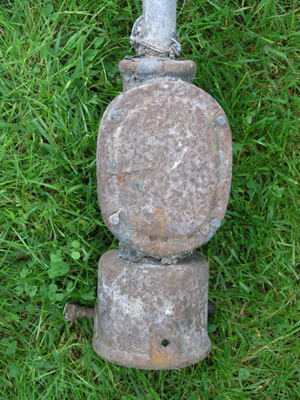
before restoration #4
The fuse box cover was completely blank, so the maker's name remained uncertain. The four brass screws holding the
cover in place were still in-situ, so I was hopeful that the fuses were still inside.
|
|
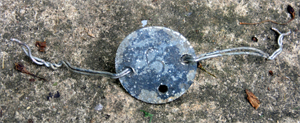
before restoration #5
Just above the fuse box, and held on with stiff wire, was a small metal badge which was stamped with the street light's original
number. At some point, this was number '6' down a road somewhere in the UK.
Finding brackets with these numbers on is extremely rare.
This was also one of the few parts of the lantern and bracket to have any paint on it. It was originally painted black, so I decided to
keep the same colour scheme.
|
|
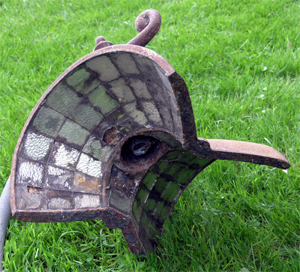
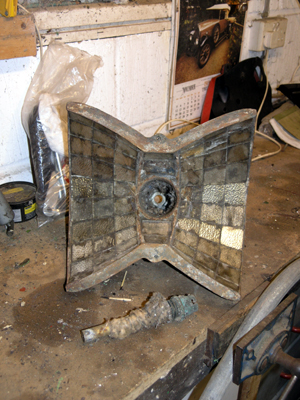
before restoration #6
The glass facets were mostly in good condition, with some missing and some cracked. As replacement glass would've been
difficult to find, I decided to leave the glass as it was.
|
|
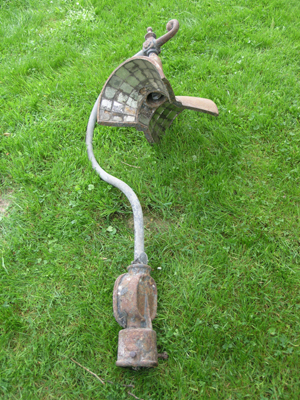
before restoration #6
A final shot of the lantern before I started work.
|
|
strip down #1
I first removed the number plate by gently untwisting the metal wire with pliers.
|
|
strip down #2
All explosed metal was vigourously rubbed down with a stiff wire brush. The steel tube of the swan neck was completely cleared of paint and rust,
but some stubborn areas remained on the lantern and fuse box.
|
|
strip down #3
Gently using a blow torch, heat was applied to the brass screws. This was just enough to loosen them, and all four were removed.
The original fuses were still in-situ, and I was amazed at how large they were. They barely fitted in the fuse box.
|
|
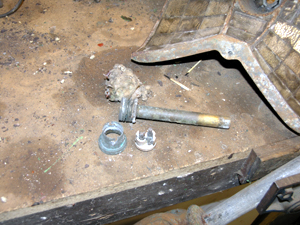
strip down #4
The bolts on the spigot were removed. Again, heat was applied, and penetrating oil added, to help their removal.
|
|
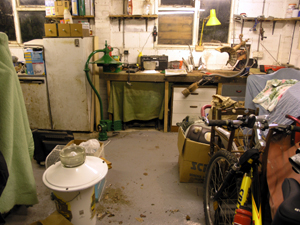
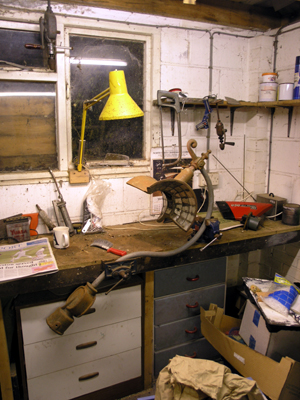
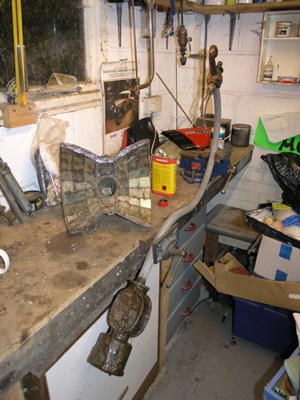
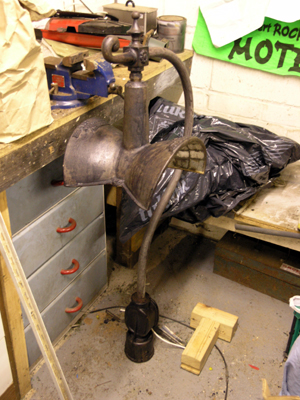
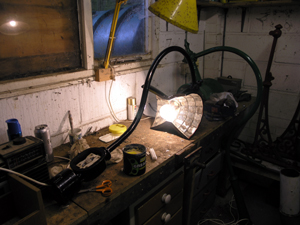
strip down #5
At this point, the lantern was moved into the garage so work could continue. Those with keen eyes should be able to spot
the Lucy bracket in the background, and its
BLEECO Hastings enamel over-reflector and refractor in the foreground.
|
|
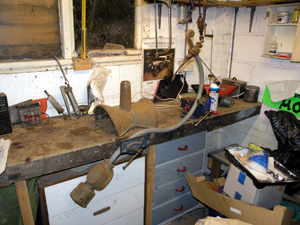
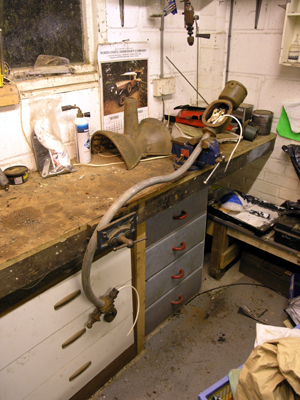
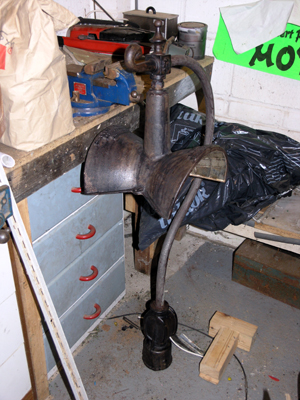
strip down #6
Now firmly in the vices, it was time to get down to the real business of restoration.
|
|
strip down #7
In order to remove the bulb holder assembly, the ESLA was unscrewed from the bracket, and the
tube inside the neck of the lantern was tapped gently out. It is possible to put them out from the bottom of the lantern,
but if the anti-vibration spring is fitted, you usually end up just stretching and pulling that off. Removing the lantern also
makes it easier to rewire the bracket.
|
|
strip down #8
The bulb holder assembly was easily removed, and was covered in webs, spiders' eggs and dead spiders.
|
|
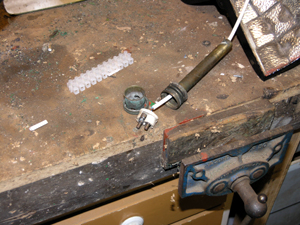
strip down #9
Disassembling bulb assemblies can be difficult as the copper ring holding them together is often rusted in place. Heating the
ring is possible, but care is needed to avoid heating the porcelain lamp holder and cracking it. Luckily this bulb assembly came to pieces with
just some penetrating oil.
|
|
strip down #10
The remaining stubborn paint was liberally treated with paint stripper.
|

|
strip down #11
The paint stripper was scraped off, and the bare metal rubbed down with a wire brush. After a couple of applications, all the
paint was removed.
|
|
strip down #12
Now down to bare metal, the angular designation of this ESLA is easy to read.
|
|
strip down #13
At regular intervals, remove all cat infestations from your car. This step is optional.
|
|
rewiring #1
At this point, I usually rewire the swan necks. It's easier to keep the bracket still, and if paint had been applied, you usually
scratch it whilst trying to thread the wire through. In this instance, I sellotaped the new wire to the old, and pulled the old wire out.
|
|
reassembly #1
The Bi-Multi was now reinstalled onto the bracket. Sometimes it's difficult to screw the lantern onto the finial
so it screws up tightly in the right orientation. If the top is loose, then unscrew it slightly, and coil some string into the gap; this will
take up the slack and allow the head to be tightly screwed into place.
|
|
anti-rust treatment #1
All metal was now treated with an anti-rust compound - this turns all the rusty metal black and it's converted to black iron
oxide, and not the hydrated brown iron oxide.
|
|
undercoat #1
Two coats of red-lead undercoat were applied. This also has anti-rust properties.
|

|
paint #1
And two coats of jet black enamel paint were also applied.
|
|
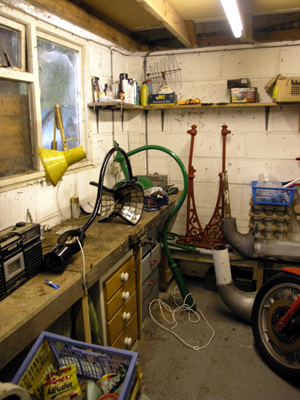
reassembly #2
After the paint had dried, the bracket was brought back into the workshop. (Note the other ESLA which I was
working on, the two French ??? brackets, and a Siemens Court and Crawley fluorescent lanterns.
|
|
reassembly #3
The bulb holder assembly was completely stripped down, recleaned and lubricated.
|
|
reassembly #4
It was then reassembled and attached to the wire.
|
|
reassembly #5
And this is the reassemblied, complete bulb assembly. Note the anti-vibration string, which usually get bent when removing
the bulb assembly, drop off when heating the copper ring (because they're soldered in place) and generally get in the way.
|
|
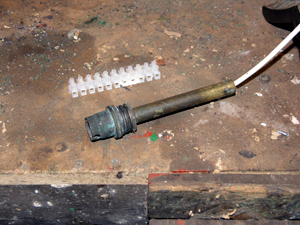
reassembly #6
The bulb assembly was reinserted intro the neck of the lantern and greased so it would move easily. The focusing screw was
replaced, and a 100W single-coil GLS bulb was inserted. At this point, I adjusted the bulbs position until the filament was in-line with the
base of the lantern. Now, it was correctly focused and the focusing screw tightened to hold it in place.
|
|
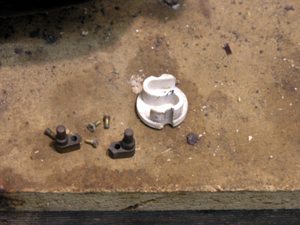
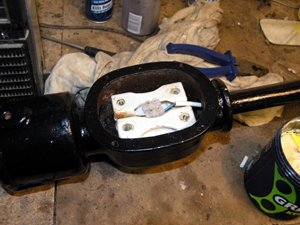
reassembly #7
The copper screws in the fuses were corroded in place. As heating them would shatter the porcelain fuse holders, I decided to
leave them well alone. A simple terminal block was added to allow a supply to be attached - a supply which would be protected by
its own fuses.
|
|
reassembly #8
And I quickly tested by rewiring; this was probably the first time the lantern was lit in years.
|
|
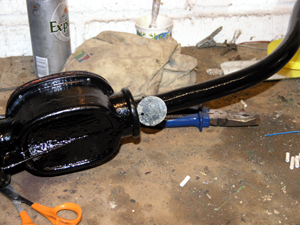
reassembly #9
And finally I reattached the lead metal badge which held the lantern's number. And after replacing the bolts on the spigot,
the restoration was complete.
|
|
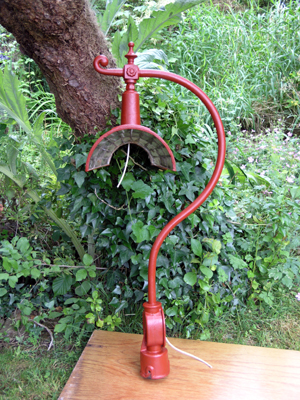
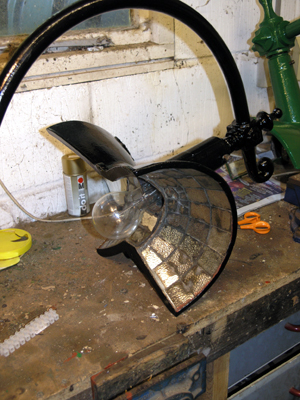
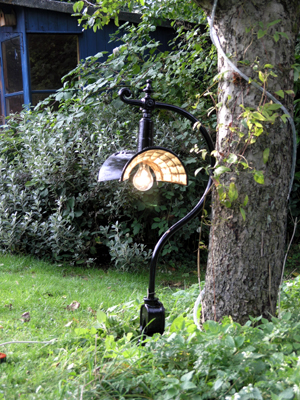
completed
And here's the swan neck in all it's restored glory. Other pictures can be
found here.
|
